There is more to life with TurboRenault.co.uk
You are using an out of date browser. It may not display this or other websites correctly.
You should upgrade or use an alternative browser.
You should upgrade or use an alternative browser.
21 Turbo The Scrapyard Quadra
- Thread starter DaveL485
- Start date
DaveL485
Staff member
It looks like a relation of yours now with those few hairs left..
My quadra has that centre bracket inside the sill too. Great progressPulled the pedal box Saturday morning so I could fit up the 197 servo
View attachment 145984
View attachment 145985
A small, easy mod to the pedal joint would see this working.... but I still can't get the assembly back on the bulkhead. It's a lot closer than it was trying to fit the servo to the pedal box, but still won't clear. Undecided as to whether to pursue or relent and get a smaller/remote servo, as this would also require relocation of the clutch master. The remote servo's look ace, but it's a cost thing. Obviously, though, I have made up my mind to sack off the electronic accumulator system.
I then had a crack at the O/S sill, so I could trial fit my new panel pressing. I didn't get as far as fitting it though as the inner sill was worse than I hoped, at the front. The guy that fitted the new jack points in 2016 welded a new bit of inner sill in but didnt make a very nice job of it at all and didn't protect it so that bit had already started to rot. Didn't even seam weld the edge of the jack point to the sill!I couldn't see it until I got in there but once I did I was just like "fucks sake this has all got to come out".
View attachment 145986
I don't think the 2wd has the centre brace panel, seen in the next pic.
View attachment 145987
Comedy rust
View attachment 145988
You can see here the hack-n-slash inner sill repair at the front
View attachment 145989
Tried up the new sill panel, it's close but it fouls the centre bracket a bit so I need the curve to be a bit deeper, maybe add another 5mm to it and bow it out a bit more.
View attachment 145990
You can see here the little overlap lip I has added to hook in under the original sill.
View attachment 145991
View attachment 145992
Bad repair cut out and cleaned up/treated everything with Bilt. I should be able to get the inside of the jack point with the gravitex gun so I proceeded to make the inner sill patch.
View attachment 145993
How satisfying was it to offer the outer sill up.
DaveL485
Staff member
Semi-satisfying as it's not quite right, it looks spot on but doesnt quite fit over that centre support properly. I need maybe 5mm added to the radius to bow it out a bit further. Hopeing to go to the place and feed that back tomorrow, have the next ones made up next week and have the set available for the car to be repaired over xmas as I have a couple of weeks booked off.How satisfying was it to offer the outer sill up.
DaveL485
Staff member
DaveL485
Staff member
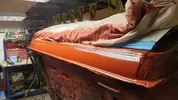
I had 2 weeks off work over xmas, so I got a good amount of garage time in.
I picked up sill panel version 2 the week before I broke up and verified fit, and had them make a couple of sets before the holidays so I could get stuck in (Group buy now up here Group buy on Renault 21 sill repair panels)
As mentioned before it's designed to fit in and hook behind the swage line below the sideskirt clips, cos, lets face it, who wants to cut those out and re-drill the holes if it's not necessary!
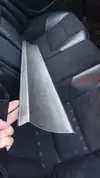
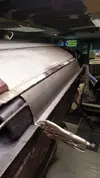
Fit looked good so I got on with the last bit of welding under the sill and prep work
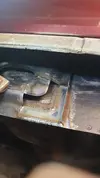

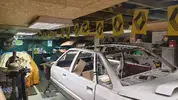
Momentary pause to hang some bunting from @Ricardo
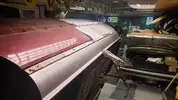
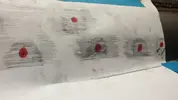
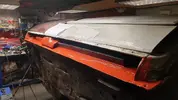
Looking good on the fit so on they went. The sheet of paper is a marker for the mid-sill spot weld points.
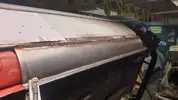

Second one on
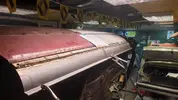
I picked up sill panel version 2 the week before I broke up and verified fit, and had them make a couple of sets before the holidays so I could get stuck in (Group buy now up here Group buy on Renault 21 sill repair panels)
As mentioned before it's designed to fit in and hook behind the swage line below the sideskirt clips, cos, lets face it, who wants to cut those out and re-drill the holes if it's not necessary!


Fit looked good so I got on with the last bit of welding under the sill and prep work


Momentary pause to hang some bunting from @Ricardo


Looking good on the fit so on they went. The sheet of paper is a marker for the mid-sill spot weld points.


Second one on

DaveL485
Staff member
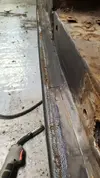
After the sill was done I was pretty pleased with myself and I attacked the OS chassis rail. It was pretty bad, the rust having eaten the whole outer skin.
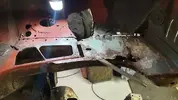
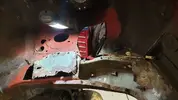
I just kept hacking away until I found solid metal.
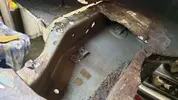
Ignore the rack bracket further up, that needs re-doing, that was done when I was having welder issues a while back. Got the chassis rail cleaned up pretty well with pretty much every abrasive in my armoury!
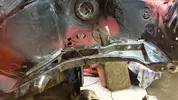
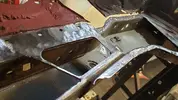
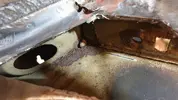
I already knew the rear subframe mounts were pretty mangy, on further inspection I decided that rather than getting to what i could and hoping the rest would be OK, I was just gonna take the whole thing off.

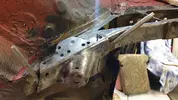
Ewww.
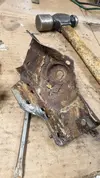


I just kept hacking away until I found solid metal.

Ignore the rack bracket further up, that needs re-doing, that was done when I was having welder issues a while back. Got the chassis rail cleaned up pretty well with pretty much every abrasive in my armoury!


I already knew the rear subframe mounts were pretty mangy, on further inspection I decided that rather than getting to what i could and hoping the rest would be OK, I was just gonna take the whole thing off.


Ewww.

DaveL485
Staff member
Under the mount was still solid save for a little pitting, but nothing that made me think it needed cutting out (phew)
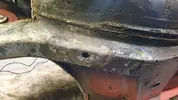

I cleaned up the awkwardly shaped mount with a wire wheel and my little sand blast cabinet and treated it all
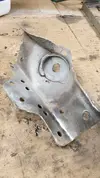
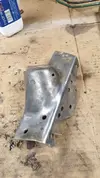

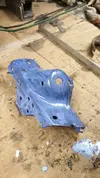
Once treated and painted with Bonda I welded it back on, both the original spots and a seam around the outside.
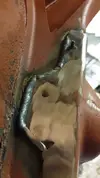
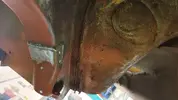


I cleaned up the awkwardly shaped mount with a wire wheel and my little sand blast cabinet and treated it all


Once treated and painted with Bonda I welded it back on, both the original spots and a seam around the outside.


DaveL485
Staff member
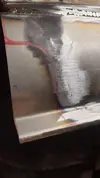
Then it was time to start on the chassis rail itself, I went right in there with the 2mm plate (original was 1mm spot welded skin coming down from the inner arch), to seal up the chassis rail, i'll worry about the arch later
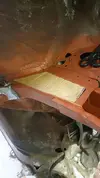
Wire speed was too high on the top section, you can see where I turned it down as the weld is much flatter.

Decent
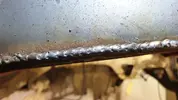
Welding wanker!
 .
.
Next bit has a curve or two, I tried to shape the 2mm plate but that wasn't happening lol - in the end I scored it with a cutting disc and bent it that way. Bit industrial maybe but it worked
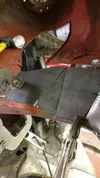
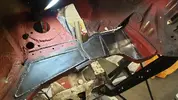
Time was cracking on and I was running short on abrasives so I painted it without grinding back. Lazy twat.
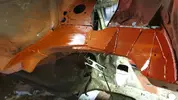


Wire speed was too high on the top section, you can see where I turned it down as the weld is much flatter.

Decent

Welding wanker!
 .
.Next bit has a curve or two, I tried to shape the 2mm plate but that wasn't happening lol - in the end I scored it with a cutting disc and bent it that way. Bit industrial maybe but it worked


Time was cracking on and I was running short on abrasives so I painted it without grinding back. Lazy twat.


Welding wanker!
DaveL485
Staff member
I had a break from the weldy stuff NYE/NYD, and had a mess with the 9, but over this weekend I started off activity on the other sill. I'd been here before way back when I bought the thing and done a well-dodgy patch job on the rear 1/4 joint, but had thrown some underseal around....not that it mattered it was still rotten as shit
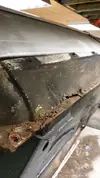
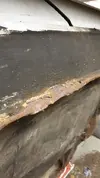

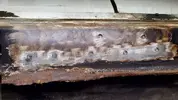
Cut on the swage line again, and drilled out the spot welds at the bottom - well - those that hadn't rotted off haha!
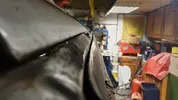
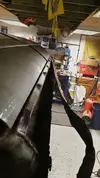
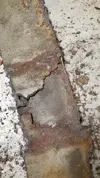
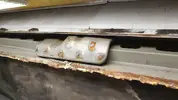
Again, as per the other side, the dickhead that did my jack points had mutilated the inner sill

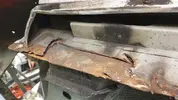


Cut on the swage line again, and drilled out the spot welds at the bottom - well - those that hadn't rotted off haha!


Again, as per the other side, the dickhead that did my jack points had mutilated the inner sill


DaveL485
Staff member
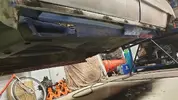
What else can you do but cut it all out and start over?
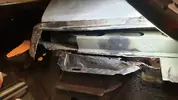
Cleaned and treated
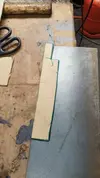
Making patches - this one is for the rear of the inner sill
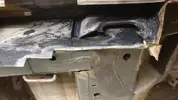
Blasted Hydrate 80 in to the jack point inside
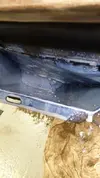
Front patch - going to do it in 2 bits

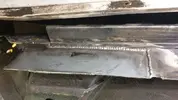
Seam welded both sides.

Jack points are now looking pretty sweet

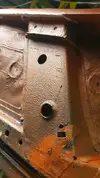
17.6% of the original car is now a pile of dust on the floor!

That concludes the Scrapyard Quadra Xmas special. I hope you enjoyed it

Cleaned and treated

Making patches - this one is for the rear of the inner sill


Blasted Hydrate 80 in to the jack point inside

Front patch - going to do it in 2 bits


Seam welded both sides.

Jack points are now looking pretty sweet


17.6% of the original car is now a pile of dust on the floor!

That concludes the Scrapyard Quadra Xmas special. I hope you enjoyed it
Lol! Post it back to France!!What else can you do but cut it all out and start over?
View attachment 146386
Cleaned and treated
View attachment 146387
Making patches - this one is for the rear of the inner sill
View attachment 146388
View attachment 146389
Blasted Hydrate 80 in to the jack point inside
View attachment 146390
Front patch - going to do it in 2 bits
View attachment 146391
View attachment 146392
Seam welded both sides.
View attachment 146393
Jack points are now looking pretty sweet
View attachment 146394
View attachment 146395
17.6% of the original car is now a pile of dust on the floor!
View attachment 146396
That concludes the Scrapyard Quadra Xmas special. I hope you enjoyed it
and risk a dent?I take my hat off to you mate (I am wearing one)
Bottle of Dom Perignon to smash over the bootlid once its MOT'd?
Similar threads
- Featured
- Replies
- 76
- Views
- 2K
- Replies
- 4
- Views
- 346
- Replies
- 6
- Views
- 879


