There is more to life with TurboRenault.co.uk

Register a free account today to become a member! Once signed in, you'll be able to participate on this site by adding your own topics and posts, as well as connect with other members through your own private inbox!

21 Turbo The Scrapyard Quadra

Update a week early this time. I swapped my weekend with the brats to next week under request from the ex so off I toddled into the garage.

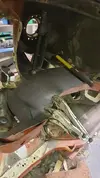
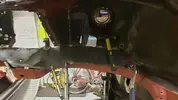
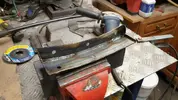
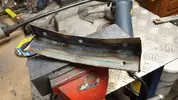
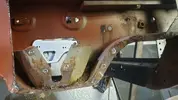
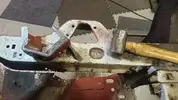
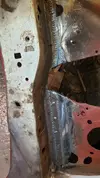
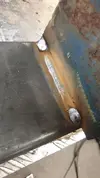
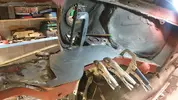
I carried on trying to put the NSF chassis rail back together, hoping i'd get that done and start taking the front part other one apart as now I have seen this subframe mount I wanna get in to the other one (I didnt get that far though). Thought i'd try and shape a plate over the whole length, as far as possible.
x20200222_164423_RS.webp

I'd already cleaned and treated this original bit which was good enough to be put back in.
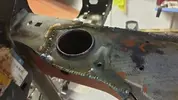
x20200222_164427_RS.webp

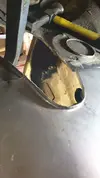
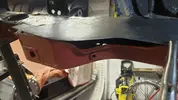
Bit of a funny shape, so I started hitting it with hammers.
x20200222_164440_RS.webp


x20200222_173036_RS.webp


x20200222_173041_RS.webp

In the end I chopped the left hand side down and did it in a couple of bits.
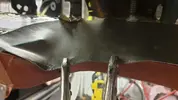
x20200222_173047_RS.webp

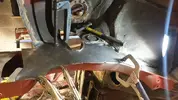
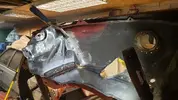
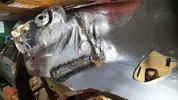
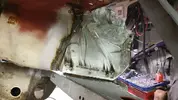
From the engine bay side

x20200222_184303_RS.webp

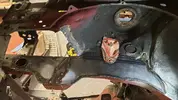
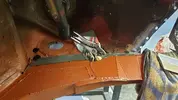
Re-attached the subframe reinforcement on the inside edge
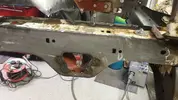
x20200222_184306_RS.webp
 
This was a tricky little bugger to make, the aperture where the track rod arm comes through the turret. The arms on a 21 are huge, they bolt to the end of the rack in the middle of the car (so the rod arms span the whole width of the car and run across the middle of the bulkhead)

x20200222_191316_RS.webp x20200222_191320_RS.webp

Getting there. I'm sure you bodyshop pro's will be cringing right now but for someone that is literally winging it, it's not so bad lol

x20200222_191326_RS.webp

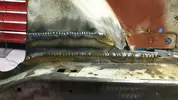
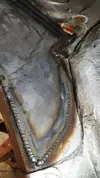
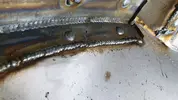
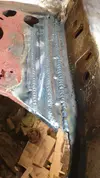
A few more small adjustments and I started welding it in. Top line is from the other side, bottom line is from this side.

x20200223_142954_RS.webp


x20200223_142958_RS.webp

I was pleased with this and celebrated with a cup of tea and a pack of Jaffa cakes.

x20200223_143003_RS.webp

On the wheel side - yet to be ground back.

x20200223_164930_RS.webp

x20200223_165000_RS.webp
 
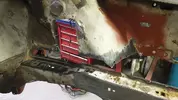
Finally I started cleaning up the front part of the wheel arch I removed to access the chassis rail and subframe mount. I had to replace a small section that had been eaten away by the rust monster.

x20200223_172431_RS.webp

x20200223_172434_RS.webp

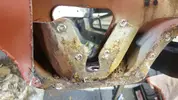
I sized it up for refitting - debating whether to re-use that curved bracket that joins it to the chassis rail or not. It's rusty but not perforated, I think I might re-use, as it looks a pain in the ass to replicate....

x20200223_175413_RS.webp

Thats as far as I got, so will mull it over before I return for the next episode.
 
Properly awesome. I miss mine being at this stage. Or do I..! Anyway, fantastic work Dave. Your welding has really come on, looks like you learnt much quicker than me. .
 
Properly awesome. I miss mine being at this stage. Or do I..! Anyway, fantastic work Dave. Your welding has really come on, looks like you learnt much quicker than me. .
I think I'm just getting better at controlling the settings on the welder and adjusting depending on the welding site. Also, the more you do it the more you remember what worked best for the last similar spot, so now I know butt welding the thinnest stuff is 1.5 power and 1 wire speed as my start point.
 
I think I'm just getting better at controlling the settings on the welder and adjusting depending on the welding site. Also, the more you do it the more you remember what worked best for the last similar spot, so now I know butt welding the thinnest stuff is 1.5 power and 1 wire speed as my start point.
Top work! There must be less welding ahead than behind?!
 
Top work! There must be less welding ahead than behind?!
Depends - still rust to fix, roof has to go on and then I want to replace some of the footwells because they got damaged a bit when it sat in the scrapyard with no wheels on 22 years ago and they look untidy...and then the roll cage (which I won't be doing, but it still counts lol).
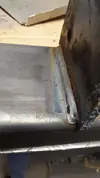
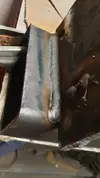
Still a way to go.
 
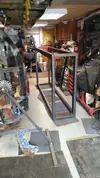
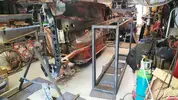
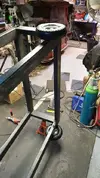
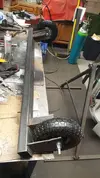
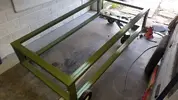
Back on the case this weekend. First off I had drawn up my car-rollerskate frame and my mate at Custom Metal Solutions fabbed it up for me. 4 Pneumatic wheels on the way for it.

x20200313_123737_RS.webp

x20200313_123743_RS.webp

Also I decided against the 197 brake servo as I didnt wanna mod the turret to fit it in, and on the offchance I had a snoop around for a Renault 21 brake servo from an NA model.... twenty pounds thankyouplease :) the 197 master bolts to it, the servo bolts to the pedal box and the pedal box bolts to the bulkhead. Great! If I use this setup though I have to figure out the clutch master (as the servo covers where it normally sits) and do something about the reservoir as its too high. Worst case I will have to use a remote servo but we will see.

x20200314_122720_RS.webp

x20200314_124154_RS.webp

x20200314_124419_RS.webp
 
As you have seen above I did the OSF inner wheel arch a while back but after seeing the shambles of the NSF subframe mount (which I excluded before as it "looked OK") I decided to go back and revisit it.
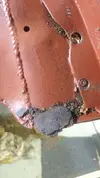
As I drilled out the spot welds for the right angle bracket this fell out

x20200314_164008_RS.webp

FFS... so I ripped it all apart same as the other side. Good job I did. I cleaned it all up, welded a couple of bits in to the arch I removed and treated it and did the same to the box section of the chassis.

x20200314_172319_RS.webp

x20200314_172324_RS.webp

x20200314_172900_RS.webp

x20200315_161535_RS.webp

While that was drying I tackled the turret-to-chassis rail bit.

x20200315_161530_RS.webp

x20200315_161545_RS.webp

x20200315_164228_RS.webp

Welded in, front and back.

x20200315_174515_RS.webp

x20200315_174523_RS.webp

Chucked some spray primer on that and checked the poor old bus doesn't have Coronavirus - all clear - :D

I'm not going OTT on priming the stuff now because I think I am going to have the engine bay and underside fully sand blasted - hence the big skate thing for transport. Then I will properly prime and seam seal it all, then gravitex level 999
 
Dave, your welding has come on no end but I have got to ask is all that welding necessary? I don't know what the bracket is for but plug welded and then fully welded in on a small bracket that looks of only thin metal?
Reason I ask is one of the first things you are taught on a welding course is always to do the minimum amount of welding. Every weld has a heat affected zone, an area where the heat from the welds affects the metal around it or in most cases weakens the metal around it. Beat the shit out of a good weld and eventually it will almost always break next to the welds even with no undercut and no error from the welder
It might be that you genuinely did need all that welding but I didn't know whether it was one last thing I could help with as unfortunately I see awesome welds but I can't help but see a lot of hard brittle metal.
Again, welds look fabulous mate, next step might be to see how you can accomplish the same result with less welds in certain circumstances.
 
but I have got to ask is all that welding necessary?
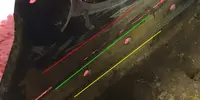
Probably not, but when its going well I really enjoy it and get a bit carried away. The right-most line of that last pic is a joint on the car that is spot welded and I havent touched it....I just seamed it because I wanted to rofl.gif Here is a pic of it before. Yellow line is the extra weld, green is the middle which is attaching the new plate to the chassis rail, red is where the weld line is that attached the new plate to the turret.You can see the spot weld drill holes that I have also plugged lol

01.webp

welds look fabulous mate
Thanks - it really is encouraging having good feedback :)
 
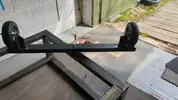
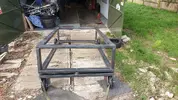
Over the weekend I did some work on the rollerskate to move the shell around, for when it gets blasted and paint and stuff.

x20200328_170236_RS.webp

Check out my welds! Not bad for an amatuer :P

x20200328_193007_RS.webpx20200328_201753_RS.webp

x20200328_194231_RS.webpx20200328_194229_RS.webp

My poor little plasma cutter was hard pressed on the really thick stuff (scrap I had lying about) but it just managed.

x20200328_203416_RS.webp

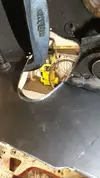
I repurposed one of the old Quadra wheel bearings to make the pivot.

x20200329_151325_RS.webp

x20200329_152400_RS.webp

And painted


x20200329_164054_RS.webp
 
should of just scrapped it tbh more rot in this than there was in all the old stuff ive had over the last 5 years combined
SO much rot.

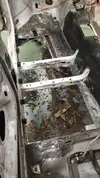
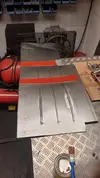
The floor was solid though, mostly. I'm replacing it because when it ended up in the scrap yard 22 years ago after the fire (as you may recall I bought the toasted wreck from the scrappy) the alloys were taken off and it was dumped on it's belly, or possibly on top of another car as they like to stack em in scrappies. It pushed the thin sheet on the floor in/up and stretched it. I knocked it back down with a hammer and block of wood but the floor was all uneven and untidy - you needed to look for it to notice it but it always bugged me. What better time to sort it than now. I did think about trying to find an OE floor to sub in but anything I could cut out would be from a scrapper and would likely have it's own rust issues.
 
Back
Top