There is more to life with TurboRenault.co.uk
You are using an out of date browser. It may not display this or other websites correctly.
You should upgrade or use an alternative browser.
You should upgrade or use an alternative browser.
21 Turbo The Scrapyard Quadra
- Thread starter DaveL485
- Start date
Turbell
Well-Known Member
My experience with having them done ranges from average to toss, so I defer to miserable grumbly git mode and do them myself, they're not that bad so I'm taking corrosion back to bright ally and repairing kerbing , then doing them in 11T Gris argent.....it's on shelf so zero outlay.
It'll be this paints fifthteen birthday later this year.....it's the never ending tin of paint..
It'll be this paints fifthteen birthday later this year.....it's the never ending tin of paint..
DaveL485
Staff member
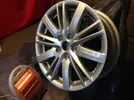
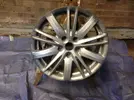
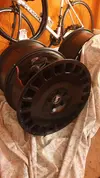
Wheels collected, 404 mile round trip to Gateshead. Sadly the timings didnt work and I missed out on a Parmo with @Brigsy 
Wheels are sexual though!
Saturday I spent the morning working on the 60-plate Clio I-Music I bought for her, but in the afternoon it was a bit windy and cold so i retreated to the garage, flipped the heater on and finished the NS sill. I have kept the templates for the shape of the back of the sill, and the spot welds for the middle to the bracing plate as i'm going to photocopy them up and send them out with the group buy
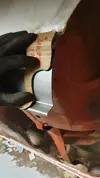
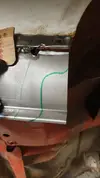
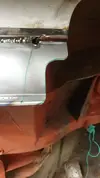
I cut the wheel arch back too far when fitting the panel so I had to make this to join the outer sill and the wheel arch
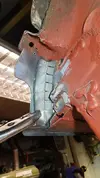
Middle plate spots
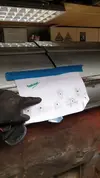
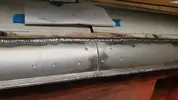
Welded up, won't see it once i've seam sealered and gravitex'd it

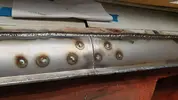
Spotted this in, ground it back and was going to paint it but didnt as I couldnt be bothered with the clean up of the paint gun after lol
Wheels are sexual though!

Saturday I spent the morning working on the 60-plate Clio I-Music I bought for her, but in the afternoon it was a bit windy and cold so i retreated to the garage, flipped the heater on and finished the NS sill. I have kept the templates for the shape of the back of the sill, and the spot welds for the middle to the bracing plate as i'm going to photocopy them up and send them out with the group buy


I cut the wheel arch back too far when fitting the panel so I had to make this to join the outer sill and the wheel arch

Middle plate spots


Welded up, won't see it once i've seam sealered and gravitex'd it

Spotted this in, ground it back and was going to paint it but didnt as I couldnt be bothered with the clean up of the paint gun after lol

DaveL485
Staff member
Then I had a look at the NSF chassis rail. I hadn't given it much attention as the other one was so bad, and it looked much better condition. I was hoping for an easier ride if i'm honest, bit of clean up and maybe some small patches.
You can already guess where this is going. Pulled the brake pipe bracket off by hand, with a shower of iron oxide on the floor. F**ks sake. Took the stone chip off with a wire wheel and the bottom edge was eaten away so started on the spot welds.
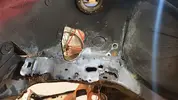
The hole in the inner is where the brake pipe bracket attached. It's got between the skins and spread.

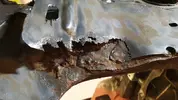
Another mess
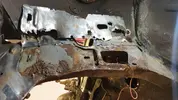
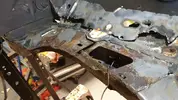
then I had to cut higher into the arch, which I will save and reattach, and went further up the chassis rail box
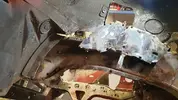
That reinforced bit on the left is the front NS subframe mount
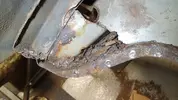

Erm. Oh dear. The subframe mounts to the front bolt hole, which is OK, but i'm pretty sure that crack isn't OE.
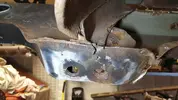
So I carried on removing bits.
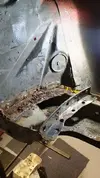
You can already guess where this is going. Pulled the brake pipe bracket off by hand, with a shower of iron oxide on the floor. F**ks sake. Took the stone chip off with a wire wheel and the bottom edge was eaten away so started on the spot welds.

The hole in the inner is where the brake pipe bracket attached. It's got between the skins and spread.


Another mess


then I had to cut higher into the arch, which I will save and reattach, and went further up the chassis rail box

That reinforced bit on the left is the front NS subframe mount


Erm. Oh dear. The subframe mounts to the front bolt hole, which is OK, but i'm pretty sure that crack isn't OE.

So I carried on removing bits.

DaveL485
Staff member
It's really got in and taken hold here. You really couldnt see it under the arch sealer, I would have bet good money this was pretty solid.
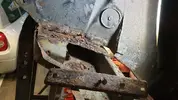
I had to separate out the leading edge of the arch, in the end I lobbed it off completely, this can go back in at a later date once it's cleaned up.
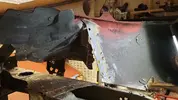
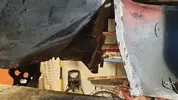
This gave me easier access to the rest of the chassis box, so I cut it out far enough up to let me all the way in to the end to clean and treat.
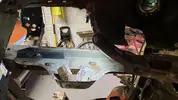
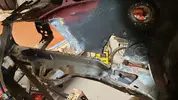
Subframe mount not great, rust everywhere so I drilled the remaining spot welds from the far side and took it out
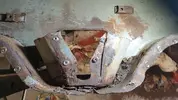
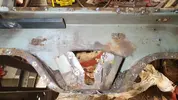
Going to have to replace a good chunk of this

Also going to have to replace some of this too, the bottom section.
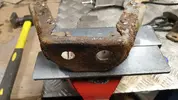
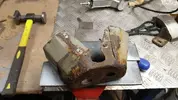
I have to be honest this revalation was a bit disheartening, so I knocked it on the head and stropped off for a shower in a bit of a mood. Luckily the Mrs was on hand to feed me a most excellent Sunday dinner and then "Dessert" wink wink which cheered me up again

I had to separate out the leading edge of the arch, in the end I lobbed it off completely, this can go back in at a later date once it's cleaned up.


This gave me easier access to the rest of the chassis box, so I cut it out far enough up to let me all the way in to the end to clean and treat.


Subframe mount not great, rust everywhere so I drilled the remaining spot welds from the far side and took it out


Going to have to replace a good chunk of this

Also going to have to replace some of this too, the bottom section.


I have to be honest this revalation was a bit disheartening, so I knocked it on the head and stropped off for a shower in a bit of a mood. Luckily the Mrs was on hand to feed me a most excellent Sunday dinner and then "Dessert" wink wink which cheered me up again
gordini stu
Well-Known Member
Surprising how far up the leg the old dog gets !
gordini stu
Well-Known Member
I failed a 21 estate for rot like that and the customer complained to vosa , for beating his car up .
DaveL485
Staff member
gordini stu
Well-Known Member
It was the dreaded 86/87 were Renault and ford exchanged steel for tracing paper ,
At one point the wiring loom that ran through it had more structural integrity.
It was the last car I tested . Two weeks later I had left the trade (as my main job ) and to cap it all the cheeky f**ker ask me if I wanted to price welding it up , obviously I politely declined
It wasn’t long after they introduced the plastic toffee hamer and if I remember correctly I might of suggested shoving it somewhere as ran from the building .
I do miss the trade at times
DaveL485
Staff member
Less progress this weekend as I was trying my hand at painting a bumper for her Clio.
In the first hour I managed to snag my glove on the wire wheel, it hooked under the glove and trapped between the inside of the glove and my hand. Lucky I had Stanley in my side pocket to cut the glove away!
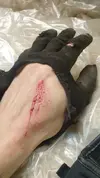
This is the closest I have got to finding genuine Renault body parts to fix this goddamn thing.
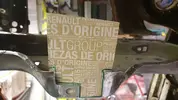
I missed the pics of welding this up, see further on.
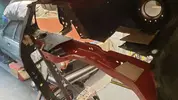
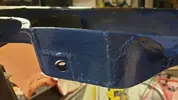
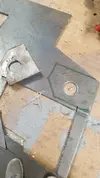
Made up a bit to repair the subframe reinforcement mount in the chassis. Not sure why I bothered with the hole, it's not needed and I didnt make the hole in the repair on the chassis rail lol
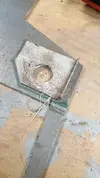
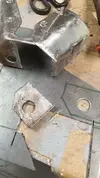
Welded it up and Bilt'd it
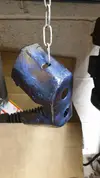
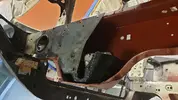
Also trimmed and treated the bit of the chassis member i'm going to re-use
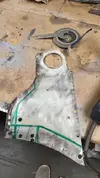
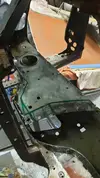
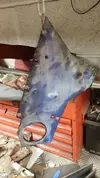
And finally for Saturday I smashed a load of bilt inside the cleaned and prepped chassis leg. It took a good couple of hours to get it to the point it was treatable.
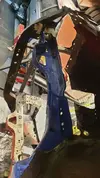
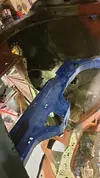
In the first hour I managed to snag my glove on the wire wheel, it hooked under the glove and trapped between the inside of the glove and my hand. Lucky I had Stanley in my side pocket to cut the glove away!

This is the closest I have got to finding genuine Renault body parts to fix this goddamn thing.

I missed the pics of welding this up, see further on.
Made up a bit to repair the subframe reinforcement mount in the chassis. Not sure why I bothered with the hole, it's not needed and I didnt make the hole in the repair on the chassis rail lol


Welded it up and Bilt'd it

Also trimmed and treated the bit of the chassis member i'm going to re-use


And finally for Saturday I smashed a load of bilt inside the cleaned and prepped chassis leg. It took a good couple of hours to get it to the point it was treatable.


DaveL485
Staff member
Tony Hart has just done this on his R21 enduro car. I was contemplating it, though I haven't really see how they are structured. Need to do some research. Alternatively I could ask Mark to do it when he does the roll cage, though that list is getting longer cos we already talked about some new bits of floor, and sealing up the back doors a-la SuperProduction carMight be worth boshing some quick jack points into the sills whilst its on the spit. Thinking of doing them on my Extra when i start the bodywork phase.
Mark_L
Well-Known Member
Jacking points
Can be done just have to remember they need to be at an angle 20° from memory that's what the tubed type are on the mk2 rally cars.
Drill some big holes through your new sills though.
Tony Hart has just done this on his R21 enduro car. I was contemplating it, though I haven't really see how they are structured. Need to do some research. Alternatively I could ask Mark to do it when he does the roll cage, though that list is getting longer cos we already talked about some new bits of floor, and sealing up the back doors a-la SuperProduction car View attachment 147032
Can be done just have to remember they need to be at an angle 20° from memory that's what the tubed type are on the mk2 rally cars.
Drill some big holes through your new sills though.
Similar threads
- Featured
- Replies
- 76
- Views
- 2K
- Replies
- 4
- Views
- 346
- Replies
- 6
- Views
- 879

