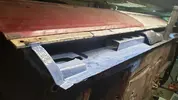
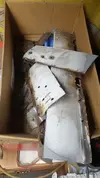
There is more to life with TurboRenault.co.uk

Register a free account today to become a member! Once signed in, you'll be able to participate on this site by adding your own topics and posts, as well as connect with other members through your own private inbox!

21 Turbo The Scrapyard Quadra

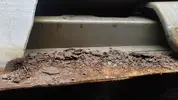
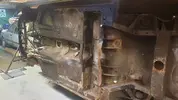
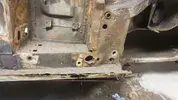
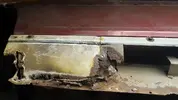
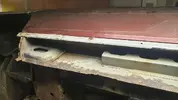
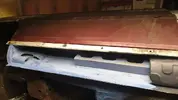
The level of rust is no worse than you were expecting?
Sills aren't as bad, come of the rest is worse.

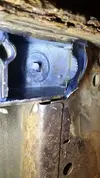
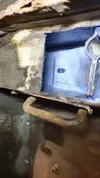
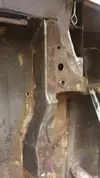
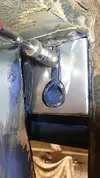
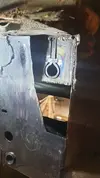
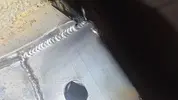
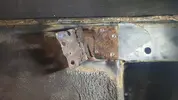
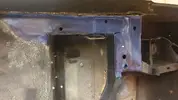
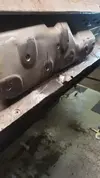
Had a dig into this NSR axle mount Saturday afternoon

x20191109_175853_RS.jpg

x20191109_192434_RS.jpg

x20191109_192515_RS.jpg

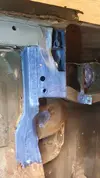
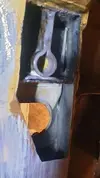
Not ready to weld in yet, but I smothered the inside with Bilt to let it cure.

x20191109_192540_RS.webp

x20191109_192548_RS.webp

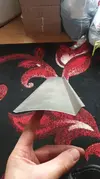
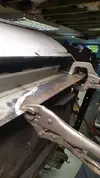
I also made myself a little step thing so I can hammer a lip on the 1mm metal sheet if I want to make an overlap for a joint.

x20191109_172418_RS.jpg

x20191109_172425_RS.jpg

x20191109_173008_RS.jpg

x20191109_191239_RS.jpg
 
Back to work on Monday after another bit of tinkering, featuring a burned thumb and substantially bashed right index finger. Typing is uncomfortable, so I hope you appreciate the effort and discomfort involved in this update! rotate.gif

I carried on with the first bit of the axle mount that I cut out and treated last time

x20191123_164948_RS.webp

Then I attacked the 'orrible bit around the other axle mount, I cut a fair bit away so I could get inside the box section.

x20191123_174813_RS.webp

x20191123_174830_RS.webp

I wanted to coat/treat that too, so I decided to clean up a bit more and treat to see how it came out

x20191123_180315_RS.webp

Dusty!

x20191123_180307_RS.webp

Gave the Hydrate 80 a good brushing in, all over the shop.

x20191123_183652_RS.webp

While I had my fingers in the hole (and after I chopped the top off my paint brush to get in there) I realised there was an access port inside the car with an alloy plug over it, hidden by seam sealer, so I popped that out from the inside

x20191123_183659_RS.webp

That gave decent access to smother everything!

x20191123_183718_RS.webp
 
I'd picked away a couple of layers of metal and though the top bit will be 2mm, I decided to put a smaller plate underneath too

x20191123_190214_RS.webp

x20191123_192042_RS.webp

x20191124_122308_RS.webp

Then made the bigger section

x20191124_131822_RS.webp

x20191124_143027_RS.webp

Seems to be well attached!

x20191124_143039_RS.webp

Then I looked at a very small hole further to the left, and opened another (albeit small) can of worms


x20191124_150148_RS.webp


x20191124_150152_RS.webp

Cut a plate from 1mm, in it went, then blasted the whole lot with Hydrate 80 - you can see the black bit I did yesterday has dried and cured well.

x20191124_165600_RS.webp

Underside 5% done.... lol

x20191124_165642_RS.webp

Next installment - the other side!

x20191124_165650_RS.webp

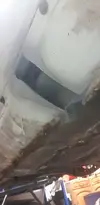
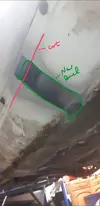
I also hacked this bit out and took it to a local place to ask them if they could copy the profile, but with a specific tweak to make it easier to fit

x20191124_170151_RS.webp

I want them to make the replacement panel identical, save for a step at the top, so I can cut the old sill along the red line, and the new panel will hook under the step thats left and make an overlap joint which will be much easier to weld in.

x78496615_465574757422174_3395866405692768256_n.webp

They are pricing me for metre lengths, they should be available in the club shop as and when assuming the price isn't mental.
 
Well underway, get some momentum and you'll start to see the end in sight, the only way to tackle it when there's multiple headaches is just to tick areas off as you go, you'd never imagined there was as much to do or it'd take up the time it will, but it's only costing you time and a few pounds in steel and wire and look what you'll end up with if you see it through, a well sorted, well protected shell that will last.
It looks strong and neat and you'll know where you've been and can wax it accordingly. Gravitex it all up and spin back over will be the best feeling ever!
 
Pulled the pedal box Saturday morning so I could fit up the 197 servo

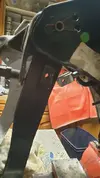
x20191207_133311_RS.webp

x20191207_133557_RS.webp

A small, easy mod to the pedal joint would see this working.... but I still can't get the assembly back on the bulkhead. It's a lot closer than it was trying to fit the servo to the pedal box, but still won't clear. Undecided as to whether to pursue or relent and get a smaller/remote servo, as this would also require relocation of the clutch master. The remote servo's look ace, but it's a cost thing. Obviously, though, I have made up my mind to sack off the electronic accumulator system.

I then had a crack at the O/S sill, so I could trial fit my new panel pressing. I didn't get as far as fitting it though as the inner sill was worse than I hoped, at the front. The guy that fitted the new jack points in 2016 welded a new bit of inner sill in but didnt make a very nice job of it at all and didn't protect it so that bit had already started to rot. Didn't even seam weld the edge of the jack point to the sill! :( I couldn't see it until I got in there but once I did I was just like "fucks sake this has all got to come out".
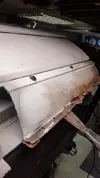
x20191207_141027_RS.webp

I don't think the 2wd has the centre brace panel, seen in the next pic.
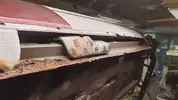
x20191207_143351_RS.webp

Comedy rust

x20191207_143354_RS.webp

You can see here the hack-n-slash inner sill repair at the front
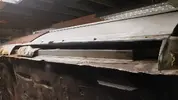
x20191207_143400_RS.webp

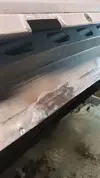
Tried up the new sill panel, it's close but it fouls the centre bracket a bit so I need the curve to be a bit deeper, maybe add another 5mm to it and bow it out a bit more.
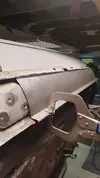
x20191207_145332_RS.webp

You can see here the little overlap lip I has added to hook in under the original sill.
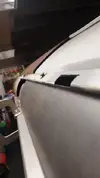
x20191207_145354_RS.webp

x20191207_145404_RS.webp

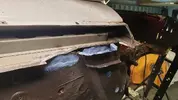
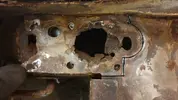
Bad repair cut out and cleaned up/treated everything with Bilt. I should be able to get the inside of the jack point with the gravitex gun so I proceeded to make the inner sill patch.
x20191207_163612_RS.webp
 
Hydrate 80 everywhere!

x20191207_163616_RS.jpg

Made the patch for the inner

x20191207_165934_RS.jpg

Cleaned up the centre brace - this thing is giving me issues with the repair panel

x20191207_175017_RS.jpg

Small patch on the inner

x20191207_175019_RS.jpg

Patch where I cut the sample out

x20191207_183510_RS.jpg

Welded in the big patch on the inner - ground down the edges where the outer sill will meet it, left the rest lol

x20191207_175021_RS.jpg

Under the new panel, needs bowing out a little to clear that bloody centre brace.

x20191207_184143_RS.jpg

Welded up the spot weld holes and grinder marks on the centre brace too

x20191207_183501_RS.jpg

x20191207_183505_RS.jpg
 
Looking good Dave. I am rather jealous of how good you have done with the welder. Do you think the lip on the outer will have enough protection after welding? I mean, because the lip tucks in and will then become inaccessible and any protection may be burnt off from the heat? I am not trying to be negative, I just see welding as a never ending battle because in my head you can never fully protect the inside of the panel when welding. Makes me wonder how cars get on that have been dipped...?
 
You can see here the bow on the new panel as I try and clamp it over the centre brace

x20191207_184158_RS.webp

Treated everything i'd been working on on Saturday

x20191207_190309_RS.webp

x20191207_190325_RS.webp

Sunday I had to be on Dad duty for a birthday so only got outside at 4pm till 7, but decided to tackle the back bit of the sill

x20191208_164653_RS.webp

x20191208_164657_RS.webp

Yuk. I cleaned it up a bit, think I got good use out of this haha

x20191208_165604_RS.webp

Anyway I cut the bad crap out and welded a big patch on the inner and then the curved lip at the trailing edge, didn't take many pics as I was motoring on, with only 3 hours before sofa & TV time :D

Before

x20191208_165618_RS.webp

After (the square corner I cut out needed treating underneath so once it's dry i'll come back to that bit)

x20191208_184231_RS.webp

Made that curved bit a bit wider so it's easier to spot the outer sill to.

x20191208_184237_RS.webp

The remnants of the weekends work :o

x20191208_185736_RS.webp

x20191208_185742_RS.webp
 
Looking good Dave. I am rather jealous of how good you have done with the welder. Do you think the lip on the outer will have enough protection after welding? I mean, because the lip tucks in and will then become inaccessible and any protection may be burnt off from the heat? I am not trying to be negative, I just see welding as a never ending battle because in my head you can never fully protect the inside of the panel when welding. Makes me wonder how cars get on that have been dipped...?
Yeah it's getting better, thanks mate. Much happier now, and though it's a little...uh...."Industrial" in places, it's functional and solid. I may just refer to it all as Battle Scars in the future lol.

I'm treating everything as best I can now, after it's together fully i'm going to plaster as much seam seal, gravitex and all manner of stuff I can think of on it, i'll probably drill a couple of holes in the outer sill to fill them with cavity wax then plug them shut again. Dunno yet, i'll sort that out when I actually have some sills to fill haha!
 
Back
Top