There is more to life with TurboRenault.co.uk

Register a free account today to become a member! Once signed in, you'll be able to participate on this site by adding your own topics and posts, as well as connect with other members through your own private inbox!

21 Turbo The Scrapyard Quadra

Whats the plan with the ABS Dave? Fit a servo and master cylinder?
Keep original setup with 4 pots front and 2 pots rear, and a manual bias dial
Or
Servo conversion with 4/2 pots and manual bias
Or
Full pedal box conversion with twin masters and balance bar for 4/2 or 6/4 pots

Not decided yet but I was getting rather tempted by a suspended tilton pedal box today and they do a matching throttle pedal for retrofit DBW.... yum.
 
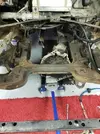
And so began the battle of the subframe. Any self respecting 21 Turbo enthusiast knows that this will be a mission on a previously un-removed one, and mine has never been off in the 2 decades I have owned it. Fortunately the experienced gained in many, many others gives me a head start so I was hoping I could avoid breaking out the large angle grinder.

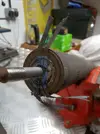
First off I had a good old scrap with the downpipe. Its been there a long time, and the sleeve join is really deep for a good seal - great until you try and remove it.

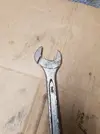
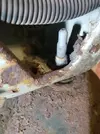
The Lambda probe also laughed at my 22mm spanner, which was a fab start

20181013_133935.webp

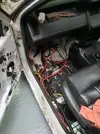
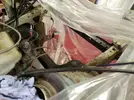
Started feeding wiring back out of the engine bay, looks like the engine loom wont come out without being cut though the plugs are just too big.

20181013_134106.webp

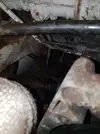
I surveyed the subframe bolts with some trepidation. I had taken time to WD them up a few times over the last week or so but still. A plan was needed.

20181013_134131.webp

20181013_134136.webp

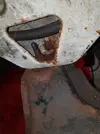
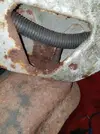
The dreaded rear drivers side. Always the worst one, sitting way back there like a small, evil, rusting devil.

20181013_134143.webp
 
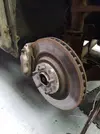
Dropped the front wheels off, then the beefy brakes

20181013_143741.webp

20181013_151607.webp

Easy removal of the 'box requires dropping the back of the subframe. Dropping the back of the subframe (with ancient bolts) requires removal of the gearbox. So - battle royale it is then.
The passenger side 'box mount decided to strip the nut too, so I couldnt get that off the subframe, brilliant. I knew that the drivers side leg is held on with 3 16mm bolts....2 at the bottom and one riiiight up top that looks totally inaccessable... but you can lie in a certain position and sneak a short 16mm 3/8ths drive socket and ratchet on it.

20181013_164508.webp

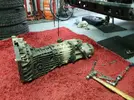
I removed that, undid the linkages and reverse cable retainer, then dropped the 'box down on a jack which then gave me easy access to the other leg bolts. They got airgunned off and the box came out the bottom and dragged out. I think the Quadra box is close to ten stone, they're a big 'ol beast.

20181013_165413.webp

20181013_165612.webp

The stripped box mount got hacked in half, then beaten to death till I could cut through the steel stud and release it

20181013_193657.webp

I also noted I had gotten decent use out of my pads :D

20181013_194259.webp

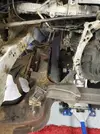
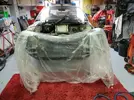
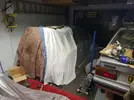
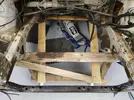
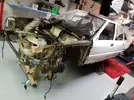
After the box was out of the way I commenced phase 2 of cunning subframe removal plan and set up a plastic tent around the engine bay.

20181013_170631.webp
 
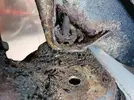
After turning the engine bay into a mini sand blast chamber and covering the Vee up in case anything escaped I blasted the exposed threads of the bolts. Over the years the threads corrode and when you undo the nut the threads are that shit up it jams up the nut and this is as much of a problem as cracking them off initially.

20181013_170638.webp

20181013_170641.webp

20181013_173002.webp

Blast-rotate-blast-rotate-etc. Worked well, and the front two, and read passenger came out OK with a spanner on the nut. Yay!

Drivers side rear

20181013_173606.webp

I blasted it OK and thought i'd cracked it off but the nut was too far gone and even with a flank drive spanner it rounded off. Last resort before grinder was a bit of heat, but I also needed to stop the nut turning so to kill 2 birds with 1 stone I held a bolt in place next to the nut and gave it a bit of death with the MIG welder. The protruding bolt caught against the body and the heat helped loads and I managed to crack it off with an absolute 100% effort and a big shout that must have scared the neighbours lol

20181013_193354.webp

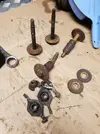
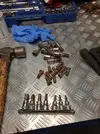
I measured up all of the bolts and washers I need to replace and rather pleasingly found everything on eBay, as I dont think i'll be using these again.

20181013_193655.webp
 
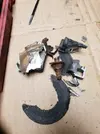
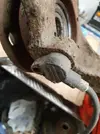
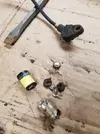
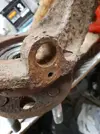
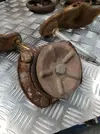
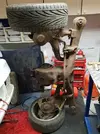
I want the hubs blasted and poder coated so they were next, I stripped my caliper carriers and discs off and set about removing the ABS sensors. It was quickly apparent that they were never in eleventy billion years coming out in one piece so in I went with the hammer and chisel. I think this will ultimately drive the braking choices toward getting rid of the OE master as that must be near the end of service life now, and while it's in bits...why not?!

20181014_133256.webp

20181014_133300.webp

20181014_133707.webp

20181014_133711.webp

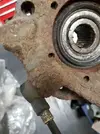
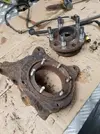
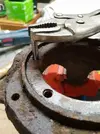
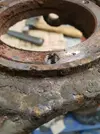
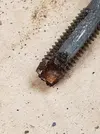
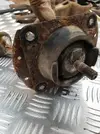
Then on to wheel bearings, theres nothing wrong with em but again, want everything shiny new. One hub I air gunned the M7 torx out no problems, no broken or stripped torx fittings. Amazing. The other side, well, at some point a slightly too-long wheel nut had dragged across the faces of the bolts slightly and mashed the torx fittings. Bugger. So, out came the grinder and I hacked the heads off, drove the bearing off over the studs and then extracted the studs. All of those came out with careful persuasion, then I chased an M7 tap down all the holes to clean them up. After that I would the old bolts in slightly to protect the threads from the blast and coat they will get soon enough.

20181014_132657.webp

20181014_132708.webp

20181014_133830.webp

20181014_134645.webp

20181014_135726.webp

20181014_135754.webp


And the hubs ready to go for some treatment

20181014_142103.webp
 
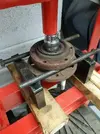
I pressed out the hub flange too, also going for a clean up

20181014_142437.webp

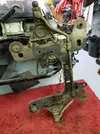
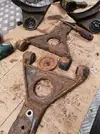
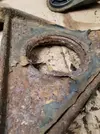
Then the subframe got stripped down, wishbones off which look like they have resided in the sea for a few years. Although they are cast and will clean up OK, I think I will get new ones and keep these for spare as the bushed wont come out and I want shiny new metal casings for the powerflex bushes I have in the cubby hole

20181014_152933.webp

20181014_152937.webp

Big box of bits for the powdercoaters

20181014_164600.webp

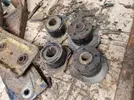
Subframe bushes pressed out

20181014_164620.webp

One downside of not having any oil leaks for a long time is that the subframe has some surface rust, again, going to get it cleaned up and assess from there if it needs any work further than a quick seam weld. It seems to be solid enough.

20181014_164612.webp

And thats that for this week. I have a hell of a mess to clear up in the garage after taking this crusty pile of crap apart!
 
Looks good Dave, it reminds me of some work I carried out on Bob, I fitted a brand new genuine subframe which I had seam welded, new genuine subframe bushes, sourced a used pair of cast wishbones from a member of the club, I had these shot blasted and powdercoated along with the ARB. The powerflex purple bushes from the group buy fitted straight into the wishbones and ARB with no issues. New aftermarket bottom ball joints from ebay to round it off.
Those were the days, ebay was full on new genuine renault parts for peanuts if you kept an eye out and hunted around. The subframe was £20 delivered, aftermarket balljoints were £3.50!
Its one of the main things that prevents me returning to 21 ownership again, the parts just aren't available even if you want to part with strong money.

I had spare pair of front hubs blasted and coated, fitted with new genuine wheel bearings. 12 new M7 fixings from Renault (not so cheap) and had new ABS sensors ready to go on. Sold those to Oli in the end. Might be worth contacting him to see if he has anything left? Keep the updates coming Dave, I enjoy seeing a 21 getting looked after.
 
12 new M7 fixings from Renault (not so cheap)
Nah, i'll switch to standard M7 bolts mate, I keep em in stock. Not a worry at the minute I havent dropped the stuff for blasting or bought wheel bearings yet! Im about to try and get a plasma cutter too so the budget will take a dent and it'll have to wait till after xmas anyway.
 
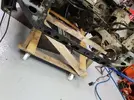
After dropping the front subframe I decided I wanted to keep it mobile so I used some leftover wood and screws from the garage build and a couple of 160kg castors from toolstation. Oh and I hoovered the garage too as it was getting a bit manky!20181027_175148.webp20181027_175151.webp


Exhaust off

20181027_184140.webp

Prop off and stored in the roof (forgot to take a pic after I removed it), it was reconditioned in 2016 so should be good to go after a clean and a lick of paint

20181027_184153.webp

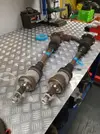
Then I set about the next big bit, the rear axle assembly. I removed the driveshafts to improve access to brake lines and stuff first, as its pretty easy to get to the inner flanges. I have never had them off the car so was expecting a huge fight with the big allen bolts but in the end only one really gave me any trouble and I thought it was about to round out so I have it a good old heat up and it came out OK

20181027_195828.webp
20181027_195831.webp

Not bad nick for 30 years old and the last 20 on the car without being touched!
 
I spent Sunday morning at Silverstone, went on track in this thing, which was awesome
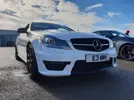
20181028_105033.webp

Had a great hoon out in the Vee, which is now filthy, then back in the garage in the afternoon. Decided to drop the axle complete, to make it easier to deal with the various rusty bolts and stuff off the car.
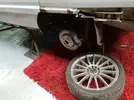
20181027_195844.webp


Drained the diff, good to see the oil I put in it ages ago was still nice and clean.
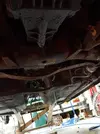
20181028_163147.webp

I undid the rear shocks at the trailing arms, but left the bolts in, undid the rear centre diff mount, then supported the diff on a jack and rattle gunned out the enormous axle crossmember bolts - thjis is one next to a standard size wheel nut.
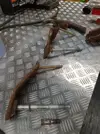
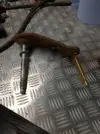
20181028_170812.webp
20181028_170800.webp

Then as the axle dropped I had really good access to the brake lines, as usual though everything rounded off so out came the cutters. Even after that with a hex socket they rounded so I had to cut everything away with a grinder. I got the flexis out in one piece, not that I will re-use them but I can use them to size up for braided lines in the future.
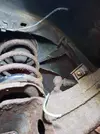
20181028_172424.webp

After they were off and the diff lock plugs and pipes were removed I put the wheels on, knocked the shock bolts out and dropped it on the floor. I removed the coil springs and a couple of plastic shields (rotten screws again)
20181028_180558.webp

and just rolled the whole axle out the back.
20181028_182553.webp

I also noticed whoever fitted the rear shock many moons ago left the original packaging strapping on the top... I mean, how lazy is that? These seem to be in decent nick despite the age but I see a coilover replacement in the future plans :)

20181028_181853.webp
 
Last job on Sunday was pulling this central diff mount out, guess how many of the 4 M10's snapped.

20181028_183226.webp

20181028_183522.webp

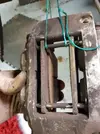
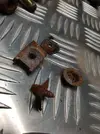
Thats right. All of them, of course. It seems though the studs are held in my metal plates and they are then riveted so this was an easy solve...drill out the rivets, remove the plates. You can see how it works below. I'll probably just grind the stud heads off and knock the broken body out, then tack weld in some M10 allen head bolts, easy enough!

20181028_184240.webp
20181028_184251.webp

I wonder if it thinks its being scrapped rofl.gif

20181028_184930.webp

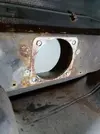
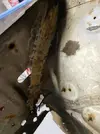
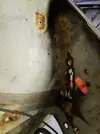
Just out of curiosity before I packed up I removed some of the seam sealer on the inner wings to see how far the rust monster had eaten.

20181028_191029.webp

20181028_191034.webp

Not as bad as it could have been, not as good as I would like!

I also seem to have bought a brand new Plasma Cutter so yeah. Thats dangerous.
 
Whats the plans with all the crusty bits you have removed? Assume a powder coat and refit?
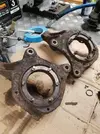
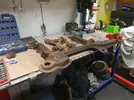
Pretty much. Just trying to decide which parts to send, for which treatment and wondering if I will ever stop uncovering rusty bits. The refit wont start till the shell is sorted though, there's going to be a lot of work there. I dont know whether to just suck it up and shell out the 2 large for the full 4-step strip, dip and prime or to take the cheaper but less thorough option of the local media blasters at a third of that cost. Either way, I will still need it welding and painting afterwards.
 
I wonder if it thinks its being scrapped
rofl-gif.122467

....again!? :punish.gif:
 
Back
Top