There is more to life with TurboRenault.co.uk

Register a free account today to become a member! Once signed in, you'll be able to participate on this site by adding your own topics and posts, as well as connect with other members through your own private inbox!

5 GT Turbo R5 GT Turbo - Complete strip down and re-build #1

Sorry if this is been asked, but you say you used EM121 all over the car as the primer sealer. I see this is normally used for Chassis work? and EM421 appears to be recommended for use on panel/bodywork. So what made you choose the 121 to put all over?
 
Not seen this thread for a while..

Come a long way, good work Chris!

Just a little point, this type of joint is a no go on brake lines. Need a double ended joiner between because they basically crush together restricting flow.3124D64A-E1D8-4B3E-A16E-78A46E39650B.webp
 
Sorry if this is been asked, but you say you used EM121 all over the car as the primer sealer. I see this is normally used for Chassis work? and EM421 appears to be recommended for use on panel/bodywork. So what made you choose the 121 to put all over?
Hi Ironman, I used the EM121 epoxy paint on the underside, wheel arches, interior and engine bay, this has a glossy finish to it. I then used the EM421 epoxy primer on the outside of the shell, wings, doors, bonnet and tailgate. I followed this up with high build primer and then a wet on wet primer prior to top coat! Hope that makes some sense! 😬
 
Hi Ironman, I used the EM121 epoxy paint on the underside, wheel arches, interior and engine bay, this has a glossy finish to it. I then used the EM421 epoxy primer on the outside of the shell, wings, doors, bonnet and tailgate. I followed this up with high build primer and then a wet on wet primer prior to top coat! Hope that makes some sense! 😬
Makes sense now! I thought you just used 121 all over. You been happy with the results of it before the paint? Good to work with?
 
Makes sense now! I thought you just used 121 all over. You been happy with the results of it before the paint? Good to work with?
Yeah, I am really happy with it, I am a complete beginner to all this and managed to get it out of the gun and on to the car with reasonable results. I struggled more with the high build primer than any of the other paints I used!
 
Been plodding on, spent last weekend getting bits of the extra van prior to the scrap men taking it away on Tuesday! :(
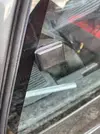
Seem to have spent a lot of time sorting and cleaning stuff! Some new rear opening window tabs and seals turned up so got the passenger side started but will need another pair of hands ti finish them.
IMG_8166 Large.webp
IMG_8167 Large.webp
IMG_8168 Large.webp
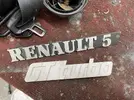
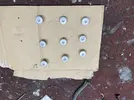
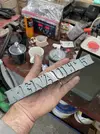
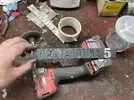
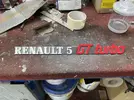
I decided to sand blast the GT turbo badge and re-paint it, as it is looking tired and peeling!
IMG_8169 Large.webp
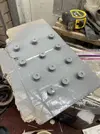
I blasted it, then etch primed it ready for paint!
IMG_8206 Large.webp
IMG_8207 Large.webp
I also blasted and primed the wing screws!
IMG_8212 Large.webp
IMG_8213 Large.webp
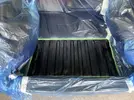
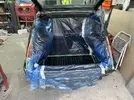
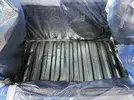
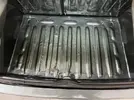
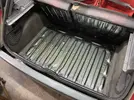
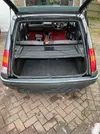
The main reason for getting the paint gun out today was to get the sound deadening in the boot painted in Tungsten Grey as it was previously! I got the boot all masked off!
IMG_8210 Large.webpIMG_8211 Large.webp
Mixed up some paint and cracked on!
IMG_8214 Large.webpIMG_8215 Large.webpIMG_8216 Large.webp
I pulled all the masking off, it looks bang on!
IMG_8217 Large.webpIMG_8224 Large.webp
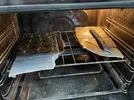
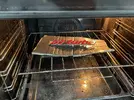
Got the screws and the badges in the oven to speed things along a bit!IMG_8218 Large.webp
Then realised that I have no red paint! So after a quick dash to Halfords, and 1 toolbox red touch up pen later!
IMG_8219 Large.webp
I got them clear coated after the red paint and popped them in the oven!!
IMG_8221 Large.webpIMG_8220 Large.webp
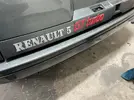
Then on to scuff padding the Renault badge!
IMG_8222 Large.webpIMG_8223 Large.webpIMG_8225 Large.webp
Happy with the way it they turned out!
Thanks for reading guys!!
 
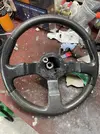
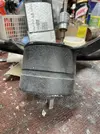
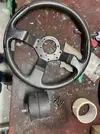
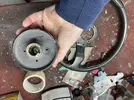
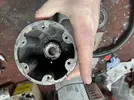
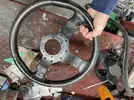
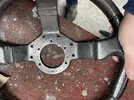
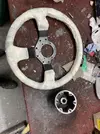
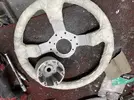
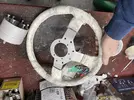
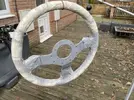
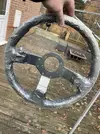
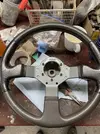
Steering wheel day today! Got the steering wheel off and split the boss from the wheel!

IMG_8358 2 Large.jpeg
IMG_8359 2 Large.jpeg
IMG_8360 2 Large.jpeg
IMG_8361 2 Large.jpeg
IMG_8362 2 Large.jpeg
IMG_8363 2 Large.jpegIMG_8364 2 Large.jpeg
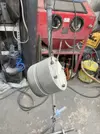
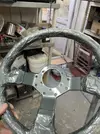
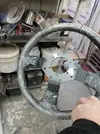
Its all looking tired, so I decided that I would blast both back to bare metal, then powder coat the boss, and paint the wheel! Got them both masked up first!
IMG_8365 2 Large.jpeg
Then blasted them!
IMG_8366 2 Large.jpeg
IMG_8367 2 Large.jpeg
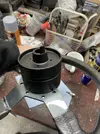
Then I masked the boss up and put the screws back in as I am going to powder coat the heads of them!
IMG_8370 2 Large.jpeg
IMG_8371 2 Large.jpeg
Gave it a quick wipe with some panel prep and set the powder coat gun up! Then on with the powder! I went for fine texture black!
IMG_8372 2 Large.jpeg
IMG_8373 2 Large.jpeg
IMG_8374 2 Large.jpegIMG_8375 2 Large.jpeg
Then popped it in the oven for 10 mins or so!
IMG_8376 2 Large.jpeg
and hey presto!!
IMG_8377 2 Large.jpeg
Managed to get the screw heads also!
IMG_8379 2 Large.jpegIMG_8378 2 Large.jpeg
Then peeled the masking off!
IMG_8380 2 Large.jpegIMG_8381 2 Large.jpegIMG_8383 2 Large.jpeg
I gave the top of it a run over with the scuff pad!
IMG_8384 2 Large.jpeg
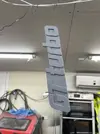
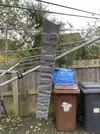
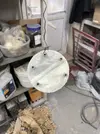
Looks pretty good! Then on to the wheel! I got it hung on the washing line and gave it a couple of coats of etch primer first!
IMG_8385 2 Large.jpeg
Then got the same paint that I painted the car with and gave it a couple of coats of that!
IMG_8386 2 Large.jpeg
I then gave it a liberal coating of clear coat and dropped it in the oven at 60C for 15 mins!
IMG_8387 2 Large.jpeg
IMG_8388 2 Large.jpeg
Shiny! Then proceeded to reunite the boss and wheel!

IMG_8389 2 Large.jpeg
IMG_8390 2 Large.jpeg
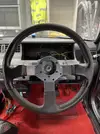
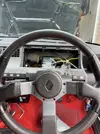
I then put it back in the car, loose for now!
IMG_8392 2 Large.jpeg
Really happy with that!!

Thanks for reading guys!
 
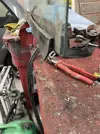
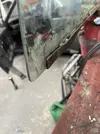
So, I've been pottering about doing little bits here and there! I decided to get the passenger door rebuilt, but when I came to fit the glass, I noticed that the rubber on the bottom was missing! I though I would separate the glass from the metal channel and get a new gasket! IMG_8393 Large.jpeg
It took a while, but I got there in the end!
IMG_8394 Large.jpeg
IMG_8395 Large.jpeg
IMG_8396 Large.jpeg
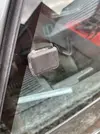
I managed to get the glass out without breaking it!
IMG_8397 Large.jpeg
But cannot find a replacement rubber seal! Think I am going to have to find another glass with the rubber on it!
The drivers side is OK, just needs a clean up!
IMG_8399 Large.jpeg
IMG_8400 Large.jpeg
IMG_8403 Large.jpeg
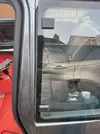
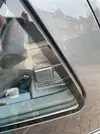
I then moved on to replacing the rear opening window rubbers! the old ones are shot!
IMG_8419 Large.jpeg
IMG_8423 Large.jpeg
Thats better! I had to soak the rubbers in boiling water to get them to fit properly, but at least they are now nice and tight!IMG_8422 Large.jpeg

IMG_8418 Large.jpegIMG_8417 Large.jpeg
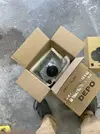
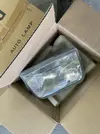
I got the new headlights out of the loft!
IMG_8427 Large.jpeg
IMG_8428 Large.jpeg
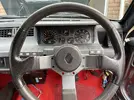
I then decided to fit the dashboard clocks!
IMG_8430 Large.jpeg
IMG_8431 Large.jpeg
I think it looks very smart!! Then on to finishing the boot and tailgate!

IMG_8433 Large.jpeg
IMG_8434 Large.jpeg
Today I fitted the horn and headlights, and tidied up the wiring across the front of the car, I also fitted the centre console!
IMG_8435 Large.jpeg
IMG_8436 Large.jpeg
IMG_8437 Large.jpegIMG_8438 Large.jpegIMG_8439 Large.jpegIMG_8440 Large.jpeg
Thanks for reading guys!!
 
How come both oem airhorn and aftermarket horn? The oem air horn is loud as when working right. I used to love it for the comedy factor
 
Back
Top