There is more to life with TurboRenault.co.uk
You are using an out of date browser. It may not display this or other websites correctly.
You should upgrade or use an alternative browser.
You should upgrade or use an alternative browser.
5 GT Turbo R5 GT Turbo - Complete strip down and re-build #1
- Thread starter Chris74#
- Start date
-
- Tags
- gt turbo r5 gt turbo turbo
Chris74#
Well-Known Member
Got out there this morning and got the car up on 4 axle stands, nice and high so my old fat body with herniated discs can get under it! I got the front wheel off and as predicted by the guys in the grou, it seems to have quite a bit of play in, I stripped it all down, hub off and took it to a mechanic friend of mine, he reckons that once the drive shaft is back in and the hub nut done up, it should pull the bearing back together and make it nice and tight again, as long as I don't keep using it as I am!!
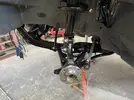
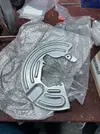
Anyway put the hub back together and checked all the Torques to make sure! Then got on with the brake pipe! I did have to call on @Duncan Grier for some advice on which pipe goes in which port on the master cylinder - Thanks!!! I bought some front dust guards, so I got these out and attempted to fit them, however, I couldn't work them out so I put them back in the box for another time. I'm not even sure that there should be dust guards on the 5!!
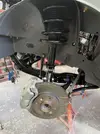
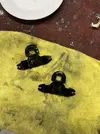
I dug out the plastic clips and gave them a clean up before getting on to the pipes!
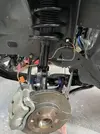
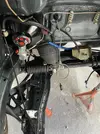
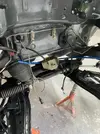
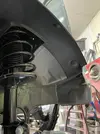
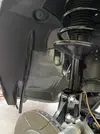
I also pulled the sensor cables through and clipped them on! Then I got the plastic arch guard and fitted it!
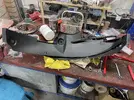
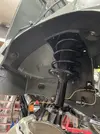
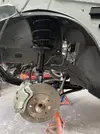
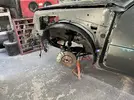
Then on to the other side! same drill minus stripping the hub down!
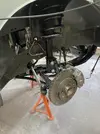
Then on to the handbrake, I didn't like the zinc finish, so I etch primed and galve painted it! I also plastic-coated the cover!
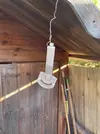
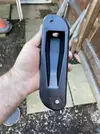
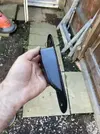
I then put all the bits together!
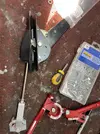
and got it on the car!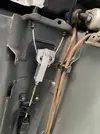
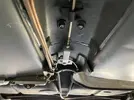

Then I got the plastic arch guard on the drivers side!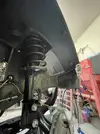
Thanks for reading guys!!!

Anyway put the hub back together and checked all the Torques to make sure! Then got on with the brake pipe! I did have to call on @Duncan Grier for some advice on which pipe goes in which port on the master cylinder - Thanks!!! I bought some front dust guards, so I got these out and attempted to fit them, however, I couldn't work them out so I put them back in the box for another time. I'm not even sure that there should be dust guards on the 5!!


I dug out the plastic clips and gave them a clean up before getting on to the pipes!


I also pulled the sensor cables through and clipped them on! Then I got the plastic arch guard and fitted it!


Then on to the other side! same drill minus stripping the hub down!


Then on to the handbrake, I didn't like the zinc finish, so I etch primed and galve painted it! I also plastic-coated the cover!


I then put all the bits together!

and got it on the car!


Then I got the plastic arch guard on the drivers side!


Thanks for reading guys!!!
DaveL485
Staff member
The big and small size brake pipe unions in the compensator match to the big and small union fittings in the master, because these are four pipe masters. It's supposed to make sure you get the right diagonal split setup.
The wheel bearings are indeed tighetened up and held together by the driveshafts, DO NOT roll the car on the bearings without shafts in, the wheel might fall off!
The wheel bearings are indeed tighetened up and held together by the driveshafts, DO NOT roll the car on the bearings without shafts in, the wheel might fall off!
Chris74#
Well-Known Member
Thanks @DaveL485 ill check the ports on the master!!The big and small size brake pipe unions in the compensator match to the big and small union fittings in the master, because these are four pipe masters. It's supposed to make sure you get the right diagonal split setup.
The wheel bearings are indeed tighetened up and held together by the driveshafts, DO NOT roll the car on the bearings without shafts in, the wheel might fall off!
Chris74#
Well-Known Member
And given!!Bring it on Mr Grier, all help gratefully received
DaveL485
Staff member
How odd. On my R9T there is 2 big and 2 small. OK, then just make sure you do a diagonal split on the circuit,Checked the ports on the master and they are all the same size!
Chris74#
Well-Known Member
So, the battle continues! I did a blinding job of getting all the pipes in, they looked very tidy! I bought a pressure bleeding kit and some new brake fluid and got set to finish the brakes!
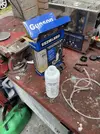
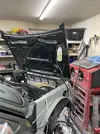
However, the plumbing to the bias valve was incorrect so I could not bleed the rear discs! I guessed that the two larger ports on the valve would be the inlet feed from the master cylinder - WRONG! Cue emergency call with Mr @Duncan Grier and after a few marked up photos and a further call I finally understood which goes where (I think). I had just enough tube to switch the pipes at the valve and cut a replacement piece into one of the feeds from the front, I got on with it but managed to cross thread the connection, I knew it was crap but tried to fill the system anyway! Knobhead!!
Of course the connection leaked, but at least i got sight of the rear callipers bleeding through. Then I drained it all and cut the offending union out! I cut a small length of pipe and began to flare it when my flaring tool decided that it had had enough and cross threaded!
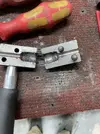
I got on Amazon and ordered another one! I also decided that I couldn't live with a pipe with loads of connections in it so ordered another coil of pipe.
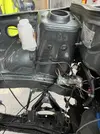
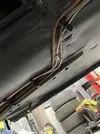
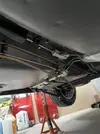
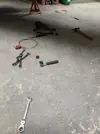
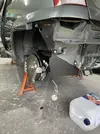
So this morning I drove to Derby to collect said pipe and another litre of brake fluid!, of course, the replacement flaring tool didn't turn up until 17 0hrs so I spent the day getting some of the internal plastics down out of the loft
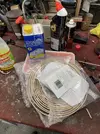
While waiting for the tool, I milled about cleaning random stuff, I cleaned the rear arch rubbers and got them on!
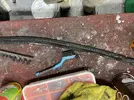
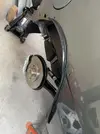
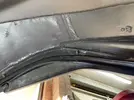
I picked up a small ultrasonic cleaner last weekend so I got some of the door internals out and got to work cleaning them!
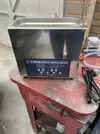
I started to put some of the door bits back on!
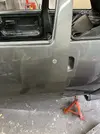
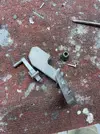
I acid dipped the opening rear window hinges and primed and painted them!
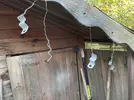
I checked the locks for these windows and they are discoloured, I am going to have to find some paint for these? Does anyone know the RAL number for the interior plastics?

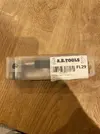
New tool turned up!
Thanks for reading guys!


However, the plumbing to the bias valve was incorrect so I could not bleed the rear discs! I guessed that the two larger ports on the valve would be the inlet feed from the master cylinder - WRONG! Cue emergency call with Mr @Duncan Grier and after a few marked up photos and a further call I finally understood which goes where (I think). I had just enough tube to switch the pipes at the valve and cut a replacement piece into one of the feeds from the front, I got on with it but managed to cross thread the connection, I knew it was crap but tried to fill the system anyway! Knobhead!!
Of course the connection leaked, but at least i got sight of the rear callipers bleeding through. Then I drained it all and cut the offending union out! I cut a small length of pipe and began to flare it when my flaring tool decided that it had had enough and cross threaded!

I got on Amazon and ordered another one! I also decided that I couldn't live with a pipe with loads of connections in it so ordered another coil of pipe.


So this morning I drove to Derby to collect said pipe and another litre of brake fluid!, of course, the replacement flaring tool didn't turn up until 17

While waiting for the tool, I milled about cleaning random stuff, I cleaned the rear arch rubbers and got them on!


I picked up a small ultrasonic cleaner last weekend so I got some of the door internals out and got to work cleaning them!

I started to put some of the door bits back on!

I acid dipped the opening rear window hinges and primed and painted them!

I checked the locks for these windows and they are discoloured, I am going to have to find some paint for these? Does anyone know the RAL number for the interior plastics?


New tool turned up!

Thanks for reading guys!
DaveL485
Staff member
Get yourself one of these type - they're SO much better


BRAKE PIPE FLARING TOOL - VICE MOUNTED PROFESSIONAL BRITISH MADE | eBay
Professional Hydraulic Brake Pipe Flaring Tool. -Professional flaring tool suitable for making brake pipes, hydraulic lines etc. -Tool can be bench mounted in a vice or with care and the correct support be used in situ on the vehicle.
www.ebay.co.uk
Chris74#
Well-Known Member
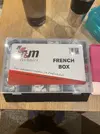
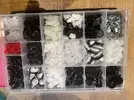
Got out there around 8 this morning determined to get these brakes finished! I had some bits turn up during the week in prep for starting to get the interior back in!
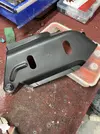
I also decided to give the brake/ fuel pipe cover from under the car and the handbrake cable clips a quick clean and lick of paint to freshen them up a bit!
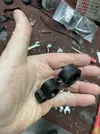
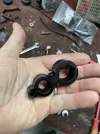
I got the handbrake clips on and got on with the final brake pipe!
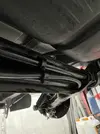
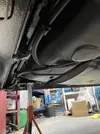
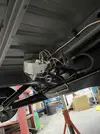
I then got the cover on once I had fitted the pipe and bled the brakes! no leaks now!!!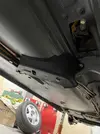
I then decided that I would finally mix up some epoxy and do the few little touch ups that needed doing and finish the cavity waxing to the rear frame! I mixed the epoxy up and let it do its thing whilst I got on with painting the garage floor with cavity wax!!
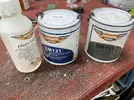
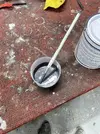
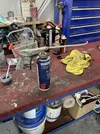
Yeah, I forgot how efficient this thing is! and absolutely filled the cavity with it, it pissed out everywhere! blew all my masking tape off the holes!! I am a nob!
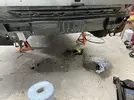
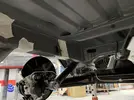
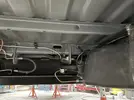
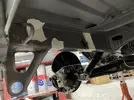
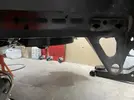
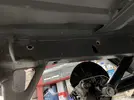
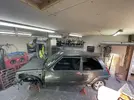
Once I had cleaned this up, I got on with the touch up, mainly to where I had the car bolted to the spit as you can see in the pics above!
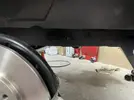
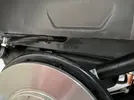
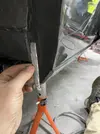
I then had to cut some of the arch back, as when I welded the patch in, I left a return leg, this leg stops the rubber seal from grabbing the arch! I used the snips for this, and then epoxy painted over the exposed edge!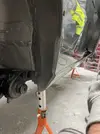
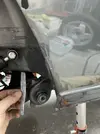
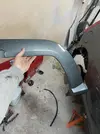
I then got the rear arch and messed about getting it on, fitted the rubber seal too!
Once I had gone under the car and touched up a couple of spots, I got the new driveshafts down out of the loft and slid them into place, in line with advice given by the group!
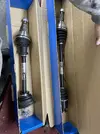
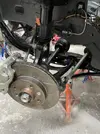
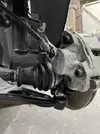
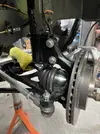
Then got the wheels on and dropped the car back to the ground. First time I have seen it with all four original wheels on it!
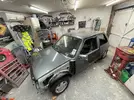
Then decided to fit the rear bumper as it is currently sat inside the car, car back in the air and rear wheels off!!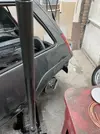
Bumper fitted, then on to the rear windows!
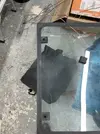
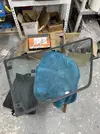
I painted the hinges last week so they are looking good!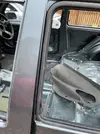
Got the glass cleaned up and fitted! Might have to buy new rubbers as these are quite rigid!
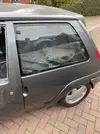
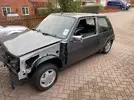
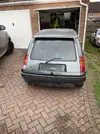
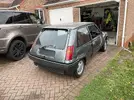
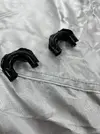
Had a tidy up in the garage whilst the car was out, then gave the scuttle plastic tray a clean and lick of paint, also gave the same treatment to the plastic half rounds that fit to the spare wheel cage!

Then put the cover on it and thats it for today!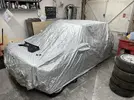
Thanks for reading guys!!


I also decided to give the brake/ fuel pipe cover from under the car and the handbrake cable clips a quick clean and lick of paint to freshen them up a bit!


I got the handbrake clips on and got on with the final brake pipe!


I then got the cover on once I had fitted the pipe and bled the brakes! no leaks now!!!

I then decided that I would finally mix up some epoxy and do the few little touch ups that needed doing and finish the cavity waxing to the rear frame! I mixed the epoxy up and let it do its thing whilst I got on with painting the garage floor with cavity wax!!


Yeah, I forgot how efficient this thing is! and absolutely filled the cavity with it, it pissed out everywhere! blew all my masking tape off the holes!! I am a nob!


Once I had cleaned this up, I got on with the touch up, mainly to where I had the car bolted to the spit as you can see in the pics above!


I then had to cut some of the arch back, as when I welded the patch in, I left a return leg, this leg stops the rubber seal from grabbing the arch! I used the snips for this, and then epoxy painted over the exposed edge!


I then got the rear arch and messed about getting it on, fitted the rubber seal too!

Once I had gone under the car and touched up a couple of spots, I got the new driveshafts down out of the loft and slid them into place, in line with advice given by the group!


Then got the wheels on and dropped the car back to the ground. First time I have seen it with all four original wheels on it!

Then decided to fit the rear bumper as it is currently sat inside the car, car back in the air and rear wheels off!!

Bumper fitted, then on to the rear windows!


I painted the hinges last week so they are looking good!

Got the glass cleaned up and fitted! Might have to buy new rubbers as these are quite rigid!


Had a tidy up in the garage whilst the car was out, then gave the scuttle plastic tray a clean and lick of paint, also gave the same treatment to the plastic half rounds that fit to the spare wheel cage!


Then put the cover on it and thats it for today!

Thanks for reading guys!!
Duncan Grier
Well-Known Member
Chris74#
Well-Known Member
Like everyone else, struggling for time to get out there! had a bit of a dabble last weekend and today. I went to the Classic Car Show at the NEC last Friday, it was a good day out, there were a couple of Renault turbo 2's there and some older mk1 Renault 5's. There was also a white Phase 2 GT Turbo there, looked tidy enough from above, not so tidy underneath though with cable ties holding things together etc. Admittedly I was probably the only person there who lay on the floor to have a look! Saddo!! Anyway, I bought a powder coating kit whilst at the show. I will post some pics once I get some time to have a go with it.
Imanaged to get a few hours last weekend and a few hours today on the car, I also wired in the oven that I salvaged from the neighbours some months ago in anticipation of getting said powder kit!
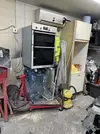
I think the unit it came out of may be perfect for a spraying booth.....further thought needed!
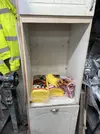
Last weekend I got the other rear window in, I am definitely going to have to order new seals and possibly plastic tabs as the existing ones are perished and loose! I also gave the rear internal plastic a clean a got that in, had a fiddle around with the speaker and light wires!
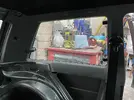
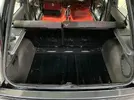
Today I managed to finish this and the other side, and got the sound deadening on the boot floor!
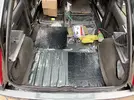
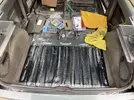
As you can see, I also got the rear side shelves in, and also the plastic strip across the top of the internal tailgate. I had to carry out a repair on this as it had been snapped and siliconed together previously!
I then decided to take the step of getting the carpet back in, I gave the floor a good wipe down first and peeled the protective foil off the sound deadening.
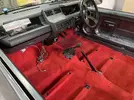
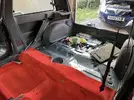
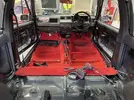
I messed about with the seatbelts, but they all seem to be jammed, I completely knackered one of them by trying to open it up, cue large coil of metal come firing out of the case! Any ideas on this would be greatly appreciated! Also if anyone has any rear seatbelts for sale, that would be a help!!
Thanks for reading guys!!
Imanaged to get a few hours last weekend and a few hours today on the car, I also wired in the oven that I salvaged from the neighbours some months ago in anticipation of getting said powder kit!

I think the unit it came out of may be perfect for a spraying booth.....further thought needed!

Last weekend I got the other rear window in, I am definitely going to have to order new seals and possibly plastic tabs as the existing ones are perished and loose! I also gave the rear internal plastic a clean a got that in, had a fiddle around with the speaker and light wires!

Today I managed to finish this and the other side, and got the sound deadening on the boot floor!


As you can see, I also got the rear side shelves in, and also the plastic strip across the top of the internal tailgate. I had to carry out a repair on this as it had been snapped and siliconed together previously!
I then decided to take the step of getting the carpet back in, I gave the floor a good wipe down first and peeled the protective foil off the sound deadening.


I messed about with the seatbelts, but they all seem to be jammed, I completely knackered one of them by trying to open it up, cue large coil of metal come firing out of the case! Any ideas on this would be greatly appreciated! Also if anyone has any rear seatbelts for sale, that would be a help!!
Thanks for reading guys!!
Chris74#
Well-Known Member
Managed to get out there today with a view to getting the interior cracked on! I also wanted to carry out a test run on the powder coating kit!
I started off after getting a nod from the wise Mr @Duncan Grier regarding the seatbelts! Once they were bolted in at the correct position, the inertia in them seemed to unlock! Thanks mate!!

Once these were in, I decided to file out the rear beam bolt head clips!
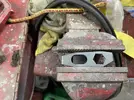
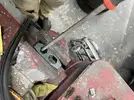
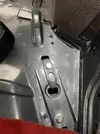
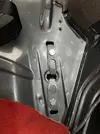
In mid flow of this, I decided to set the powder coat gun up and give myself a break from the filing!

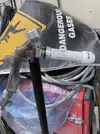
I decided to coat the gear linkage clamp as a test! I dropped it into some acid pickle for 30mins and then popped it in the oven at 180C for 20mins just to bake anything out of it! I took it out and let it cool down!
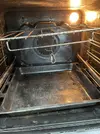
Once cooled down, I connected the earth and blew some powder over it!
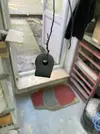
It seems to have coated well, even the inside! I then popped it back in the oven and waited for the powder to go shiny, then set the timer for 10 mins @180C.
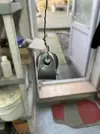
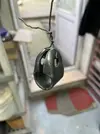
It turned out really smart! Will deffo be getting some other colours!! Anyway, distraction over and back on with the interior! Once I had finished the filing and got the clips on, I got some sticky backed neoprene and cut it to shape and stuck it over the bolt heads!
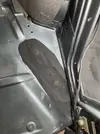
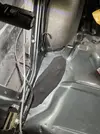
I then got the rear seats down from the loft and gave the underside of them a clean down and spruce up with a blow over of black paint, I am going to need to change the material on these seats!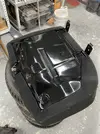
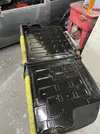
Then got the seats in!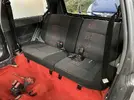
Then got the aerial fixed and the overhead console and sun visors in!
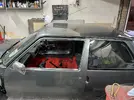
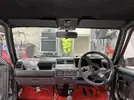
Thanks for reading guys!
I started off after getting a nod from the wise Mr @Duncan Grier regarding the seatbelts! Once they were bolted in at the correct position, the inertia in them seemed to unlock! Thanks mate!!

Once these were in, I decided to file out the rear beam bolt head clips!


In mid flow of this, I decided to set the powder coat gun up and give myself a break from the filing!


I decided to coat the gear linkage clamp as a test! I dropped it into some acid pickle for 30mins and then popped it in the oven at 180C for 20mins just to bake anything out of it! I took it out and let it cool down!

Once cooled down, I connected the earth and blew some powder over it!

It seems to have coated well, even the inside! I then popped it back in the oven and waited for the powder to go shiny, then set the timer for 10 mins @180C.


It turned out really smart! Will deffo be getting some other colours!! Anyway, distraction over and back on with the interior! Once I had finished the filing and got the clips on, I got some sticky backed neoprene and cut it to shape and stuck it over the bolt heads!


I then got the rear seats down from the loft and gave the underside of them a clean down and spruce up with a blow over of black paint, I am going to need to change the material on these seats!


Then got the seats in!

Then got the aerial fixed and the overhead console and sun visors in!


Thanks for reading guys!
Duncan Grier
Well-Known Member
Looking fantastic @Chris74# 
All super fresh and good to see your attention to detail remains strong
Feeling rather jealous on the new powder coating toy....especially now as I gave away our faulty oven recently (fan element issues that were not a simple fix) but conventional oven worked still....doh!
For a 1st attempt have to say very impressed on how it looks
DaveL485
Staff member
I was there same day... good show! The Comicon lot next door were hilarious too.I went to the Classic Car Show at the NEC last Friday
Orient it as it would be in the car. They lock up if not sat in "normal" position, like if the car was upside down for example.I messed about with the seatbelts, but they all seem to be jammed,
Chris74#
Well-Known Member
The Comic-con lot!!! It was a long walk from the north car park but absolutely hilarious!I was there same day... good show! The Comicon lot next door were hilarious too.
Orient it as it would be in the car. They lock up if not sat in "normal" position, like if the car was upside down for example.
Thanks for the heads up on the seat belts, I have knackered one of the rears now so will need to hunt around and get one! Bit gutted really, I gave a set of seatbelts away not so long ago!!!!
Similar threads
- Replies
- 4
- Views
- 361
- Featured
- Replies
- 82
- Views
- 2K
- Question
- Replies
- 8
- Views
- 679
- Replies
- 6
- Views
- 268

