There is more to life with TurboRenault.co.uk

Register a free account today to become a member! Once signed in, you'll be able to participate on this site by adding your own topics and posts, as well as connect with other members through your own private inbox!

Clio Big Steve's RB Clio 182 Cup Restoration

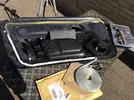
Buggering about with the door panel today:
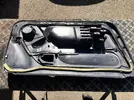
CF43A0A3-9D9F-4814-AA6A-C62E504C7545.webp

From the factory there’s adhesive strip running round the bottom of the door panel, that’s always the first to disappear when the door panel is removed. You can see in the picture below, where some of it remains, and then some places it’s still present:
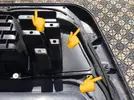
DBA82EE8-3D7A-42FB-A66D-B99688D929E1.webp
First job was to remove the remaining seal with a scraper:
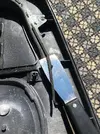
FCC237FC-DC5C-45CE-92F8-5401798271F9.webp
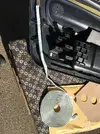
Then I got hold of a rolls of 8mm butyl tape which is the closest I could find to the original stuff:
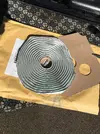
9E10658B-574B-46D6-85CE-22DA4DA584D5.webp
It was then just a case of applying it Inbetween the pre-determined “dots” that Renault put on the door panel to show you where it should go:
38ECA9AA-1E71-463C-8156-15AA2C78E97B.webp
4F8D262F-3380-4CA5-A873-B3BB96E870C4.webp

I then mounted the panel onto the door and gave it a little clean.
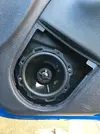
Final job was to fit the new speaker into the door panel:
A819F71A-B93D-4B16-948B-6443BEC1857D.webp
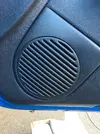
Went for the same Rockford Fosgate speakers as I fitted to the 11 Turbo. I then finished it off with the speaker grille:
C5C184F9-0E5A-4CEC-B132-9BD43B8D0E23.webp

Thanks for reading :)
 
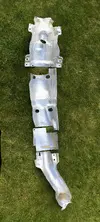
Been working on bringing the exhaust heat shields back to life from a mix of brand new, and used parts. The final count was 2 new and 2 old. (Any guesses on which is which?)
F992C660-0002-4ADD-AF48-8C5B7F1A2C7E.webp

Fair amount of work to bring the used ones back to life, as the old tin worm had given it a good nibble. But chuffed with the result.

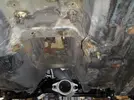
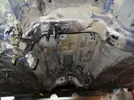
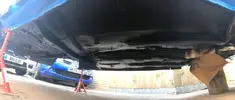
Next job over the coming days, is to get the underbody of the car to match.
E7617370-FB4F-4F4D-890F-30539864F456.webp

That’s going to be an equally grotty job...

Thanks for reading 🙂
 
1 & 4 are old, 2 & 3 are new at a guess, but you've done a spectacular job there... you must have a LOT of time on your hands!
 
Been spending a crazy amount of time on my back under the Clio for the last 2 days... but I think the final results are worth it.

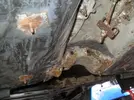
First step was to remove all of the underfloor fixtures & fittings - Brake/Fuel Lines, Clips etc.. I then had a good dig round under the car with a scraper to find as much grot & rot as I could. As you can see on the GIF below, the plastic clips under the body are responsible for a lot of the rust, as they hold onto the damp/dirt/debris that allows the rust to set in:
ezgif.com-gif-maker (1).gif
SAM_0637.webp
After I'd scraped as much of the old under-seal and rust off the bottom of the car, I then treated the rust with my usual FE-123 Rust converter which goes on like milk, but then converts the existing rust into a hard black coating:
SAM_0646.webpSAM_0648.webp
SAM_0650.webp
After that had dried, it was then covered with a coat of Zinc Primer:
SAM_0658.webp
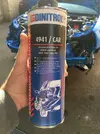
I let this all then dry over-night before moving onto the next step of under-seal with Dinitrol 4941:
IMG_2178.webp
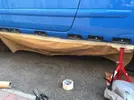
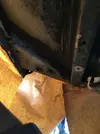
First step was to put the Dinitrol into a tub of warm water, to soften it up a little bit ready for spraying. Whilst the tin was warming, I then masked the car, to stop over-spray:
IMG_2179.webp
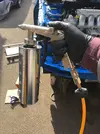
I'm so pleased I bought myself an Aldi compressor for my garage, it's come into use SOOO many times!! Bought myself a Schultz gun for my R11 Turbo Restoration:
IMG_2180.webp
Then it was on with the Under-Seal!
IMG_2182.webp
IMG_2183.webp
Chuffed to bits with the finished results:
IMG_2202.webp

Thanks for reading :)
 
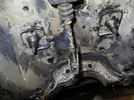
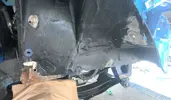
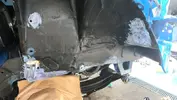
Now I'm becoming quite deft at spotting the small pieces of corrosion that turn into something bigger when you start to dig at them with a scraper, I'd seen a couple of small points in the front arches next to the brake line bracket that caught my eye:
IMG_2189.webp
After a quick dig around, I soon uncovered this:
IMG_2190.webp
And then after giving a few more points a scrape... this lot turned up!!
IMG_2197.webp
So again it was a quick overcoat with FE123 Rust Converter:
IMG_2198.webp
I'll give it a coat of Zinc Primer and then Dinitrol 4941 in coming days.

Thanks for reading :)
 
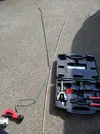
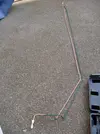
Now the underneath of the car is coming together, I started to have a look at some of the brake-lines I got for the car, and noticed that on one of the Front to Back lines the fitting had rusted away, which mean the 11mm spanner wouldn't grip it enough to tighten... So I whipped out the brake line kit, and made a new replication.
Original Pipe:
SAM_0663.webp
New piece of pipe, cut to length:
SAM_0664.webp
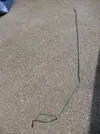
Then a good fight with the pipe and the benders... resulted in:
SAM_0665.webp
That pipe is now laying in the garden, with a fresh coat of Green paint drying on it ;)

Thanks for reading :)
 
Where's the 11?

I’m trying to get the Clio rolling at the moment... BUT, The 11 needs its headlining putting in and I’m still not decided on what Glue I’m going to use to put it in..

Knowing that on a hot day the roof gets really hot I’m struggling to find an adhesive that won’t just melt and let the roof lining droop down... 😬
 
Done and linked for slimlink

Thanks for the link, I’ve looked at that, but the problem is it’s not a R11 headlining I’m fitting in, but a R9 and there’s more than a “spray adhesive” amount of gap in some places...
 
Back
Top