There is more to life with TurboRenault.co.uk

Register a free account today to become a member! Once signed in, you'll be able to participate on this site by adding your own topics and posts, as well as connect with other members through your own private inbox!

Renault 11 Turbo Phase 2 Restoration

Rockford's are an excellent choice Steve... I remember speaking to Idiot S many many years ago about how he had watched how the speakers worked with a microscopic camera and he said the money the were the best performing...

(Was a very long phone call that only needed to be 5 mins long)..
 
Last edited by a moderator:
Had a couple of hours in the garage today and got the Kenwood head unit all wired up. Couldn't resist a cheeky video of it's first power up... sorry no music as the speakers aren't in the car yet.. :punish.gif:


I mocked up the head unit in the centre console to see how it would look.. and think it looks ok! :drinks.gif:
SAM_0290.webp
I then had a closer look at the surround and am now wondering if I will fit the original Cassette Holder/Surround:
SAM_0292.webp
Or maybe I will remove the Cassette Storage deck, and just fit a single DIN storage pocket, as I'm not planning on carrying a lot of Cassette's in the car, HOWEVER I will have the ability to play cassette's on this head unit as it has a 3.5mm input jack connection in the back which will let me connect a Walkman type unit to the head unit to play my extensive collection of tapes:
SAM_0295.webp
As always, interested to read your comments chaps!

Thanks for reading :)
 
Sub box is finished!!

Speaker wired up correctly in series;
SAM_0297.webp
Terminals soldered up and sealed into the box:
SAM_0300.webp
Mounting bracket fixed to body:
SAM_0303.webp
Sub Box fixed to mounting bracket:
SAM_0308.webp

ET VOILA!! Finished installation...!
SAM_0311.webp

Problem now is my OE Monkey is going fecking apesh1t within me to get it all ripped out and painted... even though its never seen... needless to say, I've bought the paint!
:help.gif:

Amp Mounting board had it's first test fit.. and coming on Lovley!!:
SAM_0310.webp

Thank you for reading! :)
 
Had a good few hours in the garage this evening and got the sound system nearly buttoned up...

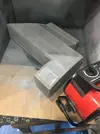
First we removed the Sub Box and painted it with some grey primer:
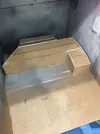
970ECAD9-E78C-406B-85F0-70901ABC71E8.jpeg
CF25022C-3080-4AB3-AB92-9B36BB3FC315.jpeg
Next it was a couple of coats on black to seal the MDF:
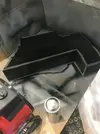
3ABB2C6D-CEEC-40E9-AE3C-6D0F27F5452E.jpeg
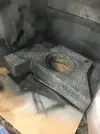
Then we started with the FleckStone:
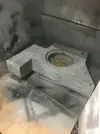
82B037CB-C27B-4E1E-8160-EBF69320DFF1.jpeg
CFFE02A9-ADBF-4F7B-B84E-BC942329C491.jpeg

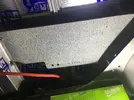
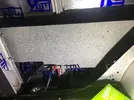
Whilst the paint on the Sub Box was drying we fitted the Amp Mount to the other rear quarter:
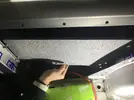
4F99C481-CA30-4FDD-98D9-DEA0199B8CB8.jpeg
D0E8A1D3-5EBF-401E-A469-A2D1E577A320.jpeg
We then fed the wires thru the holes we drilled to guide them to the Amp:
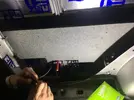
C9BCEC7E-EAF5-4E77-A0A6-0EFC90F14B77.jpeg
1FF87650-58A6-4EB5-ADB1-4D3C226EBC70.jpeg
Then it was a quick pre-twiddle of the settings on the front of the Amp:
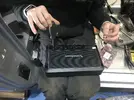
EEEA30E6-DB62-407B-880F-3EA1255BB84A.jpeg
Before we wired it up and screwed it to the board:
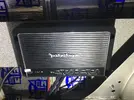
1BB86746-CAD8-497C-9F94-9F7EF79E923D.jpeg

With the Amp mounted, we then went back to the Sub box whose paint was now dry. We re-mounted the Sub:
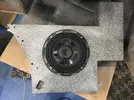
74D381AD-A863-4390-A54B-FB584FDA73B8.jpeg
And then mounted it back into the car:
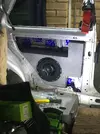
5699E431-9825-4F0D-82B0-F21FBAC8E0F6.jpeg
I think it looks 💯 time better than the plain MDF... even though it will still be sitting behind the interior panels:
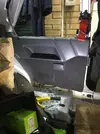
FC3784EF-80EA-40E7-9B4F-3534830715BA.jpeg
We will all know it’s there... and now we all know it looks better!!

Thanks for reading!! 🙂
 
Back
Top