Register a free account today to become a member! Once signed in, you'll be able to participate on this site by adding your own topics and posts, as well as connect with other members through your own private inbox!
I was thinking somewhere around that level but the slight difficulty is the adjuster pot on the amp only has two marked points - 50 (min) and 250 (max) with no graduations in between so setting it to a desired crossover frequency is something of a guess!
Its took me about a month of on and off reading to get back up to date on this thread !! I picked up where you had had a smash into the rented storage garage Steve
Ive got to say the build looks awesome after the ups and downs you've experienced with it, paint shop let down etc Its going to be epic when its finished
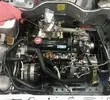
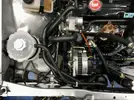
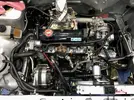
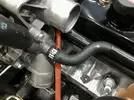
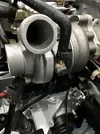
Been working thru the cooling system over Christmas, hoses cleaned and then placed on the car to check fitment before any hose clips are fitted:
Thanks for Reading
Been working thru the cooling system over Christmas, hoses cleaned and then placed on the car to check fitment before any hose clips are fitted: View attachment 146167
Thanks for Reading
WOW is the only statement i can respond to that picture with, thats some major attention to detail and a serious inspiration for me, if i can get my bay looking half as good as that i will be happy
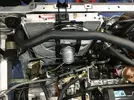
Wired the fan in today, together with the fan switch and Anti Perc fan:
I also continue to try & get all the coolant piping all neat and tidy within the engine bay. It’s crazy how when you spend time looking at everything, you can really see where Renault intended everything to go and all the clip locations soon make themselves visible!
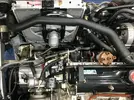
Of the coolant hoses I am happy with, I’m also starting to secure with my collection of OE Norma Clic-R fastenings: #oenerd
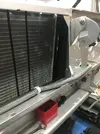
Loads is little progress on the 11 Turbo engine bay continues. Dug out 2 of the radiator air guide shrouds and after giving them a quick lick of paint:
They were fitted on the right hand side:
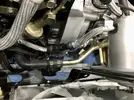
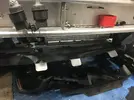
And underneath the Radiator:
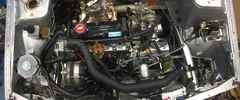
I then fitted nearly every engine bay hose and clamped them in place with the Norma Cobra clamps:
Now I had the oil cooling lines connected to the radiator, I thought I’d whip the spark plugs out and “prime” the oil around the engine.
Battery connected, key turned and....
FUCK ALL
Fuckpissarsebollockswankshitbags!!! No doubt there’s a connection I’ve missed somewhere...
Looking Amazing Steve, just try shorting the solenoid and see if the starter goes then, I had the same when built my 197, turns out I'd somehow blown the starter fuse?
Just had a look back through, great looking engine bay. I was just looking at my projects over the new year , and found myself saying ( in my head of course, I not completely mad ) what would Steve do with this . The standard is high as always . Sorry to hear she wouldn’t turn over it will be something silly it always is .
No fuse on the old 11. It's a very simple power feed in to the ign barrel, out of the barrel through a series of multiplugs down to the spade on the starter, then the starter earths through the casing.
>Is there power to the ign barrel?
>if so, is there power out of the ign barrel on the "start" position?
>If so test for 12v on starter kick at the spade on the starter, if you have it work backwards and find the break
>If you do have 12v at the spade check the engine earths are connected and not fouled with paint
>If you have power at the spade and good earths then short out the starter terminal to the battery, see if it spins, if not its probably the starter is shot.
This site uses cookies to help personalise content, tailor your experience and to keep you logged in if you register.
By continuing to use this site, you are consenting to our use of cookies.