There is more to life with TurboRenault.co.uk

Register a free account today to become a member! Once signed in, you'll be able to participate on this site by adding your own topics and posts, as well as connect with other members through your own private inbox!

5 GT Turbo R5 GT Turbo - Complete strip down and re-build #1

Any chance you have the sizes for the rear axle to body nuts and bolts? Only ones I didn't get new as nla
Hi @clarky_gtt - 2x M12x170mm & 2x M12x 140mm - Both 10.9 Grade with M12 Flanged Nylocs - I went for A2 Grade Stainless Steel just because of where they sit! Slight difference with these is the bolt head size, Mine are a 19mm head as opposed to the original being a 17mm head. I just have to file out the clip bracket that goes over the top of them.
 
I'm absolutely resisting saying I want that extra beam for Camprust , because I'm absolutely not going to do anything with it.
I have in no way had a tape measure out today on the 225 and looked at how the engine would fit.
If you want the beam, come and get it, I have a campus beam I can put on to roll the van off to the scrappers!!
 
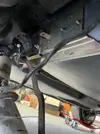
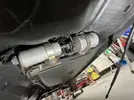
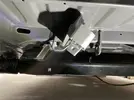
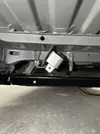
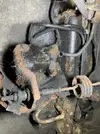
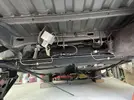
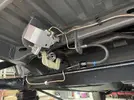
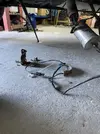
Got out there today, and whilst reading @clarky_gtt 's thread yesterday and his most recent game with the fuel sender unit, I realised that I hadn't got a plug at my sender unit!! Bugger!!! I got under the car and pulled the cables down......after I had dropped the fuel pump & filter!IMG_7638 Large.webp
IMG_7639 Large.webp
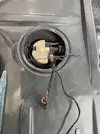
I messed around for a while, delaying the inevitable tank drop, which I really didn't want to do! I eventually gave in and first released the bolts along the back of the tank! I tried to feed the cable up around the back, in the end I got a piece of cable and managed to feed it through, and down the back of the tank, I then taped the sender unit plug to it and gently pulled it all back up through the sender unit inspection hole! phase 1 complete!
IMG_7639 Large.webp
IMG_7640 Large.webp
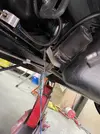
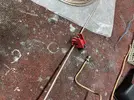
Now I have to get the other cable for the pump on the reserve tank back across the top of the fuel tank to the rear of the car! For this I used a metal coat hanger and fed it in from next to the filler spout towards the sender unit hole!
IMG_7641 Large.webp
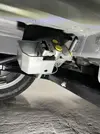
I then taped the pump plug to the hanger and gently worked it through until it popped out at the back of the car. I did have to ease the bolts of in the tank, just enough to lower it slightly!
IMG_7642 Large.webp
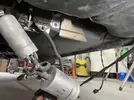
Job done, Now to put the fuel pump & filter back together although I have ordered the correct clamp for the pump as I have the wrong one on it currently!
IMG_7643 Large.webp
IMG_7645 Large.webp
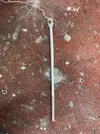
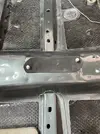
Then on to what I intended to do today! Thanks again to Mr @Duncan Grier for advising me on the route of the handbrake cables - through the beam! a bit fiddly, but coming from the front of the car backwards is the way to get them in!
IMG_7647 Large.webp
IMG_7648 Large.webp
IMG_7651 Large.webp
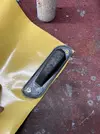
The I started to have a clean up in the garage, and got the brake compensator valve cover into the wash and gave it a scrub!
IMG_7652 Large.webp
Then put it through the sand blaster and got some paint on it! Tidy it up a bit!
IMG_7653 Large.webp
IMG_7655 Large.webp
IMG_7683 Large.webp
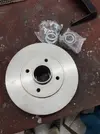
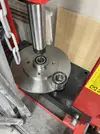
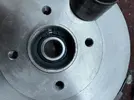
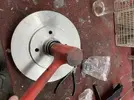
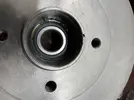
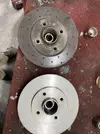
That looks a lot better! In between painting I decided to make a start on the passenger side rear discs! Got the new disc out and pressed the bearing in!
IMG_7657 Large.webp
IMG_7658 Large.webp
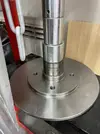
Again I used an old bearing to drive the new one in....
IMG_7659 Large.webp
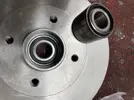
and its in!
IMG_7660 Large.webp
Then in with the snap ring, I got it half way in there and then used the old bearing again and gently tapped it home!IMG_7661 Large.webp
IMG_7663 Large.webpIMG_7664 Large.webp
Then off with the old disc!IMG_7665 Large.webp
IMG_7666 Large.webp
IMG_7667 Large.webp
I gave it all a wipe down in there as there was loads of dust and crap! Then on with the new disc!
IMG_7669 Large.webp
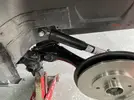
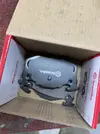
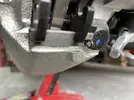
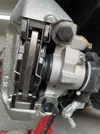
Then the new calliper and shock absorber with new stainless bolts!IMG_7670 Large.webp

IMG_7671 Large.webp
Then on with the pads!
IMG_7672 Large.webp
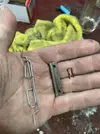
Gave the clips and retaining bar a wipe down and got the pads in!
IMG_7673 Large.webp
IMG_7674 Large.webpIMG_7675 Large.webp
IMG_7676 Large.webp
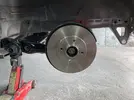
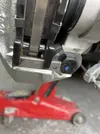
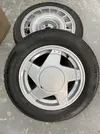
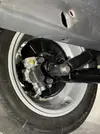
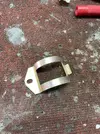
I then got another wheel down from the loft and got it on, along with a new brake line clip!
IMG_7677 Large.webp
IMG_7678 Large.webp
IMG_7680 Large.webp
IMG_7682 Large.webp
I then got the new compensator valve out and got the freshly painted guard off the washing line!!
IMG_7684 Large.webp
I then roughly fitted the vale in position, but this can wait til next week.
IMG_7687 Large.webpIMG_7686 Large.webpIMG_7688 Large.webp
IMG_7689 Large.webp
IMG_7690 Large.webp
Really happy with this weeks progress and with the way it all looks! Thanks for reading guys!
 
If you want the beam, come and get it, I have a campus beam I can put on to roll the van off to the scrappers!!
I'm starting nights today, so I'll be zombie-fied in the day for a bit, but yes, I'm interested in the beam, sort of forming a plan for Camprust if it stays, but I'm not shouting about it yet as I really don't have the mojo ATM.
If you want shut quick , like in a few days, or someone else steps up, crack on, but I'll send you my number on a PM, see what I can sort, I'm only an hour away.
Thanks.
 
with new stainless bolts!
Don't use stainless on load bearing suspension, it's not the right tensile strength, you need 10.9's.

Is it me or have nuts and bolts gone mental in price lately? I save a bit by buying in bulk for most, but the bigger stuff, M12 upwards is crazy money all of a sudden.
 
@DaveL485 looking at the post @Chris74# has used 10.9's just in stainless flavour - as not a stretch bolt application what is difference? Genuinely never looked so could be talking out my butt :) maybe different carbon content and other properties change sheer point?

@DaveL485 cant remember the name of the place/guys but one at bottom of humber road in Stoke by the bridge, used to be my no.1 place to go - was fantastic....think they might have moved upto a unit by Canley/Tile Hill if still trading?

But yeah shocking costs now, and sheet steel rocketing 😞
 
@DaveL485 cant remember the name of the place/guys but one at bottom of humber road in Stoke by the bridge, used to be my no.1 place to go - was fantastic....think they might have moved upto a unit by Canley/Tile Hill if still trading?
Kebrell's, yes used them for ages, yes they moved and from lockdown 1 they stopped dealing with public/over the counter :( wasn't very please about that I can tell you.
 
@DaveL485 looking at the post @Chris74# has used 10.9's just in stainless flavour
The materials used to make steel stainless inherantly make it weaker, It's basically down to tensile strength where fasteners are under load. You'll see the markings on the bolt heads.

8.8 (carbon steel) 828 N/mm²
10.9 (carbon steel) 1035 N/mm²
Carbon steel being an iron/carbon alloy.

A2-70 (stainless) 700 N/mm²
A4-80 (stainless) 800 N/mm²
Stainless is a carbon steel with additional alloys, such as chromium, nickel, molybdenum etc.

Tensile strength is "the point at which it snaps". As you see above, even the higher grade stainless is weaker than 8.8 carbon steel. The bolt will deform before it snaps, but to be fair you dont want either to happen.

Deforming takes even less stress, you have the 0.2% yield which is "the point at which it permenantly deforms by 0.2% of it's original size" - you dont want this to happen in suspension components.

8.8 635 N/mm²
10.9 897 N/mm²

A2-70 450 N/mm²
A4-80 600 N/mm²

Obviously there are a metric shit-ton of variations of stainless alloys with varying properties but the above is based on what an average joe like me and you can access easily.

(I confess I did have to google the N/mm² values - it's about 25 years since I was doing this at Uni!)
 
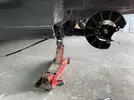
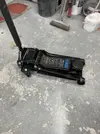
Todays update! firstly unwrapped my new pressie! was really struggling to get the car high enough to get the axle stands underneath with some decent height! I need the extra space! :)
IMG_7720 Large.webp
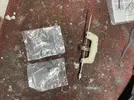
Some other bits turned up during the week too! thanks to @Russyh for the tip on the brake saddle clips!IMG_7721 Large.webp
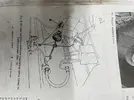
I carried on with the rear brake pipes! I checked the destruction manual first! that was a waste of time! Some I got under the van to see how the valve is plumbed in!
IMG_7723 Large.webp
That helped, so I marked up the drawing in the manual!

IMG_7734 Large.webp
Then got on with pipes!

IMG_7735 Large.webp
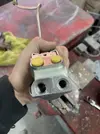
I made a template and bent a new pipe to match, ran it across to the valve and then noticed that there are different size holes in the valve! WTF?
IMG_7737 Large.webp
I am assuming that the bigger holes are for the feed from the front of the car??? any info on this would be appreciated! Anyway the pipe had the wrong size union on it and so was scrap! Started again and got all the pipes bent and on, Had to have a dig through my bucket of bits to find a brake clip for the rear!

IMG_7739 Large.webp
IMG_7740 Large.webp
IMG_7741 Large.webp
Then posty turned up with the new fuel bracket!
IMG_7742 Large.webp
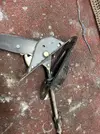
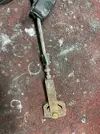
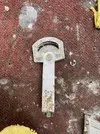
Then I started to look at the handbrake! I sorted through the bits and had to get cleaning & plating as it is seized!IMG_7745 Large.webp

IMG_7746 Large.webp
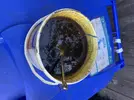
Gave it a good dose of WD40 and wiggled it around until it was free! The I stripped it down and got the bits in to some hydrochloric acid!

IMG_7749 Large.webp
IMG_7750 Large.webp
IMG_7754 Large.webpIMG_7759 Large.webp
I made a neoprene gasket for the handbrake!
IMG_7755 Large.webp
IMG_7756 Large.webp
IMG_7757 Large.webpIMG_7758 Large.webp
I then plated the bits once I had cleaned them up!
IMG_7760 Large.webpIMG_7765 Large.webp
I got the handbrake outside and plasti-coated the handle as it was a bit rough!
IMG_7763 Large.webp
IMG_7768 Large.webp

IMG_7772 Large.webp
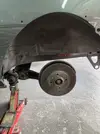
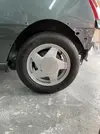
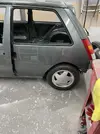
I got the rear arch on and dropped the car back down! Thats it for today, thanks for reading guys!
 
Back
Top