There is more to life with TurboRenault.co.uk
You are using an out of date browser. It may not display this or other websites correctly.
You should upgrade or use an alternative browser.
You should upgrade or use an alternative browser.
Clio Big Steve's RB Clio 182 Cup Restoration
- Thread starter Big Steve - Raider
- Start date
Bloody amazing how a day just flies by and this is all you have to show for it....!? 
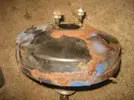
With the Brake servo all de-rusted and dried off:
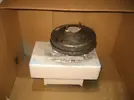
Few coats of primer applied:
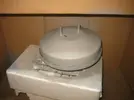
Then a quick rub-down with 180 grit paper:
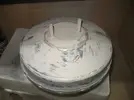
Before a couple of coats of Gloss Black:
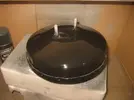
Think it looks better????
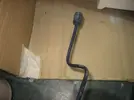
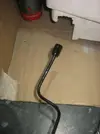
I also gave the brake lines a quick brush over with some black and green paint to bring them back to life. Little bit disappointed with the brush finish... but it's only a sodding brake pipe:
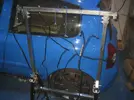
Last to be painted today was the two new wishbones I've got. I know from my Raider that the Original Renault Black coating is about as much use as s**t when it comes to staying put and putting up with a few years of British Weather, so I decided to add a couple of coats of additional protection:
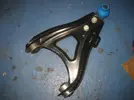
First step was to roughen up the existing coating with a little dremel flap disk:
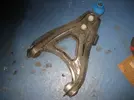
Then prime:
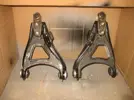
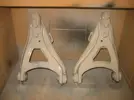
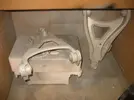
Then a couple of coats of Gloss Black again:
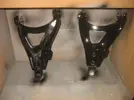
Crazy to think I've ended up with that I started with... but I know these will stand up to the weather a lot better now. (Bit more paint applied since I took these pictures)
Thanks for reading

With the Brake servo all de-rusted and dried off:

Few coats of primer applied:

Then a quick rub-down with 180 grit paper:

Before a couple of coats of Gloss Black:

Think it looks better????

I also gave the brake lines a quick brush over with some black and green paint to bring them back to life. Little bit disappointed with the brush finish... but it's only a sodding brake pipe:


Last to be painted today was the two new wishbones I've got. I know from my Raider that the Original Renault Black coating is about as much use as s**t when it comes to staying put and putting up with a few years of British Weather, so I decided to add a couple of coats of additional protection:

First step was to roughen up the existing coating with a little dremel flap disk:

Then prime:


Then a couple of coats of Gloss Black again:

Crazy to think I've ended up with that I started with... but I know these will stand up to the weather a lot better now. (Bit more paint applied since I took these pictures)
Thanks for reading
Duncan Grier
Well-Known Member
Great work @Big Steve - Raider servo looks lovely  ......be careful at this rate going to do a drive by and fly tip some bits for you to make better than new
Yep oem coating is about good enough for no corrosion prior to selling them amd right to give some help
Yep oem coating is about good enough for no corrosion prior to selling them amd right to give some help
TNT Mr Raider
Well-Known Member
Wow! what a great, clean, mint shell alot of time and money gone into it for sure awesome buy that. Projects get very addictive, one never feels enough! lol 
Now the paint was all dry, I fitted the Brake servo and lines back into the car, but first I couldn't just fit the servo without giving it a quick clean...
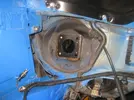
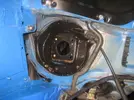

Servo In:
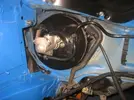
Then Brake Lines:
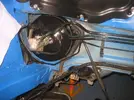
One step closer to completion:
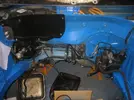
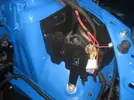
Next job was to fit the engine bay fusebox back into the car, after I realised the type of fastening I needed (It's an M5 Jack Nut if you need one..) Clever little fastening really, a cross between a pop rivit and riv-nut??

Thanks for reading


Servo In:

Then Brake Lines:

One step closer to completion:

Next job was to fit the engine bay fusebox back into the car, after I realised the type of fastening I needed (It's an M5 Jack Nut if you need one..) Clever little fastening really, a cross between a pop rivit and riv-nut??


Thanks for reading
I was waiting for some new Anti-Roll bar brackets from Renault to arrive before I could re-fit the subframe as the original ones were as rusty as FOOOOOK and I just couldn't bring myself to blasting and powdercoating them, as they looked buggered!!
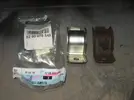
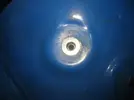
Again the same process to protect and paint everything that's going on this and my other cars, to (hopefully) protect it from the UK elements..
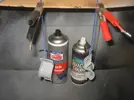
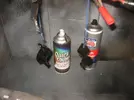
Which also makes them match the spangly blasted and powdercoated subframe:
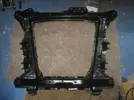
I fitted the Anti Roll Bar and bushes to the subframe before I put it on the car, as it's a royal Pain in the @ss to try & do it when it's on the car. It also helped to give the bushes a little bit of heat to soften them up a touch before the wrestling began:
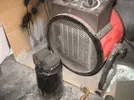
Soon had them on:
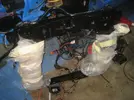
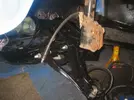
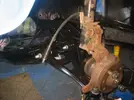
Now the subframe was back on the car, I could also re-fit the painted wishbones temporarily... don't worry the shocks and hubs will all be replaced and finished to go back onto this build. As mentioned before, I'm just wanting to get it out of the garage so the R11 can go back in when it returns:
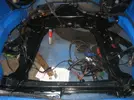
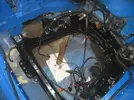
Finally the engine bay is starting to look more complete:
Thanks for reading

Again the same process to protect and paint everything that's going on this and my other cars, to (hopefully) protect it from the UK elements..


Which also makes them match the spangly blasted and powdercoated subframe:

I fitted the Anti Roll Bar and bushes to the subframe before I put it on the car, as it's a royal Pain in the @ss to try & do it when it's on the car. It also helped to give the bushes a little bit of heat to soften them up a touch before the wrestling began:

Soon had them on:

Now the subframe was back on the car, I could also re-fit the painted wishbones temporarily... don't worry the shocks and hubs will all be replaced and finished to go back onto this build. As mentioned before, I'm just wanting to get it out of the garage so the R11 can go back in when it returns:


Finally the engine bay is starting to look more complete:


Thanks for reading
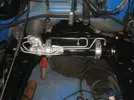
As you all know me well enough by now... I could never re-fit the power steering rack back into the car in it's current state!!
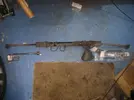
I looked into getting it refurbished somewhere as it's done 70K miles, so figured it could do with a refresh, but I couldn't find anywhere that leapt out of a page that could do the work?? So I decided to just give it a little paint and loving for the mean time. If any of you have suggestions of places to try... or even if I should even bother... then please pass them on??
Quick prime and paint and then it was looking a lot better for itself..
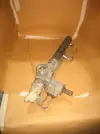
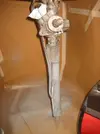
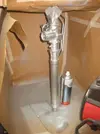
The finished article looks a lot better for itself...
Thanks for reading

I looked into getting it refurbished somewhere as it's done 70K miles, so figured it could do with a refresh, but I couldn't find anywhere that leapt out of a page that could do the work?? So I decided to just give it a little paint and loving for the mean time. If any of you have suggestions of places to try... or even if I should even bother... then please pass them on??
Quick prime and paint and then it was looking a lot better for itself..


The finished article looks a lot better for itself...

Thanks for reading
Chris Smith
Well-Known Member
Loving the progress Steve, wish I had the skills to tackle something like this myself.
Loving the progress Steve, wish I had the skills to tackle something like this myself.
Thanks @Chris Smith, It's not hard at all, its just methodical, and for me, relaxing..
I actually enjoy this part of it slightly more than the driving, I so wish I had the space.
Amen to that brother...

Chris Smith
Well-Known Member
Thanks @Chris Smith, It's not hard at all, its just methodical, and for me, relaxing..
Once I have built my garage and sold the 5... I am going to tackle a clio sport rebuild..... unless I can build a long garage
Chris Smith
Well-Known Member
I am sure I will sell it at some point in the future.... not anytime soon though
As that large food shop says... every little helps. So decided to give the Bulkhead Heat Shield some attention:
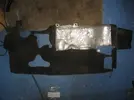
I carefully picked off the aluminium heatshield foil that was torn in a couple of places:

Then I thoroughly vacummed the the board, and trimmed off the loose pieces of fuzz that were present from previous wear. Next step was onto the masking paper and a quick shake of this:
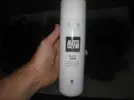
Then a couple of coats were applied:
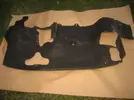
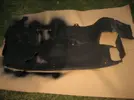
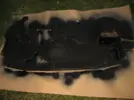
I ordered a sheet of adhesive backed 30 micron aluminium:
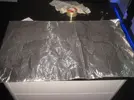
Then it was just a case of cutting a sheet to the approximate size, and carefully applying it to the heatshield:
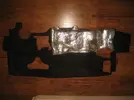
Quite pleased with the Improvement:

Thanks for reading

I carefully picked off the aluminium heatshield foil that was torn in a couple of places:

Then I thoroughly vacummed the the board, and trimmed off the loose pieces of fuzz that were present from previous wear. Next step was onto the masking paper and a quick shake of this:

Then a couple of coats were applied:


I ordered a sheet of adhesive backed 30 micron aluminium:

Then it was just a case of cutting a sheet to the approximate size, and carefully applying it to the heatshield:

Quite pleased with the Improvement:

Thanks for reading
What do you mean @Big Steve - Raider ?
Similar threads
- Replies
- 42
- Views
- 652
- Replies
- 133
- Views
- 2K


