There is more to life with TurboRenault.co.uk
You are using an out of date browser. It may not display this or other websites correctly.
You should upgrade or use an alternative browser.
You should upgrade or use an alternative browser.
5 GT Turbo 11 years later silver bullet comes home
- Thread starter Duncan Grier
- Start date
- Featured
-
- Tags
- renault 5 gt turbo silver
Duncan Grier
Well-Known Member
Sure phase 2 silver on the 5 is 620 but now I need to look later 

Duncan Grier
Well-Known Member
Duncan Grier
Well-Known Member
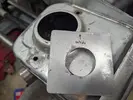
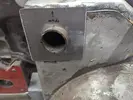
Outside in terms of the side to weld, does not look it in pics but is a slightly elongated hole to match angle of tube against the flat turret. If other way is on the pish 
Makes sense to me
Makes sense to me
As you are welding it thats all that matters. We can gloss over the fact you are wrong.Outside in terms of the side to weld, does not look it in pics but is a slightly elongated hole to match angle of tube against the flat turret. If other way is on the pish
Makes sense to me
Duncan Grier
Well-Known Member
A while since last update, sooooo with things moving forward and getting closer to welding up the front additional sections and ordering the driveshafts to make the temporary custom rs3 to Vx220 setup. I double checked all the alignment of the car which identified some potential issues with the rear

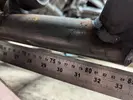

Proceeded to remove to give everything a proper measure up and assess the position and hoping for the best and just pulled in from final welding


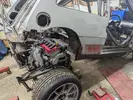
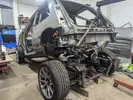
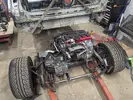
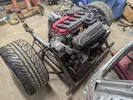
At this stage frame dropped out complete as per design
Engine/box out of spaceframe was a bit of battle and need to fine tune/document process to save scratching the frame longer term once painted etc but out ok and dont plan on removing too many times once running
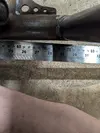
With this done spent a load of time measuring and found the bottom rear pickups are 2mm wider than the front ones. Which while not ideal can potentially correct longer term with custom fully adjustable wishbones. But a positive does not stop me moving forward.
Decided to change focus temporarily and clean it up, dress etc and get ready for a lick of primer to keep it from getting past surface rust stage and look nice
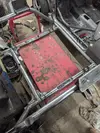
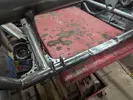
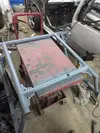

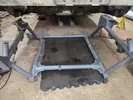

Got the frame fitted and built back up with the suspension (will be rebuilt once build completed)
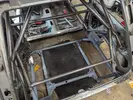

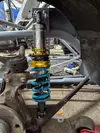
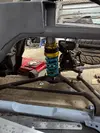
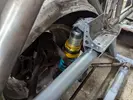
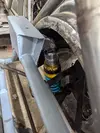
Many hours triple checking with engine/box out the way and rear frame unfortunately mounts 5mm offset to drivers side
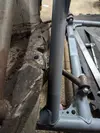
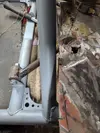
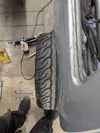
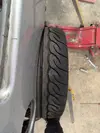


Proceeded to remove to give everything a proper measure up and assess the position and hoping for the best and just pulled in from final welding


At this stage frame dropped out complete as per design
Engine/box out of spaceframe was a bit of battle and need to fine tune/document process to save scratching the frame longer term once painted etc but out ok and dont plan on removing too many times once running
With this done spent a load of time measuring and found the bottom rear pickups are 2mm wider than the front ones. Which while not ideal can potentially correct longer term with custom fully adjustable wishbones. But a positive does not stop me moving forward.
Decided to change focus temporarily and clean it up, dress etc and get ready for a lick of primer to keep it from getting past surface rust stage and look nice


Got the frame fitted and built back up with the suspension (will be rebuilt once build completed)


Many hours triple checking with engine/box out the way and rear frame unfortunately mounts 5mm offset to drivers side


Duncan Grier
Well-Known Member
So while still deciding how I best correct and consider all options before full surgery 
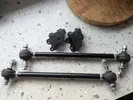
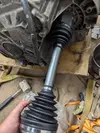
Some shiney bits turned up one was incorrect but replacement on the way
Seems wrong to cut up brand new shafts but happening anyway will be custom professional shafts after (Dave Mac done all my other conversation ones and never broke) but these will allow test and fine to move about on
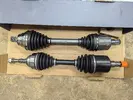

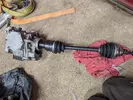
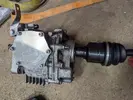
Some shiney bits turned up
Seems wrong to cut up brand new shafts but happening anyway


Duncan Grier
Well-Known Member
After a decent dip in enthusiasm for the car and other priorities have not had much time in the garage. 
But as I dont seem to know how to give up decided really need to get back in the groove amd get on
Lots and lots of more measuring, think I could probably tell you off the top of my head every single measurement of the car
So with frame off and up on a stand able and on and back on stand was able to record a full view on it and the variance I need to correct.
Noted when one side of the wishbone had the support bar moved out and welded back in was on an angle and pulled the mounting point in a bit, good news explaining why one pickup on the bottom was fouling and bent but not frame at tabs at fault
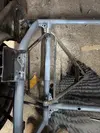

With some help from superson no.2 and 110 questions along the way lol helped me with measuring and drawing out
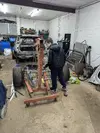
While the frame needed to be centralised a bit to correct offset also found the top wishbones while even in distance from each other were mounted off centre to the upper tube which was adding to the drivers side wheel pushed out
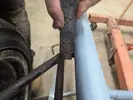
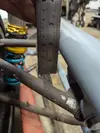
Random pics
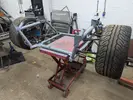
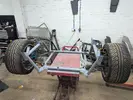
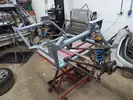
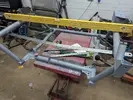
Made some adjustments and frame now centre

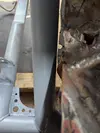
Need to cut out and redo this section as leveraging in would push the right upper mounts offset and not correct hub position
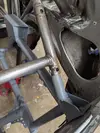
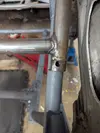
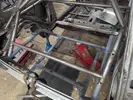
Last fix will be the top wishbone mounts as also need to be 935 and currently 930
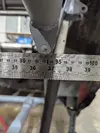
But as I dont seem to know how to give up decided really need to get back in the groove amd get on
Lots and lots of more measuring, think I could probably tell you off the top of my head every single measurement of the car
So with frame off and up on a stand able and on and back on stand
Noted when one side of the wishbone had the support bar moved out and welded back in was on an angle and pulled the mounting point in a bit, good news explaining why one pickup on the bottom was fouling and bent but not frame at tabs at fault


With some help from superson no.2 and 110 questions along the way lol helped me with measuring and drawing out

While the frame needed to be centralised a bit to correct offset also found the top wishbones while even in distance from each other were mounted off centre to the upper tube which was adding to the drivers side wheel pushed out


Random pics


Made some adjustments and frame now centre


Need to cut out and redo this section as leveraging in would push the right upper mounts offset and not correct hub position


Last fix will be the top wishbone mounts as also need to be 935 and currently 930

Duncan Grier
Well-Known Member
Duncan Grier
Well-Known Member
Lastly had my eye on a Lotus pro alloy baffled fuel tank 

 and while a tank up front would help with weight distribution, having mid mounted has less impact from changing fuel level and more consistent without getting into brake bias etc
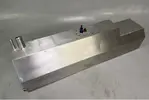
So slight distraction with quick check and fits snug, crude blocks of wood show exact height for clearance but fits between roll cage mounting points
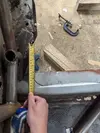
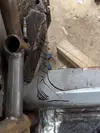
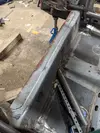
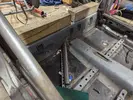
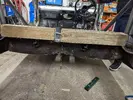
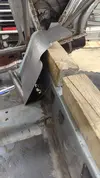
Could also bring forward a bit to aid engine clearance and weight positioning as shown by resting some sheet metal against it

So slight distraction with quick check and fits snug, crude blocks of wood show exact height for clearance but fits between roll cage mounting points


Could also bring forward a bit to aid engine clearance and weight positioning as shown by resting some sheet metal against it

Last edited:
Duncan Grier
Well-Known Member
Got a good hour odd in the garage earlier with intention of some cutting and prep of the cage brace section.......
However before making any cuts pulled my original frame made and some final cross referencing with the measure 20 times cut once approach found another area that needs correcting
Seems the top suspension pickups are shorter
117cm
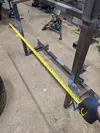
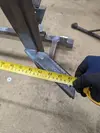
V
109.8cm
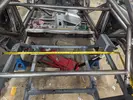
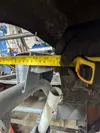
I also at this point recalled one side was sitting a bit lower with the same suspension/damper height set even with engine out and thought potentially the unit as they are not rebuilt yet
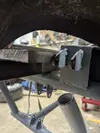
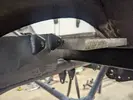
This was the variance from across the top, pax side is about the correct distance to the corresponding top wishbone mount pickup but other one not so much
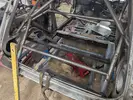
While the top a solid 20mm out with time running out looked to see the delta of bottom pickup to the suspension pickups and while is definitely out need to do properly when in next time in and decide on plan of action
While frustrating, will have a few pints of enthusiasm and all going well get some time on it after work a few time this week
However before making any cuts pulled my original frame made and some final cross referencing with the measure 20 times cut once approach found another area that needs correcting
Seems the top suspension pickups are shorter
117cm


V
109.8cm


I also at this point recalled one side was sitting a bit lower with the same suspension/damper height set even with engine out and thought potentially the unit as they are not rebuilt yet


This was the variance from across the top, pax side is about the correct distance to the corresponding top wishbone mount pickup but other one not so much

While the top a solid 20mm out with time running out looked to see the delta of bottom pickup to the suspension pickups and while is definitely out need to do properly when in next time in and decide on plan of action
While frustrating, will have a few pints of enthusiasm and all going well get some time on it after work a few time this week
Steve Swan
Well-Known Member
When I made my wishbones, making the jig to make them was more involved than making them in the jig was. This type of fabrication is really difficult and making a jig to locate all the points on the frame is at very least twice as much work
Duncan Grier
Well-Known Member
100% agree @Steve Swan and kind of why I farmed the job out along with the custom cage required, as it was integral to the roll cage construction and not really able to do one without the other. And unable to do the engine/box mounting in advance.
I could make a jig off my box section one now the tubular one is made and correct off the car which is one option or carry on correcting in isolation, a couple of mm tolerance I can work with if I get it to that position with this one
The spaceframe is not all bad so taking into account the positive bits as well
Welcome your view/experience on my options
Itching to get back on with other jobs on the car more fun but know getting this right is critical to the long term performance of the car
Need a decent run at it and maybe get a friend round as 2nd pair of hands and eyes help spur me on
Duncan Grier
Well-Known Member
So with hole tweaked frame seems happier and more centred 
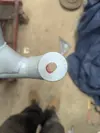
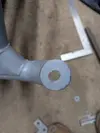
Started making a box section jig for the top wishbones to cut out and reposition tabs.....but got distracted and decided to open up the boot floor as serving no real purpose and also open up the side sections to ease access and frame removal/fitting
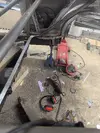
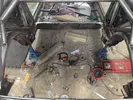
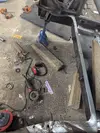
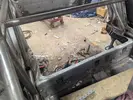
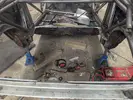
Will finish tidying up, put some additional treatment inside before some 3mm sheet to box it back together.....note if you have a plasma cutter use it 5 cutting discs later
Found rear needs some shims as pulls the boot in as tightened up on the upper bolts, was going to add another layer of metal in this area and round corner etc for some strength so kind of solves most of that any slack left will use thin shim or weld onto frame.....not decided yet
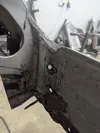
So did some surgery to remove the cage brace to reposition and prepped ready to tack in place
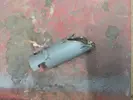
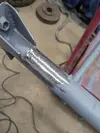
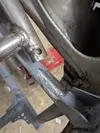
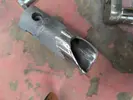
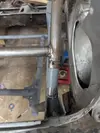
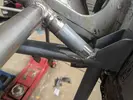
Next time will be a fresh full measure up to check before welding in place, also be adding another section of tube braced across the rear. Will then have some constant reference points to sort the wishbone/suspension pickups and hopefully retain the frame after all
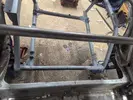
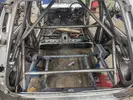


Started making a box section jig for the top wishbones to cut out and reposition tabs.....but got distracted and decided to open up the boot floor as serving no real purpose and also open up the side sections to ease access and frame removal/fitting


Will finish tidying up, put some additional treatment inside before some 3mm sheet to box it back together.....note if you have a plasma cutter use it
Found rear needs some shims as pulls the boot in as tightened up on the upper bolts, was going to add another layer of metal in this area and round corner etc for some strength so kind of solves most of that any slack left will use thin shim or weld onto frame.....not decided yet

So did some surgery to remove the cage brace to reposition and prepped ready to tack in place


Next time will be a fresh full measure up to check before welding in place, also be adding another section of tube braced across the rear. Will then have some constant reference points to sort the wishbone/suspension pickups and hopefully retain the frame after all


Duncan Grier
Well-Known Member
Couple of hours after work last night and with everything tightened up after the tweaks I did -measured, measured some more......happy enough to proceed with frame main position 
So tacked and part welded the brace bar so that is stuck and can finish off the car easier.
With this done have been thinking about the floating boot section with floor gone and never coming back. So while I wanted to add some extra strength to the frame. I also wanted help brace the boot/body section flex (will add some tabs/mounting plate etc), also adding some rear impact section/strength.
Seems I had some plastic draining pipe in the corner the same 2 sizes of cage tube
This made for easy quick notch/template to see how it looked and fitted. As you can see from the below pictures and 5 owners will know the boot panel is not straight and I considered getting the tube bent, a V, in 3 sections to sit closer to panel....but decided 'for now' straight works best and gives a nice symmetric view.
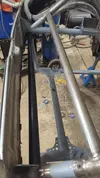
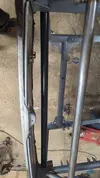
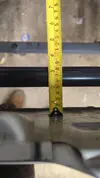
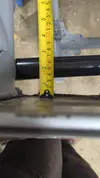
Also decided on the 1.500" tube over 1.750" I have.
Then got on with metal version, needs a fine tune but will get tacked in and final measure to check not disturbed anything and weld it in

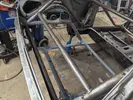
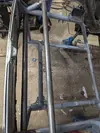
So tacked and part welded the brace bar so that is stuck and can finish off the car easier.
With this done have been thinking about the floating boot section with floor gone and never coming back. So while I wanted to add some extra strength to the frame. I also wanted help brace the boot/body section flex (will add some tabs/mounting plate etc), also adding some rear impact section/strength.
Seems I had some plastic draining pipe in the corner the same 2 sizes of cage tube
This made for easy quick notch/template to see how it looked and fitted. As you can see from the below pictures and 5 owners will know the boot panel is not straight and I considered getting the tube bent, a V, in 3 sections to sit closer to panel....but decided 'for now' straight works best and gives a nice symmetric view.


Also decided on the 1.500" tube over 1.750" I have.
Then got on with metal version, needs a fine tune but will get tacked in and final measure to check not disturbed anything and weld it in


Duncan Grier
Well-Known Member
Got a good run earlier, tacked into place nothing moved. Tested brace bar in and out and now fits spot on 
Got a few runs of weld on and removed frame to finish
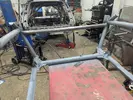
You can see from the up rear angle leg variance from below picture with tube in . But the new tube is level and mirrors the brace bar once in and seemed the best fix visually and will be tweaking wishbone tabs as mentioned previously to be correct.
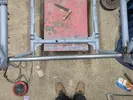
So nothing too exciting and only had a bit of weld through primer to throw on that was a funky as ran out of other stuff but will clean up and primer once finished the rest of it (and do the bit I missed )
)
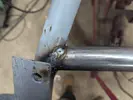

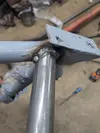
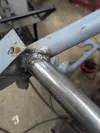
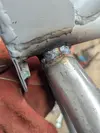
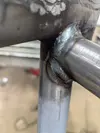

Got a few runs of weld on and removed frame to finish
You can see from the up rear angle leg variance from below picture with tube in

So nothing too exciting and only had a bit of weld through primer to throw on that was a funky as ran out of other stuff but will clean up and primer once finished the rest of it (and do the bit I missed


Similar threads
- Featured
- Replies
- 84
- Views
- 2K
- Replies
- 4
- Views
- 362
- Replies
- 2
- Views
- 264
- Replies
- 321
- Views
- 8K

