There is more to life with TurboRenault.co.uk
You are using an out of date browser. It may not display this or other websites correctly.
You should upgrade or use an alternative browser.
You should upgrade or use an alternative browser.
5 GT Turbo 11 years later silver bullet comes home
- Thread starter Duncan Grier
- Start date
- Featured
-
- Tags
- renault 5 gt turbo silver
Chris74#
Well-Known Member
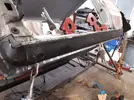
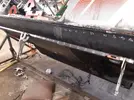
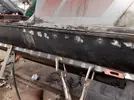
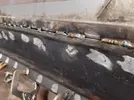
Did someone say Hydro80???Squeezed in a short session as no garage update coming tomorrow booooo
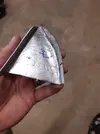
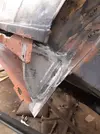
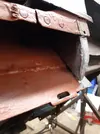
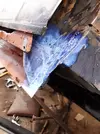
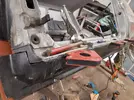
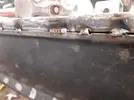
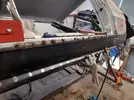
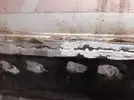
Some hydro80 over all recent spot welds/,welds etc, dressed a few bits, more hydro80, welded patch in chassis rail...but not before getting some more you guessed it hydro80 inside
Usual pre treat inside of patch and stuck it on flap wheeled it and some more hydro80
View attachment 208942
View attachment 208943
View attachment 208944
View attachment 208945
View attachment 208946
View attachment 208947
View attachment 208948
Duncan Grier
Well-Known Member
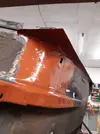
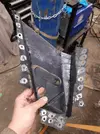
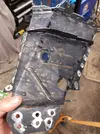
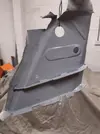
Well with no free time the past week was getting garage withdrawal symptoms bad...
So managed to get a proper session in today to try and make up some lost time
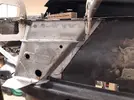
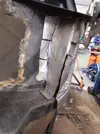
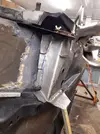
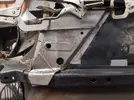
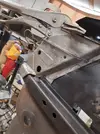
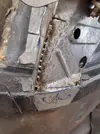
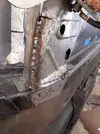
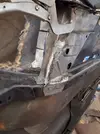
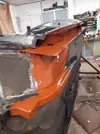
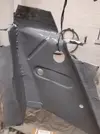
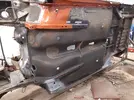
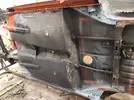
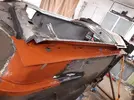
Fair to say many hrs eaten on jacking point but it mirrors the other one, fits well and will not move once welded in
Did run out of hydro80 only to remember after a new 1ltr bottle had turned up doh lol. With things drying slower now temps have reduced removed the rest of the brake and fuel pipes etc...time for a beer and hopefully get section finished tomorrow


Duncan Grier
Well-Known Member
Temperature definitely slowing down stuff drying quickly, have 2 heats gun can I find any...no 
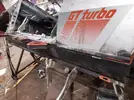
Got in early and gave some primer, underseal and bit of seam sealant in the morning....many hours later kind of dry.
Bit of prep, got it spot and plug welded....final once over needed but for time available today will take that
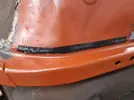

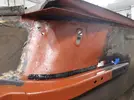
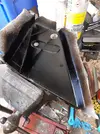
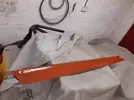
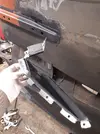
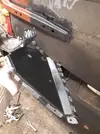
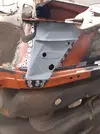
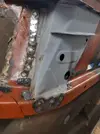
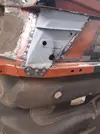
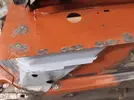
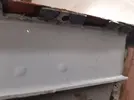
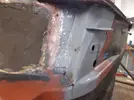
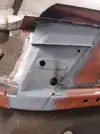
Got in early and gave some primer, underseal and bit of seam sealant in the morning....many hours later kind of dry.
Bit of prep, got it spot and plug welded....final once over needed but for time available today will take that


DaveL485
Staff member
If it helps continuity when working, I find waving a heat gun over the Hydrate 80 helps it go off much faster in this cold weather.
I did offer the above advice....With things drying slower now temps have reduced
Duncan Grier
Well-Known Member
Turbell
Well-Known Member
Cheap tack halogen heater from poundstretcher as good as owt for paint drying, I've had about three over the years, they don't like overspray on the bulbs , so keep them out of the way , but get a panel nice and warm.
Good to have on near you as well, warm you up without the heat disappearing to the roof.
Good to have on near you as well, warm you up without the heat disappearing to the roof.
Duncan Grier
Well-Known Member
Duncan Grier
Well-Known Member
Do you do Clio Williams’s?? 
Duncan Grier
Well-Known Member
While technically retired from any works outside of Grier garage projects. Happy to look at helping if you needDo you do Clio Williams’s??
Duncan Grier
Well-Known Member
Saturday update
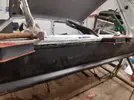
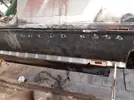
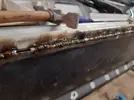
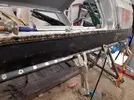
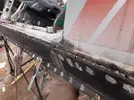
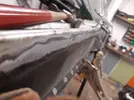
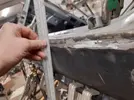
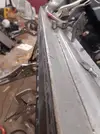
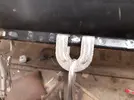
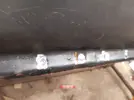
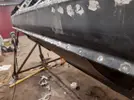
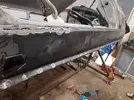
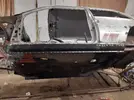
Got on with finishing the butt welding, and happy enough with the result, its flat and sill bottom matches long spirit level so will take that! Had some real fun at the front section and weld was not taking well at all had me a bit stumped for 10mins...transpires the magnet sitting above minding its own business was the cause!!
So carried on, few pin holes and a little bit of dressing and moved onto spot welding and decided a few plug welds spaced out as hard to know if spots are all 100%
Bit of tidying up still and finish front section and can formally tick it off


Duncan Grier
Well-Known Member
Duncan Grier
Well-Known Member
Many thanks @Turbell  - definetly a confidence boost for the surround of happiness of which there are a few approaches to decide on tackling that rot, having the spare one I crudely cut out of donor 5 historically at least gives multiple options.
I want to make a static adjustable jig on wheels to make the chassis 100% level and get it off the rottiserie which will help take weight off load points, addressing the next stages of built and transportation for paint etc
I want to make a static adjustable jig on wheels to make the chassis 100% level and get it off the rottiserie which will help take weight off load points, addressing the next stages of built and transportation for paint etc
Duncan Grier
Well-Known Member
Well finished off front and rear bits including, small patch I forgot about and bit of a tidy up after getting car level again.
Need a proper tidy if garage as 30mins was a mere dent after weekds of cutting, welding, grindimg, sanding joy is a proper mess
Fitted door and does not foul which was a nice relief although middle point of sill a touch up and will revisit another day
Feels like a bit of a milestone reached and almost car like lol

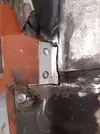
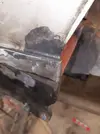
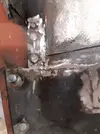
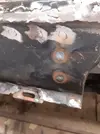
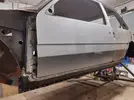
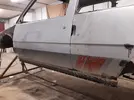
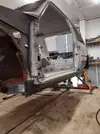
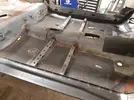
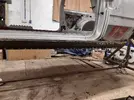
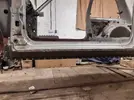
Need a proper tidy if garage as 30mins was a mere dent after weekds of cutting, welding, grindimg, sanding joy is a proper mess
Fitted door and does not foul which was a nice relief
Feels like a bit of a milestone reached and almost car like lol


Yep! Looking very car-like now Duncs! Great work as always!!
Duncan Grier
Well-Known Member
Nothing particularly exciting but got 2 patches in the floor in and look to finish tomorrow.....strange how a smaller job can be more of a pita but be all good once touched up and dressed.
Decided going to stitch weld the full shell although strangly on fence over a small detail to weld or seal the original access holes from mounting holes on production line
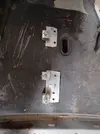
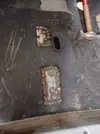
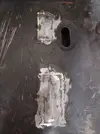
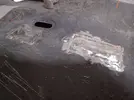
Decided going to stitch weld the full shell although strangly on fence over a small detail to weld or seal the original access holes from mounting holes on production line


Turbell
Well-Known Member
I left the ones on the inner sill open on Camprust, let it breathe, jacking outrigger ones give good access to cavity wax.
As far as seam welding shell....dunno? Is it gonna make a deal of difference on a road car?
Is it better to have a bit of flex on shell as whole, rather than possibly concentrating all the various forces onto an unknown weak link and cause cracking?......only musings, not my area of expertise , probably doesn't really matter either way, I'd say you've added a fair bit of lateral strength in the sill area with long butt welds.....take a plate of unwelded sheet and compare it to two pieces butt welded together, I know which one is stiffer, even ground back.
Similar threads
- Featured
- Replies
- 84
- Views
- 2K
- Replies
- 4
- Views
- 362
- Replies
- 2
- Views
- 264
- Replies
- 321
- Views
- 8K

