There is more to life with TurboRenault.co.uk

Register a free account today to become a member! Once signed in, you'll be able to participate on this site by adding your own topics and posts, as well as connect with other members through your own private inbox!

Megane Si's Ph2 225 Lux.. slowly getting there!

So another small update. Not really had the chance to use the car recently with being stuck slaving at work

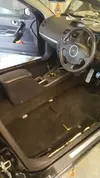
Since buying the car, after being parked up for a few days the inside had a disgusting odour to it. After a bit of sniffing around we discovered the carpet was the source. It also had a nice big whole in the drivers footwell.

Luckily an R26 came up for breaking really close by so went and raided this for some bits and bobs. I came away with an entore interior carpet, new passenger arch liner (mine was smashed to pieces) some front mudflaps and a nice set of cooksport springs so not a bad little raid haha.

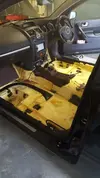
Last weekend we set about fitting the carpet, turned out to be a simple little job:

All stripped out - we noticed some mould on the foam underneath so sprayed it with some mould killing spray and then some oust
i.imgsafe.org_330bbfc.webp

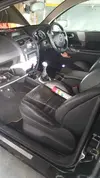
and the new carpet in :).. this carpet was a much nicer colour than the one fitted before which was a bonus :)

i.imgsafe.org_3706bd2.webp
i_imgsafe_org_422b29b_jpg__.webp

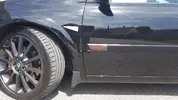
Mudflaps and arch liner are all in and fitted and the cars finally starting to look really tidy at last.

Its currently at a friends garage having the springs fitted so will update with some pictures when it returns
 
Cheers mate. Im just glad to get rid of the horrible smell! Also rather looking forward to getting it back on the cooksports then getting it on a hunter system and aligned correctly. Its never quite been right on the front since buying it so finger crossed it will finally drive on point haha
 
Mine felt miles better when I changed drop links , inner and outer arms , and put in a rack bush. It wasnt *that* expensive to do all that. Might be worth considering ?
 
Its had new droplinks, TRE and rack bushes about 6 months ago, but waited to get it aligned until i did the springs so im hoping after a good setup all will be well?
 
Cars now back with some powerflex bushes and the cooksports on... and WOW! it feels like a totally different car! Well happy how it feels now

Will get some pictures over the weekend but it also look loads better imo :)
 
Cars now back with some powerflex bushes and the cooksports on... and WOW! it feels like a totally different car! Well happy how it feels now

Will get some pictures over the weekend but it also look loads better imo :)

Did you go for the purple or black ones ?
 
So clocked up a few miles over the weekend with the cooksports on.. and wow! It really is a totally different car.

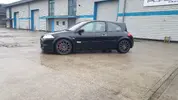
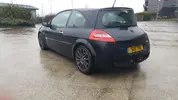
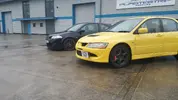
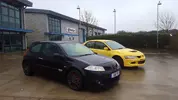
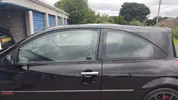
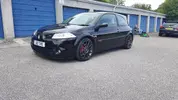
Couple of pics finally.. been to busty driving to clean it! Also my mates new toy.. but couldn't keep with the meg is the twisties :D

i.imgsafe.org_97abc8d.webp
i.imgsafe.org_9d9204b.webp
i.imgsafe.org_f40a1d8.webp
i.imgsafe.org_f5d37f5.webp
 
So not really updated this for awhile. Had it all serviced etc.. a few weeks back and running like a dream
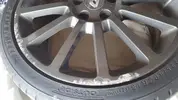
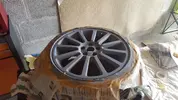
My wheels had be very badly refurbed by the previous owner/garage it came from and the lacquer was peeling on all the wheels. To top it off we discovered they were painted with the center caps in place (Annoying!)

I also caught one fairly badly on a curb!

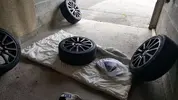
So this past week i have started to refurb them myself:

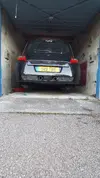
Got them off the car and the car onto stands in a very very tight space!
i.imgsafe.org_3bc7a1936e.webp
i.imgsafe.org_3bbf4bd717.webp

This was the damaged alloy before i started on it:

i.imgsafe.org_3bca3950a7.webp

I flattened the wheel back to bare metal and then flattened off the damage using a file and sand paper
i.imgsafe.org_3bcc46f4fc.webp

Then added and sanded back the smallest amount of filler i could get away with:

i.imgsafe.org_3bcc46f4fc.webp

Then after some time spent with some filler primer and alot of sanding the damage is almost invisible:

i.imgsafe.org_3bd096f061.webp
i.imgsafe.org_3bd31d6260.webp

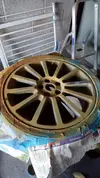
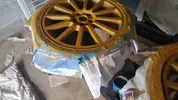
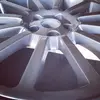
I have started to prepare the other 3 alloys,none of these were damaged but the paint on them was peeling and flaking. So after alot of snading i have got them to a nice smooth stage ready to primer:
i.imgsafe.org_3bd6b4e2ed.webp

Next weekend i will crack on with the primer and then get the paint matched and get them finished :D

Had a bit of a run in with a Rabbit since the last update now. It wiped out the lower grill and a fog light, caused some piant damage to the upper part of the bumber. Looks like a reps ray will be on the cards! Luckily manages to replace the fog and grille :D

Also a couple of pics from a mates wedding a few weeks back :)

i.imgsafe.org_3bdbb076db.webp
i.imgsafe.org_3bdbd68b76.webp
i.imgsafe.org_3bdbdc9fba.webp
 
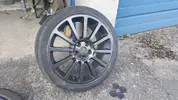
So finally got the wheels all finished and some more pictures along the way:

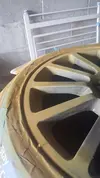
All nice and smooth wit the filler primer:
i.imgsafe.org_355926b4c2.webp

Then onto the normal primer:
i.imgsafe.org_3559350532.webp

Gave this a good flat back to make sure all was smooth and ready for paint

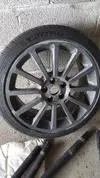
This was after 3 coats of paint and 3 lacquer:
i.imgsafe.org_35595b198b.webp

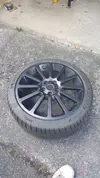
I wanted a nice metallic colour that wasn't far off the colour they were before. Took a gamble on Ford Graphite grey metallic and was pretty happy with the outcome
And after a couple of days to harden off:
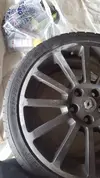
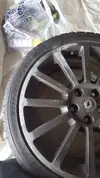
i.imgsafe.org_35594746d4.webp
i.imgsafe.org_3559546baf.webp

Reassembled the centre caps and popped them back on the car, then left the car in the garage a few days to allow them to harden a little more:

i.imgsafe.org_355958f48a.webp

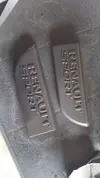
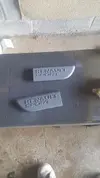
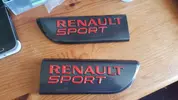
While it was sat in the garage i thought i would tackle my door bullets, been thinking of doing these for awhile.
Came up with the idea of doing them the same colour as the wheel with red writing:

Sanded the rust dots off and got them primed:

i.imgsafe.org_357286263e.webp
i.imgsafe.org_3576c67054.webp

All painted in Ford graphite grey. I painted the writing by hand for now but will more than likely redo this part later on:

i.imgsafe.org_35728c63ae.webp

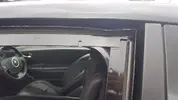
Also someone tried breaking into the car and damaged part of the door and the seal. Stripped the old seal off and was greated by this:
i.imgsafe.org_357eab8ebc.webp

Set to work with a tiny hammer straightening it all out and putting the new seal on, its still slightly raised but works as it should:
i.imgsafe.org_3572b60f70.webp

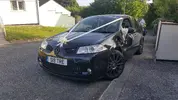
Then after all of this gave it a proper clean :D and is all back on the road now! :
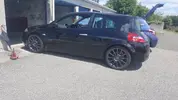
i.imgsafe.org_35729948ef.webp
i.imgsafe.org_3572abd600.webp
 
Back
Top