There is more to life with TurboRenault.co.uk
You are using an out of date browser. It may not display this or other websites correctly.
You should upgrade or use an alternative browser.
You should upgrade or use an alternative browser.
5 GT Turbo R5 GT Turbo - Complete strip down and re-build #1
- Thread starter Chris74#
- Start date
-
- Tags
- gt turbo r5 gt turbo turbo
Chris74#
Well-Known Member
I haven’t tagged it yet! But that is a good idea! Why have you drawn a mushroom with rain falling on it!!??Progress is progress and looking good @Chris74#
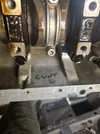
Have you tagged the car anywhere during build up or going to?
Picture of my 2nd Audi tfsi vx220 conversion.....must learn to draw better lol...area covered with sound deadening and interior trim but it is there
View attachment 202926
Duncan Grier
Well-Known Member
The rain helps it growWhy have you drawn a mushroom with rain falling on it!!??
DaveL485
Staff member
Always has to be done.Progress is progress and looking good @Chris74#
Have you tagged the car anywhere during build up or going to?
Picture of my 2nd Audi tfsi vx220 conversion.....must learn to draw better lol...area covered with sound deadening and interior trim but it is there
View attachment 202926
Chris74#
Well-Known Member
Its been a slow couple of weeks, had a wedding last weekend and been under the weather all week, still dying! I took the advice of everyone on the group and got the professionals in to fit the windscreen after getting a kit from CGB.
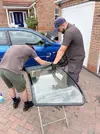
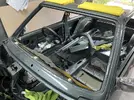
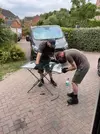
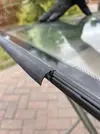

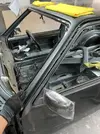
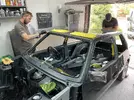
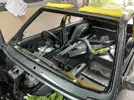
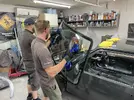
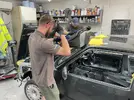
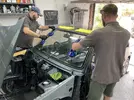
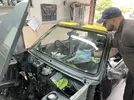
All good, the guys were careful and professional!
Yesterday feeling like shite, I managed to click buy on this, adding to my woe's!

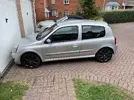
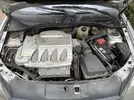
This 182 needs a clean and a bit of welding, but i'll get it back to factory!...............................at some point!! Separate thread coming up!
I got out to the garage this morning feeling rough but soldering on, plan is to get the dashboard in! Firstly I had to track the ducts down for the blower, after digging around in the loft for half an hour I emerged victorious with the vents in hand. I then set about getting them back on to the dash!
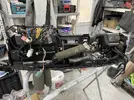
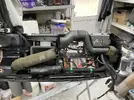
It soon became apparent that Renault had not wrapped those looms for a reason! So I untaped the looms so that I can spread them out and they will sit flatter, allowing the duct to sit in place correctly!
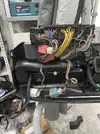
Eventually got the duct in place and the set the dashboard in the car for now, whatever this is I have has got the better of me again today!
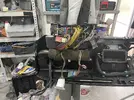
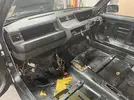
Guys, any info on what I need to make sure is installed before putting the dash in? I don't want to have to take it out again if possible!
Thanks for reading guys!


All good, the guys were careful and professional!
Yesterday feeling like shite, I managed to click buy on this, adding to my woe's!


This 182 needs a clean and a bit of welding, but i'll get it back to factory!...............................at some point!! Separate thread coming up!
I got out to the garage this morning feeling rough but soldering on, plan is to get the dashboard in! Firstly I had to track the ducts down for the blower, after digging around in the loft for half an hour I emerged victorious with the vents in hand. I then set about getting them back on to the dash!


It soon became apparent that Renault had not wrapped those looms for a reason! So I untaped the looms so that I can spread them out and they will sit flatter, allowing the duct to sit in place correctly!

Eventually got the duct in place and the set the dashboard in the car for now, whatever this is I have has got the better of me again today!


Guys, any info on what I need to make sure is installed before putting the dash in? I don't want to have to take it out again if possible!
Thanks for reading guys!
Be careful with those Clio 182’s, get a good-un, and they burrow under the skin VERY deep!!!
As long as you’ve fitted a new Heater Matrix to the HVAC box, you’re golden with that dash!!
As long as you’ve fitted a new Heater Matrix to the HVAC box, you’re golden with that dash!!
Chris74#
Well-Known Member
Thanks Steve, just ordered a new matrix from Autodoc!Be careful with those Clio 182’s, get a good-un, and they burrow under the skin VERY deep!!!
As long as you’ve fitted a new Heater Matrix to the HVAC box, you’re golden with that dash!!
clarky_gtt
Well-Known Member
You used a campus screen clip.... Only weirdos like me will spot that.
Chris74#
Well-Known Member
Ha ha, I used whatever was in the kit!You used a campus screen clip.... Only weirdos like me will spot that.
Chris74#
Well-Known Member
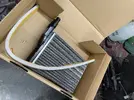
After fixing the TT yesterday morning I decided to get the dash and heater back out of the car to replace the heater matrix, new matrix landed on Friday!
I pushed the car out of the garage to give it some air and a bit more space to work with!
My drive is showing signs that I have a problem!
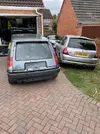

and the Megane is parked on the road!
Anyway, I got the dash out and put it to one side,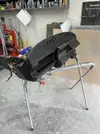
Then out came the heater!
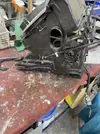
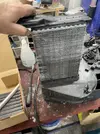
Old matrix out, new one in! quite an easy swap once the thing is out of the car!
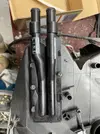
The post turned up and this landed,

Ha ha, got it straight on the car!! The car was first registered on 16 Jan 91!!

After that distraction, for some random reason I looked at the rear of the dash and thought, there is something missing from there!! I had a dig around the loft and found it!
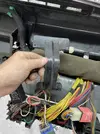
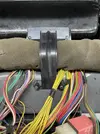
I then decided to clean the remnants of the foam tape from around the vent and put some new on there!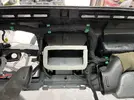
This where things went sideways! I then had the realisation that the heater unit I was using does not have the hole in it to marry up with the vent in the dash!! FFS!!! I had a wobble and decided to clean up the rubber grommets for the heated rear screen and put those in instead!
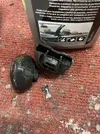

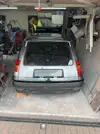
I also put the rear tailgate trim on, just distracting myself from the heater saga!!
Once I had got all my teddy's back in my pram I got back on the heater issue and decided that I would simply change the broken arm on the original unit with the good one on the replacement unit!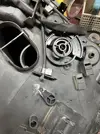
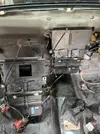
It was at this point that the wife walked past and I whinged at her about this, she said "can't you just cut the hole in it" I obviously dismissed her comment as it was far too simple a solution.
I then got back to dismantling the good unit first!
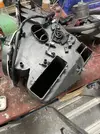
New heater matrix out!! Then split the case with a flat screwdriver, again surprisingly easy to do!
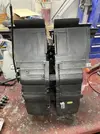
Out with the fan
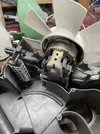
I gave the fan a test! all good just needs a clean up!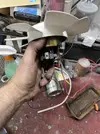
and had a look at the resistor! I then thought, I might aswell put a new one of these in, now that it is in bits! So I got on and ordered one of those!
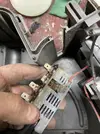
Only after messing about with the fan and resistor did I look at the structure of the heater box! The wife was right! I could have just cut the bloody thing!
So I decided to give it all a clean and cut the hole in it!
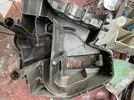
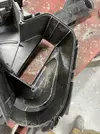
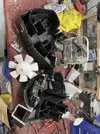
So I'll wait for the new resistor to turn and put this lot back together!
Thanks for reading guys!

I pushed the car out of the garage to give it some air and a bit more space to work with!
My drive is showing signs that I have a problem!


and the Megane is parked on the road!
Anyway, I got the dash out and put it to one side,

Then out came the heater!

Old matrix out, new one in! quite an easy swap once the thing is out of the car!


The post turned up and this landed,

Ha ha, got it straight on the car!! The car was first registered on 16 Jan 91!!

After that distraction, for some random reason I looked at the rear of the dash and thought, there is something missing from there!! I had a dig around the loft and found it!


I then decided to clean the remnants of the foam tape from around the vent and put some new on there!

This where things went sideways! I then had the realisation that the heater unit I was using does not have the hole in it to marry up with the vent in the dash!! FFS!!! I had a wobble and decided to clean up the rubber grommets for the heated rear screen and put those in instead!


I also put the rear tailgate trim on, just distracting myself from the heater saga!!

Once I had got all my teddy's back in my pram I got back on the heater issue and decided that I would simply change the broken arm on the original unit with the good one on the replacement unit!


It was at this point that the wife walked past and I whinged at her about this, she said "can't you just cut the hole in it" I obviously dismissed her comment as it was far too simple a solution.
I then got back to dismantling the good unit first!

New heater matrix out!! Then split the case with a flat screwdriver, again surprisingly easy to do!

Out with the fan

I gave the fan a test! all good just needs a clean up!

and had a look at the resistor! I then thought, I might aswell put a new one of these in, now that it is in bits! So I got on and ordered one of those!

Only after messing about with the fan and resistor did I look at the structure of the heater box! The wife was right! I could have just cut the bloody thing!
So I decided to give it all a clean and cut the hole in it!


So I'll wait for the new resistor to turn and put this lot back together!
Thanks for reading guys!
Duncan Grier
Well-Known Member
Always a tough one when the wife calls out the solution...only to fight on until it's your own  and then agree lol
Looking at collection on the drive @Chris74#
1. Think you need a project car
2. How have you got away with your wife not killing you
Can def relate to toys out the pram following my joy yesterday but all ends well....good to see progress
Looking at collection on the drive @Chris74#
1. Think you need a project car
2. How have you got away with your wife not killing you
Can def relate to toys out the pram following my joy yesterday but all ends well....good to see progress
Chris74#
Well-Known Member
Thanks for the tip @Brigsy, I definitely do not want to have to take the dash out once it’s back in.Test the heater wiring/resistor from the sub loom where it plugs into the dashloom with heatrd box in situ before refitting the dash. You will be cursing if its not working once dash is on
clarky_gtt
Well-Known Member
This. I did it, had to take it out again last year in 30c heat when it didn't work!Test the heater wiring/resistor from the sub loom where it plugs into the dashloom with heatrd box in situ before refitting the dash. You will be cursing if its not working once dash is on
Chris74#
Well-Known Member
Nightmare!! I am definitely in no rush to get the dash back in! I want to make sure everything is back it’s place!This. I did it, had to take it out again last year in 30c heat when it didn't work!
Chris74#
Well-Known Member
The heater resistor turned up during the week, had a busy weekend, but managed to get out there this morning. The new resistor arrived minus the metal guard so I stripped the guard off the old one and got it in the sand blaster, gave it a clean up and then some galvanised paint!
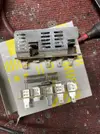
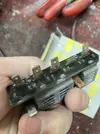
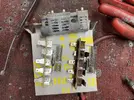

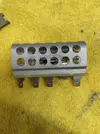
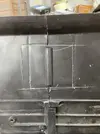
Then I marked and cut the heater box, and then got it in the sink for a good old soapy scrub!

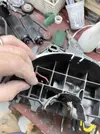
I removed the fan motor/ resistor wiring from the case first, and gave the terminals a clean up with a wire brush.
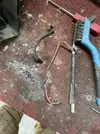
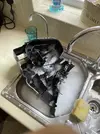
Gave both cases a clean and put them on the washing line to dry out!
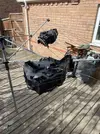
I then gave them a quick going over with some satin black, just to tidy them up a bit!
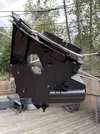
Then started to reassemble! Started by getting the resistor wiring on and then slid the resistor in, and routed the wires!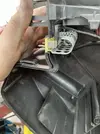
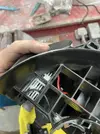
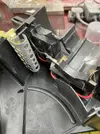
Got it back together and then slid the fan into position! Pushed too hard on the fan and broke the case!! I swore a lot at it, and myself! I thought about bonding it back together but did not want that breaking whilst in use and causing who knows what other damage! so I stripped the original heater box, gave it a quick clean and carried on assembling!
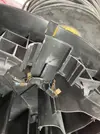
I must have spent 30mins getting the baffles back in the correct position, I had to connect the head control unit to make sure!
I attached the cables and wiring and fitted the new heater matrix! Should be all good! I tested the fan through the loom and it is working fine! I will take @Brigsy 's advice and test it again once in the car!!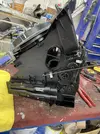
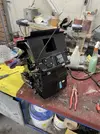
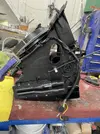
I then stripped the AEI down for cleaning!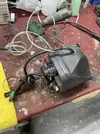
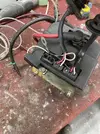
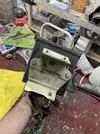
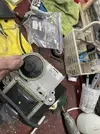
I then sorted out some bits to take to the zinc platers as Im not happy with my efforts on the bigger stuff!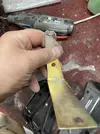
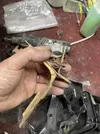
I then got the rear wiper motor and gave it a clean up and fitted it to the car!


Thanks for reading guys!


Then I marked and cut the heater box, and then got it in the sink for a good old soapy scrub!


I removed the fan motor/ resistor wiring from the case first, and gave the terminals a clean up with a wire brush.


Gave both cases a clean and put them on the washing line to dry out!

I then gave them a quick going over with some satin black, just to tidy them up a bit!

Then started to reassemble! Started by getting the resistor wiring on and then slid the resistor in, and routed the wires!


Got it back together and then slid the fan into position! Pushed too hard on the fan and broke the case!! I swore a lot at it, and myself! I thought about bonding it back together but did not want that breaking whilst in use and causing who knows what other damage! so I stripped the original heater box, gave it a quick clean and carried on assembling!

I must have spent 30mins getting the baffles back in the correct position, I had to connect the head control unit to make sure!
I attached the cables and wiring and fitted the new heater matrix! Should be all good! I tested the fan through the loom and it is working fine! I will take @Brigsy 's advice and test it again once in the car!!


I then stripped the AEI down for cleaning!


I then sorted out some bits to take to the zinc platers as Im not happy with my efforts on the bigger stuff!


I then got the rear wiper motor and gave it a clean up and fitted it to the car!


Thanks for reading guys!
Last edited:
Duncan Grier
Well-Known Member
I can imagine many choice words were used multiple times! Well recovered and looks great 
Chris74#
Well-Known Member
Had a few hours at it today, I got another email from Demon Weeks telling me that the discs I ordered in April won't be delivered until the end of October, I called them and cancelled! Still waiting for my pedals to come back from the powder coaters!! Drives me mad not being able to get on waiting on other people!! Anyway, I went out there with the intention of finally getting the heater in, I pushed the car on to the drive and grabbed the heater box! As I started to wrestle it into position I noticed an obvious problem!
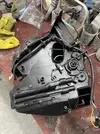
I've put the bloody matrix in back to front!! So I turned it around and got the heater in place and fixed up! Finally!
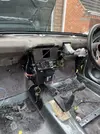
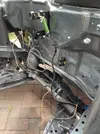
I then decided to fit the wiper motor and get the washer bottle back in to the bulkhead! I got the cleaned up motor from the shed and the re-painted arms!
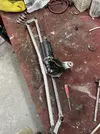
I fitted the motor and arms, then got the washer bottle out of its caustic bath and it cleaned up surprisingly well! I got that fitted also.
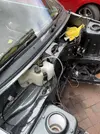
I then got the brake reservoir bracket out and fitted that along with the new brake reservoir bottle!

I then decided to fit the new engine mounts!
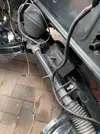

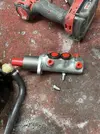
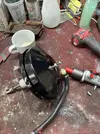
but got distracted half way through with the brake servo, I fitted the new master cylinder to it ready for when the pedals come back!
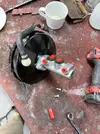
I then spotted the ID tag and decided to rivet that back to the car!
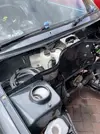
Then back to the engine mounts!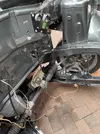
I did fit the other two, but never took any pictures. The dash is ready to go back in, but I want to fit the pedal box first! Grrrrrrrrrr!!!!
Thanks for reading guys!

I've put the bloody matrix in back to front!! So I turned it around and got the heater in place and fixed up! Finally!


I then decided to fit the wiper motor and get the washer bottle back in to the bulkhead! I got the cleaned up motor from the shed and the re-painted arms!

I fitted the motor and arms, then got the washer bottle out of its caustic bath and it cleaned up surprisingly well! I got that fitted also.

I then got the brake reservoir bracket out and fitted that along with the new brake reservoir bottle!

I then decided to fit the new engine mounts!


but got distracted half way through with the brake servo, I fitted the new master cylinder to it ready for when the pedals come back!


I then spotted the ID tag and decided to rivet that back to the car!

Then back to the engine mounts!

I did fit the other two, but never took any pictures. The dash is ready to go back in, but I want to fit the pedal box first! Grrrrrrrrrr!!!!
Thanks for reading guys!
Duncan Grier
Well-Known Member
Similar threads
- Replies
- 4
- Views
- 361
- Featured
- Replies
- 82
- Views
- 2K
- Question
- Replies
- 8
- Views
- 679
- Replies
- 6
- Views
- 268

