There is more to life with TurboRenault.co.uk
You are using an out of date browser. It may not display this or other websites correctly.
You should upgrade or use an alternative browser.
You should upgrade or use an alternative browser.
5 GT Turbo R5 GT Turbo - Complete strip down and re-build #1
- Thread starter Chris74#
- Start date
-
- Tags
- gt turbo r5 gt turbo turbo
Norwich Nick
Well-Known Member
Thought I’d commented in here before, you’re doing great work.
I dropped my roof spoiler as I was refitting it after being sprayed, I feel your pain!
As for your doors, if you’re going to revisit them, it may be worth using dynomat or similar product to the inside of the door skin, it gives it a bit more ridgidity (sp) which will help when profiling
I dropped my roof spoiler as I was refitting it after being sprayed, I feel your pain!
As for your doors, if you’re going to revisit them, it may be worth using dynomat or similar product to the inside of the door skin, it gives it a bit more ridgidity (sp) which will help when profiling
Chris74#
Well-Known Member
Hi @Norwich Nick, thanks for the reply. Did you bond your spoiler on? I’m looking for suggestions for an adhesive to bond the spoiler back on. I was thinking of using the Dinitrol that I have left over! ????Thought I’d commented in here before, you’re doing great work.
I dropped my roof spoiler as I was refitting it after being sprayed, I feel your pain!
As for your doors, if you’re going to revisit them, it may be worth using dynomat or similar product to the inside of the door skin, it gives it a bit more ridgidity (sp) which will help when profiling
Chris74#
Well-Known Member
Serious question here; What are you going to do with your free time once this is complete?
Norwich Nick
Well-Known Member
Did you bond your spoiler on? I’m looking for suggestions for an adhesive to bond the spoiler back on. I was thinking of using the Dinitrol that I have left over! ????
I used a thin foam with double sided tape on both sides, can’t remember where it came from though, also used a squirt of panel bond on the boot locating lugs, that was just in the body shop at the time. Tiger seal used to be the go to body kit adhesive so anything along those lines would work, just avoid bathroom silicon
clarky_gtt
Well-Known Member
do you not have the lugs on the top of the tailgate? mine pushed and clipped in with double sided tape on the vertical ends
Chris74#
Well-Known Member
No, I had to change the tailgate as my original one was knackered! I got a Campus tailgate - no lugs.do you not have the lugs on the top of the tailgate? mine pushed and clipped in with double sided tape on the vertical ends
clarky_gtt
Well-Known Member
Decent 3m double sided tape, stick on the spoiler, peel backing off and slightly warm it with a hot air gun. Ram it on, press it down for 30 seconds and your done. I find it sets like glue when heated up and cooled
Chris74#
Well-Known Member
Thanks @clarky_gtt i’ll get some tape orderedDecent 3m double sided tape, stick on the spoiler, peel backing off and slightly warm it with a hot air gun. Ram it on, press it down for 30 seconds and your done. I find it sets like glue when heated up and cooled
Last edited:
clarky_gtt
Well-Known Member
Chris74#
Well-Known Member
Not too much going on with the 5; new job and DIY jobs and still waiting for the rear discs to turn up, ordered them in February!!
Been stockpiling new parts ready for when the re-build gets in to full swing!
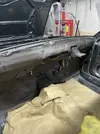
Got out there this morning and decided to get the factory sound deadening/ thermal padding back on, along with the steering column. I am so scared of scratching the bloody thing now!
I had a dig through the boxes and found the plastic retainer clips for the padding, I also gave the padding a bit of a clean!
I then went looking for the steering column boot that I know I have cleaned and fitted a new cable tie to! Took me half an hour to find it in the shed! I got the column and split it, gave it a clean, a rub down with some 180G and some etch primer!
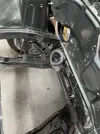
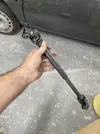
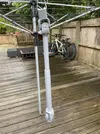
I removed the ignition barrel and gave the aluminium section of the column a blast in the sand blaster! Then got some paint and lacquer on it!
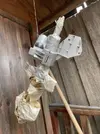
Once I had got the lower section of the steering column painted and lacquered, I got it fixed to the rack!
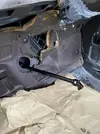
I then fitted the upper section and joined the two!
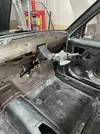
Had a bit of tweaking to do with it but got there in the end, then fitted the rubber boot and cable tied it on to the rack!
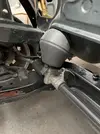
I then fitted another piece of sound deadening to the transmission tunnel at the front! All good!
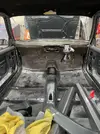
I cleaned up and re-fitted the Bonnet stay and restrictor cable. I fitted a riv-nut to the bonnet so that it can be easily removed, as It will need to come off again shortly!
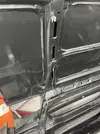
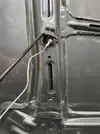
That constituted a whole day out there!
Thanks for reading guys!
Been stockpiling new parts ready for when the re-build gets in to full swing!
Got out there this morning and decided to get the factory sound deadening/ thermal padding back on, along with the steering column. I am so scared of scratching the bloody thing now!
I had a dig through the boxes and found the plastic retainer clips for the padding, I also gave the padding a bit of a clean!

I then went looking for the steering column boot that I know I have cleaned and fitted a new cable tie to! Took me half an hour to find it in the shed! I got the column and split it, gave it a clean, a rub down with some 180G and some etch primer!


I removed the ignition barrel and gave the aluminium section of the column a blast in the sand blaster! Then got some paint and lacquer on it!

Once I had got the lower section of the steering column painted and lacquered, I got it fixed to the rack!

I then fitted the upper section and joined the two!

Had a bit of tweaking to do with it but got there in the end, then fitted the rubber boot and cable tied it on to the rack!

I then fitted another piece of sound deadening to the transmission tunnel at the front! All good!

I cleaned up and re-fitted the Bonnet stay and restrictor cable. I fitted a riv-nut to the bonnet so that it can be easily removed, as It will need to come off again shortly!


That constituted a whole day out there!
Thanks for reading guys!
Chris74#
Well-Known Member
Still waiting for rear discs and pads, so decided to put the brakes on the brake system until they arrive,  and get on with the rewiring!
I got the box out with all the wiring in it and began to sort through, so glad I marked everything as I stripped it!
I decided to try and be methodical and start at the front of the car! Lights backwards!!
I began checking and cleaning every wire and plug!
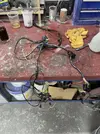
I got the dashboard loom out and put it to one side, that is a job for another day!
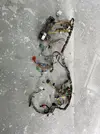
Sorting and hanging looms everywhere!
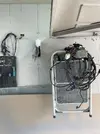
I decided to stop and give the garage a quick clean up while the rain has stopped!, so I pushed the car out of the way!
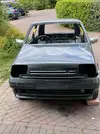
I then started running cables!
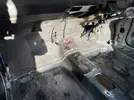
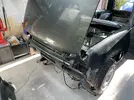
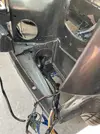
Cleaning and repairing as I went!
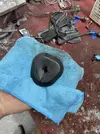
Not sure where the front fogs run, sat them there for now! any ideas?
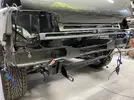
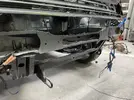
I had some cables with no plugs, so got the haynes destruction manual out to see if I could find out what they are!
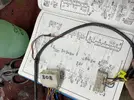
Turns out they are the rear speaker wires!
Kept on going and got the rear looms in too!
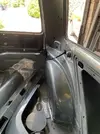
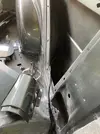
Are these supposed to route this way? My photo collection has let me down!
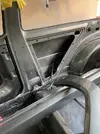
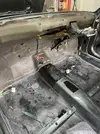
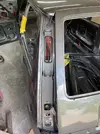
I got the loom in for the passenger door!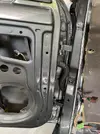
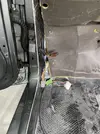
And the tailgate loom!
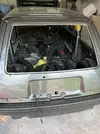
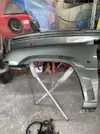
I removed the wing as I could definitely see myself dropping something on it!
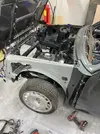
Got the loom in the bulkhead in!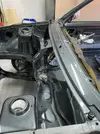
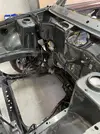
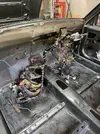
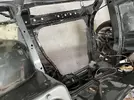
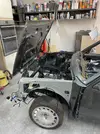
I decided to put the wheel arch on the wing while it was off the car!
I then got the aerial and roof console loom in! what a game that was!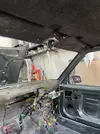
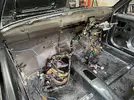
Slowly getting there! thanks for reading guys!
I got the box out with all the wiring in it and began to sort through, so glad I marked everything as I stripped it!
I decided to try and be methodical and start at the front of the car! Lights backwards!!
I began checking and cleaning every wire and plug!

I got the dashboard loom out and put it to one side, that is a job for another day!

Sorting and hanging looms everywhere!

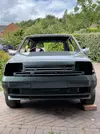
I decided to stop and give the garage a quick clean up while the rain has stopped!, so I pushed the car out of the way!


I then started running cables!


Cleaning and repairing as I went!

Not sure where the front fogs run, sat them there for now! any ideas?


I had some cables with no plugs, so got the haynes destruction manual out to see if I could find out what they are!

Turns out they are the rear speaker wires!
Kept on going and got the rear looms in too!


Are these supposed to route this way? My photo collection has let me down!


I got the loom in for the passenger door!


And the tailgate loom!

I removed the wing as I could definitely see myself dropping something on it!

Got the loom in the bulkhead in!


I decided to put the wheel arch on the wing while it was off the car!

I then got the aerial and roof console loom in! what a game that was!


Slowly getting there! thanks for reading guys!
Duncan Grier
Well-Known Member
Chris74#
Well-Known Member
This weeks update!
I collected some bits from the Powder coaters, but they had forgotten to coat some of the bits, so unable to reconstruct the pedal box, but they look good!
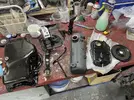
The new battery tray turned up which also looks really good.
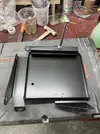
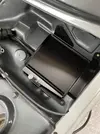
I spent yesterday morning fiddling about with the bonnet release catch and got that cleaned up and re-fitted to the car, also fixed on the the wiring clips back in the engine bay.
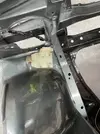
I came across this bracket, so i stripped it ready for some cleaning and paint!
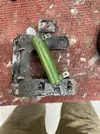
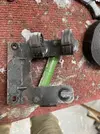
I had to spend a couple of hours on the megane this morning, had to change the squib and the drivers door mirror, then spent the day cleaning and plating nuts & bolts and began to put the gas back together, I got some cloth loom tape and tidied the loom up while I was at it!
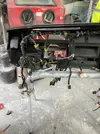
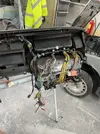
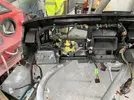
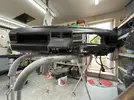
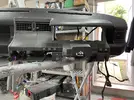
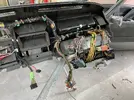
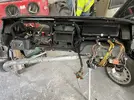
That looks much tidier! Thanks for reading guys!
I collected some bits from the Powder coaters, but they had forgotten to coat some of the bits, so unable to reconstruct the pedal box, but they look good!

The new battery tray turned up which also looks really good.


I spent yesterday morning fiddling about with the bonnet release catch and got that cleaned up and re-fitted to the car, also fixed on the the wiring clips back in the engine bay.

I came across this bracket, so i stripped it ready for some cleaning and paint!


I had to spend a couple of hours on the megane this morning, had to change the squib and the drivers door mirror, then spent the day cleaning and plating nuts & bolts and began to put the gas back together, I got some cloth loom tape and tidied the loom up while I was at it!


That looks much tidier! Thanks for reading guys!
Duncan Grier
Well-Known Member
Chris74#
Well-Known Member
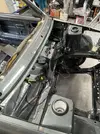
Pushing on at what feels like a snails pace! I finished painting and cleaning up the anti-perc fan resistor & bracket and put it back together and mounted it on the car! Looks a hell of a lot better now 
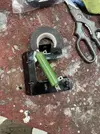
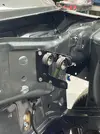
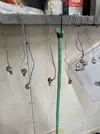
I then decided to fix the battery tray in place with the nuts and bolts I plated last weekend!
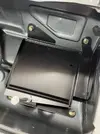
I then got the heater box down out of the loft, gave it a quick dust-off and the fan blades a clean and got that fitted into the car!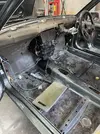

Then on to fitting the rear screen and spoiler!
I gave the rear screen a good scrub as it was minging!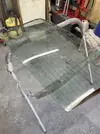
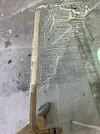
I then gave the gasket a right good clean, I didn't realise how much shite gathers in there, no wonder they rot out! I gave the tailgate top a clean with some panel prep, same on the mating face of the spoiler and got some 3M moulding tape on it! this stuff came from the US and has taken over a month to get here! better be good! I also spotted some dintirol seam seal/ adhesive on it for good measure! I wrestled the rear screen in first, then got the spoiler fixed in place!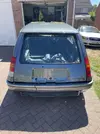
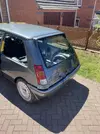
Not bad at all!!! I then got the windscreen down and gave that a general clean off and lay it in place. I am going to get a windscreen company in to fit this, I have ordered the kit from CGB!
Then back on to the bloody Dashboard! I don't know how I missed it, but the fuse box has been stuck together with silicone!! I had a dig around in the loft and found a spare, so set about swapping everything over!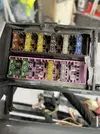
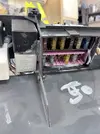
What a mess!
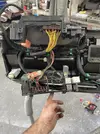
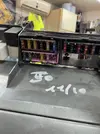
Thats better! As it is about 500C in the garage I decided to go indoors and fit the replacement screen to the speedo display unit as I smashed the previous one!
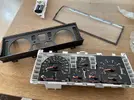
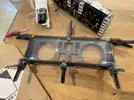
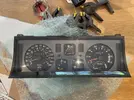
All done, good as new!!
Thanks for reading guys!


I then decided to fix the battery tray in place with the nuts and bolts I plated last weekend!


I then got the heater box down out of the loft, gave it a quick dust-off and the fan blades a clean and got that fitted into the car!


Then on to fitting the rear screen and spoiler!
I gave the rear screen a good scrub as it was minging!


I then gave the gasket a right good clean, I didn't realise how much shite gathers in there, no wonder they rot out! I gave the tailgate top a clean with some panel prep, same on the mating face of the spoiler and got some 3M moulding tape on it! this stuff came from the US and has taken over a month to get here! better be good! I also spotted some dintirol seam seal/ adhesive on it for good measure! I wrestled the rear screen in first, then got the spoiler fixed in place!


Not bad at all!!! I then got the windscreen down and gave that a general clean off and lay it in place. I am going to get a windscreen company in to fit this, I have ordered the kit from CGB!
Then back on to the bloody Dashboard! I don't know how I missed it, but the fuse box has been stuck together with silicone!! I had a dig around in the loft and found a spare, so set about swapping everything over!


What a mess!


Thats better! As it is about 500C in the garage I decided to go indoors and fit the replacement screen to the speedo display unit as I smashed the previous one!


All done, good as new!!
Thanks for reading guys!
Similar threads
- Replies
- 4
- Views
- 361
- Featured
- Replies
- 82
- Views
- 2K
- Question
- Replies
- 8
- Views
- 679
- Replies
- 6
- Views
- 268

