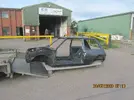
So I got back on the masking up ready to give the engine bay its 2nd/ 3rd coat!
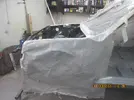
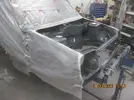
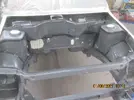
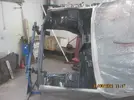
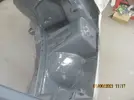
It looks really good! I'm happy with that! I then got all the masking off!
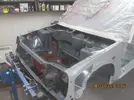
During the week, I decided to have a look at the doors and wire brush them down and get some etch primer on them ready for the body shop!
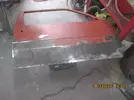
The drivers door has a couple of rust spots that have blown through!
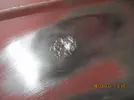
There are some other smaller bits, more like speckles than rust! So I got out the Fe-123 from Rustbuster!
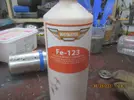
I gave it a coat and left it overnight!
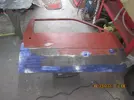
The next evening I went out and decided to cut the bad rust patches out and weld some nice new shiny metal in there!
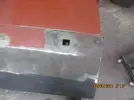
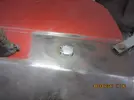
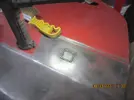
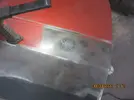
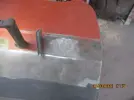
Not bad! I did the same with the other patch and then brushed the whole door down!
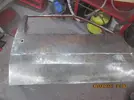
I then got some a bit of filler on there, sanded it back and got some etch primer on there!
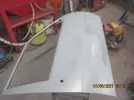
It turned out pretty well!
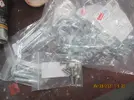
I ordered a job lot of M10 & M12 Flanged Nylocs!
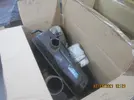
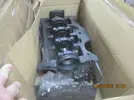
Today I went to pick up a spare roof and some suspension top mounts....came away with a whole car!! oooops! another PH2 R5 GTT project that I really don't need!
I got back and after explaining to the wife that it was and offer I couldn't refuse, I retreated to the garage out of the line of fire!
I stripped down some struts that I had in the loft as I need the parts for my 5.
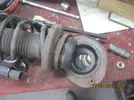
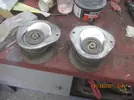
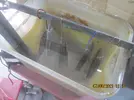
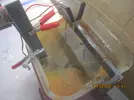
The top mounts are covered in a green horrible paint, so I got them in the Blaster! I was still reeling from the verbal lashing I had just taken and didn't have the patience to stand there so I set up the electrolysis tub and dropped the parts in there instead.
I then decided to have a look at the rear axle and check that it actually fits the car after all of the chopping and welding that I have done!
Nightmare, then bearing brackets are too far apart, that bloody haynes manual tells lies!
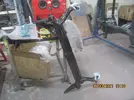
I removed the anti roll bars and pulled the bearing brackets in 5mm each with
@DaveL485 method as used earlier!
I then offered the axle back up and on it went!
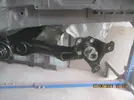
I decided to fix the calliper holder part of the hub, came to the first one and remembered that I had two sheared screws in this one. I spent the next couple of hours drilling and tapping the holes out! I got the new screws out and fixed the calliper holder in place.......shiny!
The electrolysis had a moment when the + & - touched and blew the fuse in the charger! New fuse in and clamped the bits to the tub.....
I then got the dust covers out and gave them a good old fashioned scrub in a bucket of soapy water! Then got some etch primer on them and some black gloss paint!
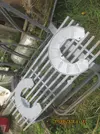
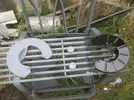
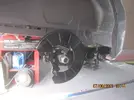
Looking good!!!
Thanks for reading!

