Commitment 
There is more to life with TurboRenault.co.uk
You are using an out of date browser. It may not display this or other websites correctly.
You should upgrade or use an alternative browser.
You should upgrade or use an alternative browser.
5 GT Turbo R5 GT Turbo - Complete strip down and re-build #1
- Thread starter Chris74#
- Start date
-
- Tags
- gt turbo r5 gt turbo turbo
Chris74#
Well-Known Member
Got the filler rubbed down, and the mastic paint on today! The red primer that was applied by the dipping company is slowly beginning to disappear!!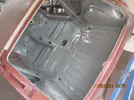
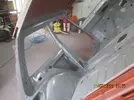
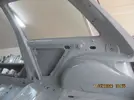
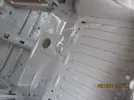
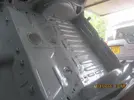

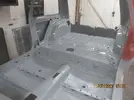
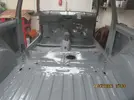
I managed to get some mastic in the cavity so that should help slow the rest down a bit!! I'll get the wax in there also!
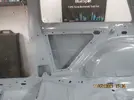
Short and sweet,
Thanks for reading guys!!


I managed to get some mastic in the cavity so that should help slow the rest down a bit!! I'll get the wax in there also!

Short and sweet,
Thanks for reading guys!!
Chris74#
Well-Known Member
Thanks @DaveL485 As you and @Big Steve - Raider advised, the amount of work involved in getting the car back into tip top condition can never be understated! and it is an emotional rollercoaster! But you have to keep plugging away at it each little piece at a time!! I am trying to concentrate just on bodywork first and not get distracted with everything else that needs restoring. Easier said than done!!Well thats looking rather splendid isnt it!
Duncan Grier
Well-Known Member
Yep can only echo comments made, fantastic commitment and level of quality and detail maintained throughout
You must be very happy with all you have acheived to date
You must be very happy with all you have acheived to date
Chris74#
Well-Known Member
Some new bits turned up during the week, trailing arm bushes and new indicator lenses both are very cheap.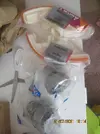
I got the the bearing brackets down form the shed and gave the inside of them a clean as they had powder coating inside them..
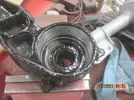
I then got my neighbour to press them in for me!
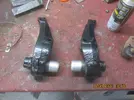
I then started with the seam seal inside the car and the engine bay!!
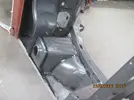
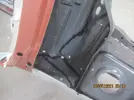
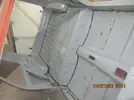

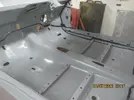
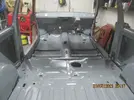
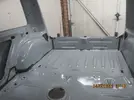
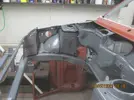
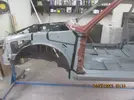
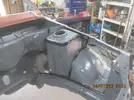
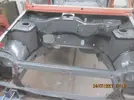
Had a bit of a nightmare getting into some places so improvised!
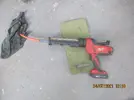

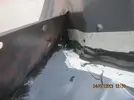
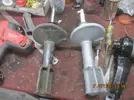
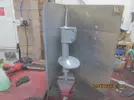
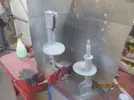
Bit messy, but its doing a job and is never seen! I also sandblasted some struts and got a good couple of coats of etch primer on them.
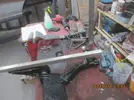
I then got the rear axle down out of the loft and began looking at how I can get the bearing brackets back on at the correct angle.....I never marked them before I took them off!!! Any ideas??????? I looked in the haynes manual and it says that the distance from the underside of the rear out rigger and the centre of the hub axle should be 80mm. I set about trying to rig something up to help!!
Not too sure though. I did check your post @DaveL485 but this is right about the time you stopped taking pics! Any help or ideas are needed!!
Thanks Guys

I got the the bearing brackets down form the shed and gave the inside of them a clean as they had powder coating inside them..

I then got my neighbour to press them in for me!

I then started with the seam seal inside the car and the engine bay!!


Had a bit of a nightmare getting into some places so improvised!


Bit messy, but its doing a job and is never seen! I also sandblasted some struts and got a good couple of coats of etch primer on them.


I then got the rear axle down out of the loft and began looking at how I can get the bearing brackets back on at the correct angle.....I never marked them before I took them off!!! Any ideas??????? I looked in the haynes manual and it says that the distance from the underside of the rear out rigger and the centre of the hub axle should be 80mm. I set about trying to rig something up to help!!

Not too sure though. I did check your post @DaveL485 but this is right about the time you stopped taking pics!
Thanks Guys
Duncan Grier
Well-Known Member
I have my rear beam off and can measure how it sits today if this is of any use? Historically lowered but nothing major. In garage tomorrow so can get a few pics also 
Looking good on what I can imagine could turn into a right old mess and hissy fit in garage time
Looking good on what I can imagine could turn into a right old mess and hissy fit in garage time
Chris74#
Well-Known Member
@Duncan Grier that would be a great help if you could do that!I have my rear beam off and can measure how it sits today if this is of any use? Historically lowered but nothing major. In garage tomorrow so can get a few pics also
Looking good on what I can imagine could turn into a right old mess and hissy fit in garage time
Duncan Grier
Well-Known Member
No problem at all, pm me your number if you prefer me to WhatsApp you direct
DaveL485
Staff member
Absolutely no idea, I just set them in without really thinking on it under the assumption that if I pull hard enough when the axle is on the car that they will slip around to roughly where I want themI did check your post @DaveL485 but this is right about the time you stopped taking pics!
If not...well...i'll be taking the sodding things out again lol
Chris74#
Well-Known Member
Absolutely no idea, I just set them in without really thinking on it under the assumption that if I pull hard enough when the axle is on the car that they will slip around to roughly where I want them
If not...well...i'll be taking the sodding things out again lol
Chris74#
Well-Known Member
So, I got some info off @Duncan Grier regarding the dims on the rear axle and set up an approximate measuring device to set the bearing brackets in place.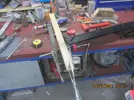
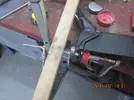
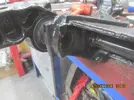
I made an improvised bush press, but the threaded bar wasn't man enough and stripped once I got some pressure on it! I got on to Orbital fasteners and ordered some M10 10.9 grade bar and grade 10 nuts and 5mm thick M10 plates! I managed to get it so far with the crappy bar and hole saw!
I also got some black gloss paint and got a couple of coats on the struts!
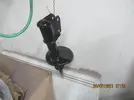

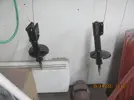
Today the gear from Orbital landed and I also had to order some brush on seam seal as there is a joint up inside the bulkhead beneath the windscreen that i cannot get to with the mastic gun!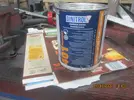
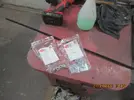
So, I got out into the garage this evening to get these bushes into the rear axle and get some clear coat on the struts!
I copied @DaveL485 idea by using the jointing block in the middle of the beam.. it worked an absolute treat! Thanks @DaveL485
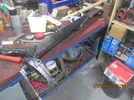
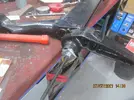
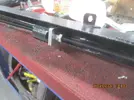
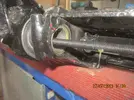
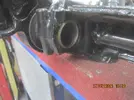
All nice and flush!!
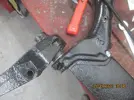
Then on to the other side, I cleaned out the tube as it has some surface rust in it!
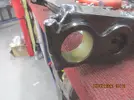
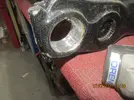
and then greased everything up!
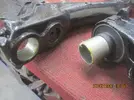
I got the make-shift measuring device set-up and went again!
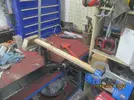
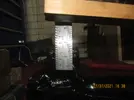
This side went in with no trouble at all, I got it tightened so far and it seemed to jam, so I gave it a few blows with the dead hammer and it clicked and self centred itself, I then carried on tightening the nuts, which had loosened off slightly and the bush slid straight in there!!
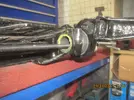

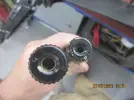
I then went and got the torsion bars and got the ends cleaned, greased and dropped them in! I Noticed that the torsion bars are marked with different letters, Left & Right!
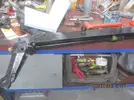
I got the caliper carriers down also and dug out the fixings, I am going to order new fixings for these before I fit them.
I then got the clear coat on the struts!
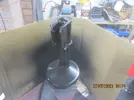
Thanks for reading guys... big thank you to @Duncan Grier and @DaveL485 for sharing of info!

I made an improvised bush press, but the threaded bar wasn't man enough and stripped once I got some pressure on it! I got on to Orbital fasteners and ordered some M10 10.9 grade bar and grade 10 nuts and 5mm thick M10 plates! I managed to get it so far with the crappy bar and hole saw!


I also got some black gloss paint and got a couple of coats on the struts!


Today the gear from Orbital landed and I also had to order some brush on seam seal as there is a joint up inside the bulkhead beneath the windscreen that i cannot get to with the mastic gun!


So, I got out into the garage this evening to get these bushes into the rear axle and get some clear coat on the struts!
I copied @DaveL485 idea by using the jointing block in the middle of the beam.. it worked an absolute treat! Thanks @DaveL485


All nice and flush!!

Then on to the other side, I cleaned out the tube as it has some surface rust in it!


and then greased everything up!

I got the make-shift measuring device set-up and went again!


This side went in with no trouble at all, I got it tightened so far and it seemed to jam, so I gave it a few blows with the dead hammer and it clicked and self centred itself, I then carried on tightening the nuts, which had loosened off slightly and the bush slid straight in there!!


I then went and got the torsion bars and got the ends cleaned, greased and dropped them in! I Noticed that the torsion bars are marked with different letters, Left & Right!


I got the caliper carriers down also and dug out the fixings, I am going to order new fixings for these before I fit them.

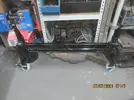
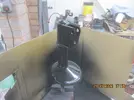
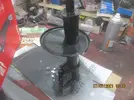
I then got the clear coat on the struts!


Thanks for reading guys... big thank you to @Duncan Grier and @DaveL485 for sharing of info!


DaveL485
Staff member
Funny you should post that, me and the kids watched this at the weekend, still one of my all-time faves!
Chris74#
Well-Known Member
This and Snatch, my two fav films of all time!!Funny you should post that, me and the kids watched this at the weekend, still one of my all-time faves!
Chris74#
Well-Known Member
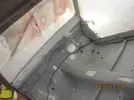
I got the brush on seam seal out and decided to try and get in under the windscreen to seal a joint that I spotted purely by chance, its hidden right up in the bulkhead and is the joint of the windscreen surround and bulkhead! I tried to get some pics but it is a ball-ache to get in to!!
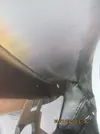
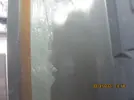
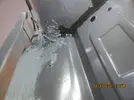
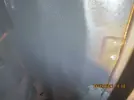
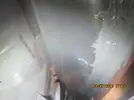
What a nightmare that was, I thought I had got my head stuck in there at one point!
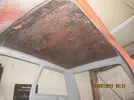
I then moved on to wire brushing the ceiling inside the car,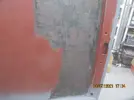
I was on a roll so I just kept going!!
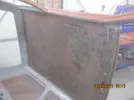
I gave it all a vac and a wipe down with panel prep. I then masked up the windscreen and wrapped the one side of the car in plastic to try and control the overspray!
I then thought, stuff it i'm gonna give the ceiling one coat and give the rest of the inside another coat to cover the seam seal!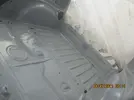
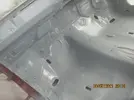
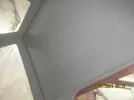
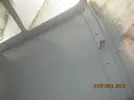
This morning I got out there and began masking up the inner wings ready for their 2nd/ 3rd coat of mastic paint, and I have to give the ceiling a 2nd coat too.
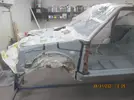
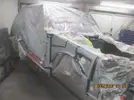
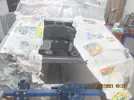
I mixed up the paint and got on it!!
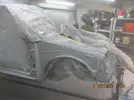
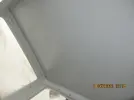
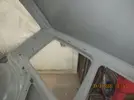
I then started masking up (on the dry areas) ready for the engine bay to get its second coat. I gave it all a good going over with panel prep as well.
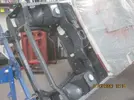
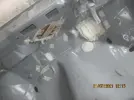
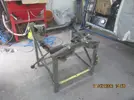
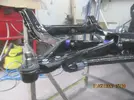
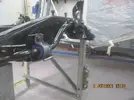
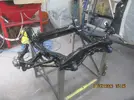
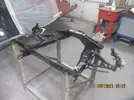
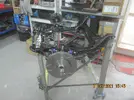
I seemed to fly through this little lot, so I set about making a dolly for the front sub-frame to sit on while I put it back together. I went to the scrap yard yesterday and got some box section for a tenner!

Ive got a spare sub-frame so I used that as a jig and got busy with the grinder and welder!!
Once it was all together, I went and got my powder coated sub-frame
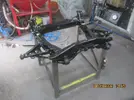
Yeah, messed up a bit, I didn't account for the anti-roll bar! more fiddling needed, but it is solid and will be bang-on once I get some castors on it!
While I had the sub-frame on its stand, I got the new anti-roll bar bushes fitted!
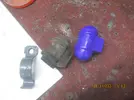
Got scammed with these too! I bought them from SRB Power ltd, who's advert was misleading, they charged me £8 for delivery and they came direct from Euro-Car parts almost 3 weeks later! Jokers!
I then went and got the new hubs and pinch bolts and got them on!
I then got the new front discs and tried them on, just to see how they are going to look!!
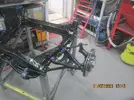
Looking pretty good!!
Thanks for reading guys!
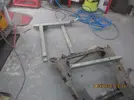


What a nightmare that was, I thought I had got my head stuck in there at one point!
I then moved on to wire brushing the ceiling inside the car,

I was on a roll so I just kept going!!


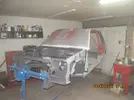
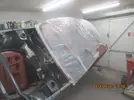
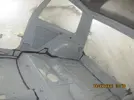
I gave it all a vac and a wipe down with panel prep. I then masked up the windscreen and wrapped the one side of the car in plastic to try and control the overspray!


I then thought, stuff it i'm gonna give the ceiling one coat and give the rest of the inside another coat to cover the seam seal!


This morning I got out there and began masking up the inner wings ready for their 2nd/ 3rd coat of mastic paint, and I have to give the ceiling a 2nd coat too.


I mixed up the paint and got on it!!


I then started masking up (on the dry areas) ready for the engine bay to get its second coat. I gave it all a good going over with panel prep as well.


I seemed to fly through this little lot, so I set about making a dolly for the front sub-frame to sit on while I put it back together. I went to the scrap yard yesterday and got some box section for a tenner!

Ive got a spare sub-frame so I used that as a jig and got busy with the grinder and welder!!

Once it was all together, I went and got my powder coated sub-frame

Yeah, messed up a bit, I didn't account for the anti-roll bar! more fiddling needed, but it is solid and will be bang-on once I get some castors on it!
While I had the sub-frame on its stand, I got the new anti-roll bar bushes fitted!

Got scammed with these too! I bought them from SRB Power ltd, who's advert was misleading, they charged me £8 for delivery and they came direct from Euro-Car parts almost 3 weeks later! Jokers!


I then went and got the new hubs and pinch bolts and got them on!


I then got the new front discs and tried them on, just to see how they are going to look!!


Looking pretty good!!
Thanks for reading guys!

Steve Swan
Well-Known Member
Looking great. Is it ok to re-coat the mastic paint without any surface prep?? Just wondering.
Similar threads
- Replies
- 4
- Views
- 343
- Featured
- Replies
- 74
- Views
- 2K
- Question
- Replies
- 8
- Views
- 670
- Replies
- 6
- Views
- 264

