There is more to life with TurboRenault.co.uk

Register a free account today to become a member! Once signed in, you'll be able to participate on this site by adding your own topics and posts, as well as connect with other members through your own private inbox!

5 GT Turbo PH1 Pearl

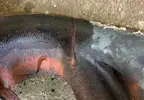
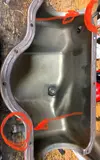
In the corner there looks to be a drain hole, I felt this hole from underneath when i was tracing the leak on Camprust ( it was dripping from that and 'wicking' down rear wash/wipe pipe into car ) I wonder if it's that hole that leads to so many 5's having rot in the window corners?
Good to see you've at least got good news in that area.
 
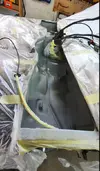
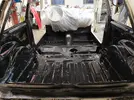
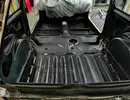
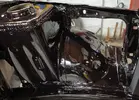
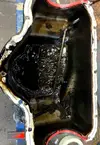
The inside is painted black with this in a spray gun
1578421183767.webp
It turned out quite well when dried up.1578421319440.webp

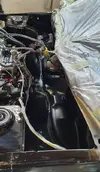
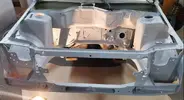
Then I decided to give the engine bay a go with some epoxy primer, after this I'm fairly optimistic!
1578421396167.webp

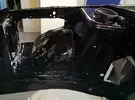
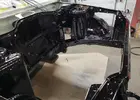
I'm now confident I can spray paint also, så I bought some from a local body shop and tried it out.
1578421573611.webp
1578421595131.webp
1578421697418.webp
It looks amazing! I almost want to lick it..
 
Thanks Dave!
You totally should do it :) I only prepped what's visible when the engine is in, everything else is not so important to me, but everything turned out surprisingly well. I'd prefer a more matte finish though..
My VIN number is totally covered in primer and paint, I have to figure out how to make it visible again :D

It's a great feeling the cover up all my work and different colors, and finally see some results.
Now I can start to prep the engine to go in, I will take it apart and see if anything needs replacing. Last time I heard it run it had a slight knock from the bottom end, and was pressurizing the expansion bottle. At the same time I will we prepping the body for paint..
 
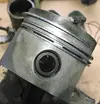
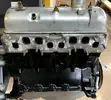
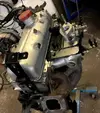
So.. I took the best looking engine apart, I knew it had issues as knock sounds, blow by and exhaust gas in the water tank. To be honest I thought some new gaskets and bearings would fix this.

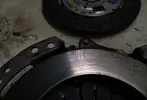
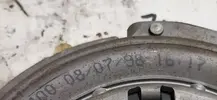
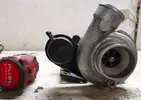
Clutch is brand new, turbo recently rebuild. Look at the production date of the clutch :D
1578839713362.png1578839774836.png
1578840005988.png

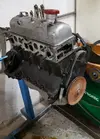
Stripped down ready to disassemble. Nice to have an engine stand.
1578840111550.png


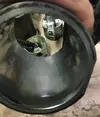
I guess this was the main reason for both the knock and blow by. 3 of the 4 liners looked like this.
1578839050924.png1578839070406.png

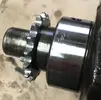
The crank also don't look too pretty.. All journals and shells has large grooves, but otherwise looks brand new, i guess there must have been a lot impurities under the rebuild process.
1578839384678.png

This old spare angine look awfully tempting right now, I know it was a runner when i took it out, so it will just get a refresh, and keep the other one for spares. Or maybe, if something cheap comes up, I might consider B18FT..
1578839212802.png
 
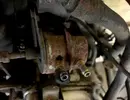
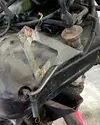
The old engine is coming apart, I found rust an unexpected placeo_O WTF!!
1579370531378.webp

What's the purpose of this system? Is it purely EGR?
1579370611336.webp
 
This engine thing is taking longer than expected, and I'm not even taking it totally apart :(
1583090608624.png
1583090690476.png

Now to the cleaning and swapping parts.
Oh! and I found a crack in the exhaust manifold, so I tried to repair it..
1583090800223.png

Weld groove - Video
The crack is pretty long, so i made a groove to weld in. before welding I heated the metal with a gas burner.
After weld and flapdisc - Video

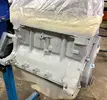
After degreasing the engine block, it's time to remove all the old white paint.
1583091398190.png

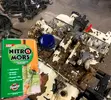
Nitro Mors does not work well with this paint, so all cleaning has been done with wirewheel..
1583091493648.png

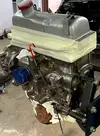
Some 2K primer and 2K PUR paint gloss 10, which is the color and gloss I have chosen for all engine bay components - it's great stuff!
1583092062010.png
1583091571769.png

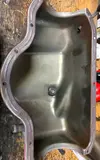
Minding this is not a complete restauration I'll leave some of the "nicer" bits as they are. Swapped the rocker cover and sump from the other engine. How many types of sump are there for a GT Turbo? mines are different from each other.
1583091918725.png1583091990967.png

All brackets where covered in a thick layer of oil and rust, so they were also degreased and sandblasted, there are so many of them what the hell were they thinking?
Brackets - Video

And when you least expect it, there's a turkey on your car.
1583092582218.png
Looking much nicer..
1583092651126.png
1583092675702.png

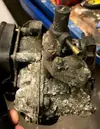
Next up Carburettor, I wonder how that will clean up. It was running fine before I took the car apart..
1583092753494.png
 
How many types of sump are there for a GT Turbo? mines are different from each other.

There’s really only one type of sump for a C1J, the difference is the oil returns from the degassing pot (larger elbow) and turbo (different Pipe diameters)

great work on the rebuild by the way!! 👍
 
@Big Steve - Raider Do you know which one is better? not that it matters, the one with the long tube inside is rusted through..

You should see the main actual difference is on the outside of the sump?? The degassing pot return pipe could be longer on one. And the Turbo return pipe one one could be a different diameter on one..?

Use the best one out of the two, honestly makes no odds.. 👍

If you use the smaller turbo return pipe tho, make sure you use an old bit of pipe as a spacer go make up the gap for the existing (larger) hose on your car. The jubilee won’t work that well to squeeze the pipe down and not tear the pipe to 💩

261008B7-2484-45D5-8870-B0AEE50D9F67.webp
 
So, despite no updates lately, a lot has been going on. I try to simplify what I can as I go along, nothing is sacred, it may offend some OEM guys, but what the hell...

Here's a lot of pictures, they are not totally chronological, but i hope they make some sense somehow..

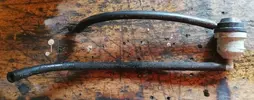
Fuel tank converted to "campus" style.
As a part of the simplifying route, and the fact I got a filler neck from a campus laying around it's a nobrainer to convert.
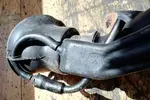
Converted from this type with a valve..
1588496066519.png
To this, don't know what the effect is, but I got rid of the extra valve..
1588496147107.png
Much better!
1588496344970.png
1588496400734.png

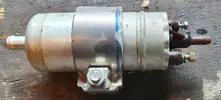
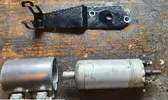
Fuel pump w. bracket modification.
I can't find the bracket for the pump itself, as I remember it was rustet to pieces, so I decided to try and make a new one, from what I have.
Found a exhaust clamp and modified it for the purpose.
1588497098756.png
Cut the clamp in two
1588497245058.png
Welded the clamp on a standoff, it look perfect to me :) I just need to find some soft lining for the inside. The clamp cannot totally fix it right now, but it should when the liner is in place.
1588497306206.png
1588497429011.png

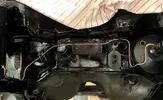
Brake lines in engine bay.
As much I hate doing this, it's rather satisfying to look at when done..
1588495303244.png
1588495533326.png

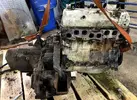
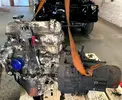
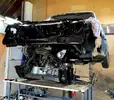
Engine.
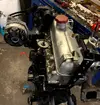
Now the brake lines are done, it's time for the engine to go in.
1588495704771.png
1588495825820.png

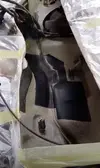
Scuttle painted
To finish off the wiring I have to paint the scuttle. I opted for my beloved PUR 2K paint on top of 2K primer.
1588497860738.png
1588497898749.png1588497928211.png
1588498053072.png


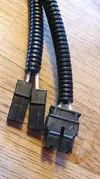
Wiring harness's sorted
The engine loom was scrap, so a now one was ordered from Juracing - I recommend this guy, top quality!
1588498448888.png

While I had the both harness out of the chassis legs, I also changed them from the Campus, as they were in a lot better condition, some repairs had to be done though. Stupid as I am, I didn't take into consideration that the Campus has no fog lights, so neither does the turbo now..
The inside loom was also modified (the connector for thay aux tank was cut off) and freshened up.

Next week I should receive a carburettor in working condition, so when the rest of the wiring is done it should start right up :D

Can any one recommend some spark plugs and gear box oil? I consider ELF NFJ?
 
Back
Top