There is more to life with TurboRenault.co.uk

Register a free account today to become a member! Once signed in, you'll be able to participate on this site by adding your own topics and posts, as well as connect with other members through your own private inbox!

Clio 182 - Lets see where this goes?!

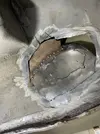
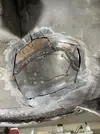
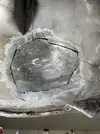
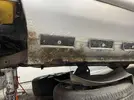
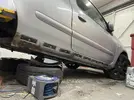
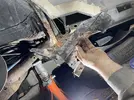
Wee bit of a hijack here. The Campus shell I've used has a little bit of jack damage to the area you chopped and replaced at the beginning of this thread. I'm not bothered about straightening the bent bit but the OEM underseal has started to peel due to the damage.

Looking advice with what underseal to use that ideally comes in an aerosol. Or brush on I suppose.
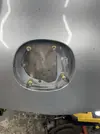
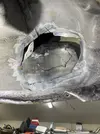
I went bare metal, then epoxy paint, then high temperature wax to all of the weather facing areas!
 
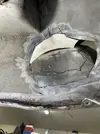
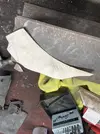
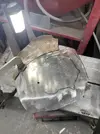
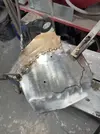
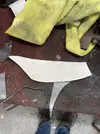
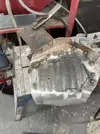
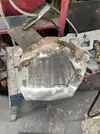
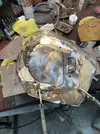
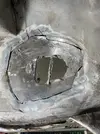
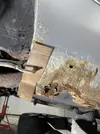
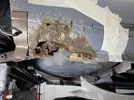
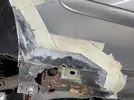
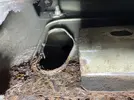
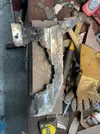
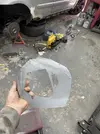
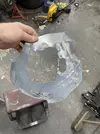
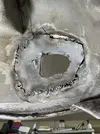
Continued on with the rust repairs! Got some cardboard aided design done last night and started to build the metal patch to close the hole in the inner rear arch. I bought some Cleoco's during the week, they are brilliant!
IMG_2267 Large.jpeg
IMG_2268 Large.jpeg
IMG_2269 Large.jpeg
IMG_2270 Large.jpeg
IMG_2271 Large.jpeg
IMG_2272 Large.jpeg
IMG_2273 Large.jpeg
IMG_2275 Large.jpeg
IMG_2276 Large.jpegIMG_2277 Large.jpeg
IMG_2278 Large.jpeg
I forgot to cut the first patch in and welded straight over the joint! It doesn't really matter here as it will not be seen, but kicked myself for doing it! I also flipped the patch over and welded the rear of the welds so that I can grind the front ones off a bit!

Thanks for reading guys!
 
Had a few hours at it today, Started off by grinding down the welds to the inside of the patch, I only flattened the rear ones as they won't be seen and will give it strength.IMG_2281 Large.jpeg
I then tried it in position again! Gotta keep checking!!

IMG_2282 Large.jpeg
Had to make some minor tweaks, but then marked the front ready for cutting!
IMG_2283 Large.jpeg
I then clamped the rusty bit back on to mark up the actual cut.
IMG_2284 Large.jpeg
I cut it out with a combination of grinder and snips!
IMG_2285 Large.jpeg
I then got some primer and paint on the back of the patch, Whilst waiting for the paint to dry I removed the side skirt to see how bad it is!
IMG_2286 Large.jpeg
IMG_2287 Large.jpeg
I got an offcut of metal and made a template of the shape of the cill!

IMG_2290 Large.jpeg
I then double masked itIMG_2292 Large.jpeg
and got the flap disc on the go!!
IMG_2293 Large.jpeg
lesson learned from the 5, only cut out what needs to go!!
IMG_2294 Large.jpeg
I ground back to good metal, and then marked and cut the outer skin!
IMG_2296 Large.jpeg
Looks like the inner arch is not too bad! but the inner cill is going to need some work!
IMG_2297 Large.jpegIMG_2298 Large.jpeg
IMG_2299 Large.jpeg
IMG_2300 Large.jpeg
Anyway, the paint dried!
IMG_2301 Large.jpeg
IMG_2302 Large.jpeg
Another trial fit and tweak! and then the nightmare of welding right up in the wheel well! Got burnt to sh*t, definitely need more practice at this type of welding!
IMG_2304 Large.jpeg
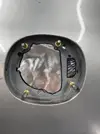
It'll be OK once it is all welded in and ground back! I left that for a bit and got the plug welds in the outside face of the cap aperture!
IMG_2306 Large.jpeg
Ran out of time there! will get them all ground down next time!!
IMG_2307 Large.jpeg
Thanks for reading guys!!
 
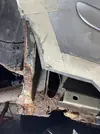
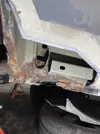
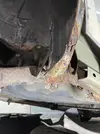
With the state of those arches and fuel flap, can I recommend dropping the rear beam and fuel tank. The rear underside on 1*2’s has several design ‘features’ that specifically allow water and crap to sit and rot the rear end of the car out. Look at the upper spring perch & the ‘shelves’ above where the fuel tank sit. I have restored the underside of 2 of these now and luckily caught them, but the rest of my cars were not as badly gone as yours. It’s all fairly flat panel and easy to fix for someone of your ability. But I can guarantee this will be the cause of the end for many Clios sadly.
 
With the state of those arches and fuel flap, can I recommend dropping the rear beam and fuel tank. The rear underside on 1*2’s has several design ‘features’ that specifically allow water and crap to sit and rot the rear end of the car out. Look at the upper spring perch & the ‘shelves’ above where the fuel tank sit. I have restored the underside of 2 of these now and luckily caught them, but the rest of my cars were not as badly gone as yours. It’s all fairly flat panel and easy to fix for someone of your ability. But I can guarantee this will be the cause of the end for many Clios sadly.
I was considering dropping the rear beam as I am in there atm! 👍🏻your comments have confirmed that for me 👍🏻
 
Enjoy the captive bolts. Absolute toss pot of a design!
Absolute twats. I ended up cutting 2 flats on the captive ends so I could get a shifter on them.

If the beam brackets aren't too bad, I'd be tempted to leave them attached to the body and split at the bushes..... thats if the beam bush bolts etc haven't seized in place... 🥲
 
Back
Top