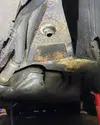
So been away and had more life challenges thrown at me, will be glad when this year is over tbh!!!
Anyway, despite absolutely dreading gong out there, I got out there this morning and ground the welds down, got burn't to f**k bits in my mouth - what a crap job and place to weld!!!
Got it done and then plastered a load of Dinitrol seam sealer across the welded area, and then decided to paint the whole area in it as it was originally coated in the stuff!
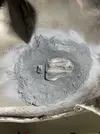
Once that was done, I got a small heater on it while I ground the plug welds down on the front of the aperture!
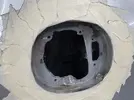
Once I had ground it down, I got the Dolphin glaze out, been a while since this saw the light of day!! I gave the face a good covering!
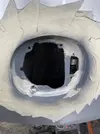
and then sanded it down, started with 120 and finished with a 600 grit! just to hide where the welds hadn't quite filled the plugs and around the edge where I had welded bits together! I the got some etch primer on it!
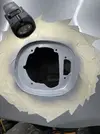
Not perfect but it will do for now! I then masked the area off and got ready for some base coat!
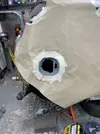
Got the base coat on and then mixed up some clear coat and started to get that on, had a heater on the go as it is freezing in the garage today!
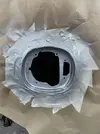
Gave it 3 good coats of clear coat and removed the masking!
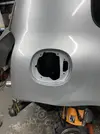
I then checked again that the plastic insert fits!
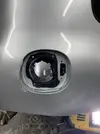
I had sprayed the inside of the arch silver, but the rest of it was black, so I got some black stone chip and gave the inner arch a liberal coating of the stuff!
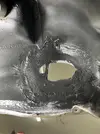
That'll do! Until the big resto comes along!!

I have heard that the 5

will be back home next week so cannot strip the back off this as was going to! but it will be in and out of the garage to get through all this rust!
Thanks for reading guys!

