There is more to life with TurboRenault.co.uk

Register a free account today to become a member! Once signed in, you'll be able to participate on this site by adding your own topics and posts, as well as connect with other members through your own private inbox!

21 Turbo 1991 Renault 21 Turbo 2wd

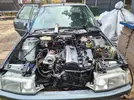
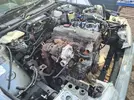
So I dug into it and it does have SOME oil pressure but not enough to let it ride. When up to temp its tripping below the min pressure warning level. It also smokes like its on 60 Embassy a day!

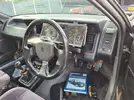
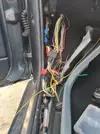
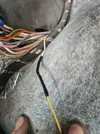
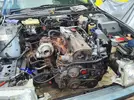
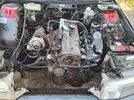
I spent a day fixing the oil pressure switch, sender, and wiring...someone has been here before and made a right old patchwork of it, but I traced the right wiring and corrected it, fitted new sensors and now we have working oil level/pressure on the dash :) Before I got into it sending 12v to the oil switch was turning the windscreen wipers on! rofl.gif

x20230729_171343_RS.webp

x20230729_171339_RS.webp

x20230729_171352_RS.webp

Urgh, not good. Whoever chopped this lot in needs a good beating.

x20230729_171404_RS.webp

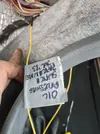
This is where I isolated the oil switch wiring and ran a patch wire over to the output from the instrument panel.

x20230729_172437_RS.webpx20230729_172441_RS.webp

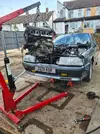
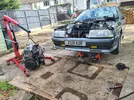
So.... next time the engine comes out.
 
What is it with you and shit plates?
I am not sure I could work on a car with the plates looking like that. I would have to set it on fire.

However - great work though
 
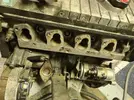
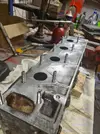
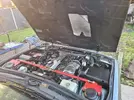
New engine, popped the inlet studs out to properly clean the mating surface up

x20230812_173557_RS.webp

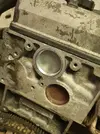
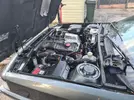
This is a Phase 1 engine, going in a phase 3. While most differences dont matter that much and it all fits together, the one that does is the fact this engine has a distributor cap & associated drive, whereas the car is a wasted spark model with coil packs. I removed the dizzy drive system and put a core plug in the hole.

x20230817_132029_RS.webp

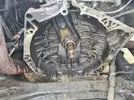
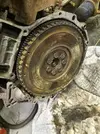
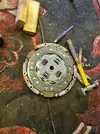
Ten it was just general engine prep to go in, making sure the locating dowels are right, ancilliaries, blah blah. The flywheel also needs to be wasted spark, being a 60-2 with one reset point against the phase 1 two reset point type. While I was there I fitted a new spigot bearing (tried the bread trick to remove the old one, it works, I was staggered!), also a new clutch friction plate and release bearing. These, surprisingly, are plentiful in supply - its covers (and full kits) that you cant get.

The bread trick... (youtube it)

x20230815_132256_RS.webp
x20230815_125545_RS.webp x20230815_125548_RS.webp

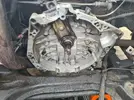
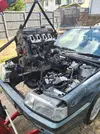
And in she goes!

x20230817_135135_RS.webpx20230817_152740_RS.webp

Then its just a case of reassembling the jigsaw puzzle.

x20230817_171547_RS.webp

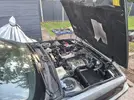
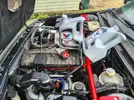
And back together :)

x20230817_184428_RS.webp

x20230817_184436_RS.webp

Fired up first time, no problems - once it was run up and the coolant bled I packed away for the day. I had a couple of bits left to refit so 30min the next day and I toddled off to the fuel station to top it up a bit. It drove nice, no smoke, no issues that I could see. 2 miles down, longer drive next time!
 
Well lets see where were we. Ah yes, test driving.

It didnt go well. Started an intermittant miss, and as I was diagnosing (Cylinder 1, as it turned out) it started leaking. Ominous.

x20230903_124205_RS.jpg

Then it went kaboom. Fully dropped a cylinder, clouds of white smoke out the back, coolant all over the shop.

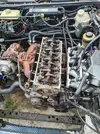
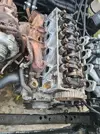
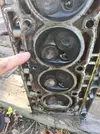
NOT IDEAL. But hey ho, whaddya do... just crack on and fix it. As you can see in the image below the HG was absolutely hanging, three breach points in the fire rings and generally falling apart. I think when it was refitted it wasn;t retorqued after run-up, as the bolts didnt feel the right tightness when I undid them. When I examined the head after the skim, I found most of the small coolant channels were blocked with salt, the block had an inch of silt in it at the back too.
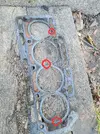
x20230905_151644_RS.jpg

20230905_151648.jpg

I had it apart pretty fast.

x20230905_151653_RS.jpg

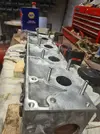
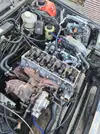
Dropped the head off for a skim, when that was done I cleaned all the deposits off the valves and other general cleaning related stuff, mating surfaces for manifolds and that.
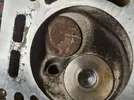
x20230909_140428_RS.jpg

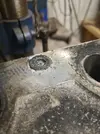
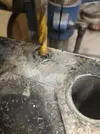
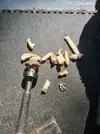
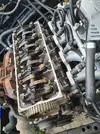
After several attempts to extract the broken exhaust studs (2 of), I gave up and drilled them, and retapped. Fitted 9 shiny new studs.
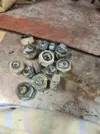
x20230909_150457_RS.jpg

Not budging!

x20230909_150501_RS.jpg

Drilling & keeping it straight and level.
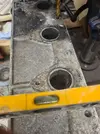
x20230909_150859_RS.jpg x20230909_150903_RS.jpg
 
Better.
x20230909_154617_RS.webp x20230909_154622_RS.webp


Has a few days off the cars, with a work trip to Poland in there too which was nice. Back on it on Saturday though. Note I also studded the coolant housing as the threads didnt look great further up the hole.

x20230923_143435_RS.webpx20230923_143437_RS.webp


x20230923_143440_RS.webp

Bolted up, the M8 [10mm hex] metal lockers are excellent for the exhaust manifold.

x20230923_155828_RS.webp

New cambelt and tensioner went on too and it fired up first time of asking.

x20230923_163720_RS.webp

Then I rebuilt the rest, and ran it up to temp. I think I was done & packed away before 7pm, not bad considering it was gone 1pm when I started.

x20230923_180758_RS.webp

The following day I retorqued the head bolts to spec, set the valve clearences and changed the oil & filter - put some proper oil in it, 5w50 VR1.

x20230924_143113_RS.webp
 
So, now thats done, back to road testing. Drives really lovely, engine sounds fab. Running wastegate pressure at the moment so should be turning that up a bit this week :) runs considerably cooler now the head & block are cleaned out, and oil pressure is great.:)
 
Back
Top