There is more to life with TurboRenault.co.uk

Register a free account today to become a member! Once signed in, you'll be able to participate on this site by adding your own topics and posts, as well as connect with other members through your own private inbox!

5 GT Turbo Renault 5 GT Turbo Phase 1 Full restoration from Slovenia

Gianni_D

Active Member
Hi everybody!

The time has come to do a full restoration of my dads 5 GT Turbo in hopes that I complete it for his birthday in april. The story goes like this:

My dad bought the car from Italy in the 90' and imported it in Slovenia - ex. Yugoslavia. I believe he was the or one of the first ones with a 5 GTT. The car was used as a daily, for street racing, prepared to do rally in group N (but not actually raced as he decided to race a Citroen AX Sport).

This is a photo from circa 2005.
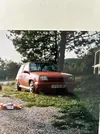
IMG_6888.webp

As much as I can remember, he drove the car until I was 9 or 10 (I am 25 right now) and then bought a new car and left the Renault in the driveway.
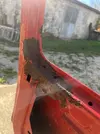
After 10 years of sitting, the windshield seal disintegrated and water came in the car, rusted the floor, side sills,... You all know where these cars rust.
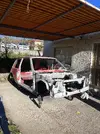
So about 5 years ago I started the restoration bit by bit as I was still going to college. In the past 5 years I disassembled the whole car to a bare shell, finished my bachelors degree in mechanical engineering and masters degree in supply chain&logistics.
This summer I started to work on the car as much as possible and this is where we are right now.

I dropped the entire front subframe and engine / lifted the shell from the subframe.
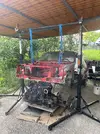
IMG_5608.webp


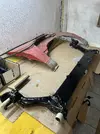
I made my own rotisserie spit using CAD model of a R5 from AssettoCorsa game and it worked perfectly.
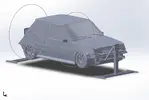
1729068158346.webp


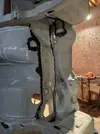
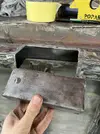
With easier access to underside I replaced the floors, side sills, some work in the engine bay (yes, it was crashed a few times and repaired "good enough"),...
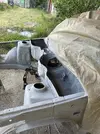
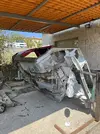
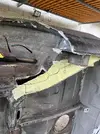
IMG_6136.webp
IMG_6461.webp
IMG_6877.webp
IMG_6876.webp

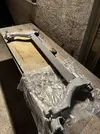
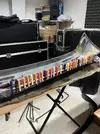
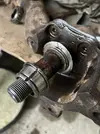
Right now I am working on restoring the rear subframe. The torsion bars and rear disc bearings were a pain in the ass to remove as the splines were rusted on. I also had to remove the rubber bushings as they werefalling appart.
IMG_6824.webp

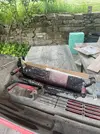
I also started doing some repairs to the bumper but decided to first complete the shell.
IMG_0932.webp

The work continues almost everyday, bit by bit as I only have a few hours after work to get on the project.
I started this forum thread as I am sure I will need some help assembling the car once I have it painted. :D

Till next time! Cheers
IMG_6879.webp
 
Love it 👌 looking forward to the updates

Plenty of knowledge and experience on here and a few of us had the joy of that level of rust/chassis repair so ask if you like - plenty of repair pics to guide you also if needed
 
So today I managed to put in a few hours of work.

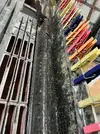
I cleaned and prepared the rear subframe for paint. I am using a anti rust acid and after it dries i put on 3-4 layers of primer with zinc.
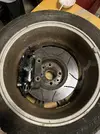
IMG_6890.webp

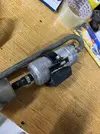
I also prepared and painted the gas tank shield (not sure what's the right name for it) and the steering column.

IMG_6892.webp

Lastly I replaced the back side of rear wheel arch on both sides. I ground down all the welds as I'm not sure how would the bead effect the bumper fitment.
Also, the metal looks weird just because of acid.

o.webp

See you again tomorrow
 
Another few hours today.
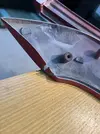
Cleaned up most of the hard brake lines and put acid on them. Ready for paint tomorrow.
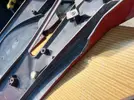
IMG_6904.webp

Also the rear subframe is now fully painted with primer.
IMG_6905.webp

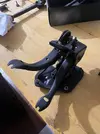
I sanded and painted the pedal box and handbrake. The pedals had some rough corrosion so they don't look the best, but I couldn't be bothered using body filler or something like that. Maybe I'll look into some new rubber feet? not sure what's the correct word in English.
Also I'm thinking of DIY zinc plating the part that holds the steel brake wire, that's why it's still dirty.
IMG_6907.webp
IMG_6906.webp

That's it for today. Hoping to get the shell ready for seam sealing and underbody protective paint in the next week. Any advice on what to pay extra attention when seam sealing? Never done anything like that.
 
Quick update as I've been busy at home making olive oil for the past week.

Rear subframe is fully painted and ready for new bushings, discs and calipers.
IMG_6938.webp

Also the gas tank shield got quick sanding and paint.
IMG_6939.webp

I removed all surface rust from brake and fuel lines, and painted them.
IMG_6961.webp

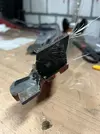
Cleaned up the rear brake compensator and repainted the bracket. Also a part fell from the assembly. Is that a problem, should it be fixed or nothing to worry about?
IMG_6962.webp
IMG_6963.webp

Also I redid the brake booster. Will be fitting the 20,6mm master cylinder.
IMG_6960.webp

Any idea if youngtimersclassics are going to have a black Friday sale this November? I have quite a big list of items so even a small discount would be nice.

IMG_6959.webp

IMG_6964.webp
 
Not much progress today. I just started seam sealing everything. I bought 3M ones, in a gun and in a bucket. Never again choosing the bucket version as it's a pain in the ass to put on the car and it looks horrible. Nevertheless it doesn't matter how it looks as it's going to be painter over.
I hope to finish all seam sealing tomorrow.
IMG_6995.webp
IMG_6997.webpIMG_6998.webp
 
@andybond thanks, I'm used to doing more work but struggle with restoration as I'm not really a welder/mechanic but more of an engineer.
@Big Steve - Raider Thanks for the positive thoughts :D

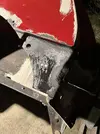
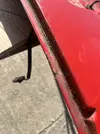
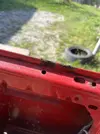
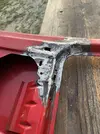
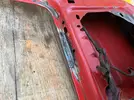
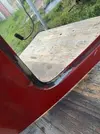
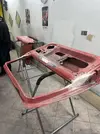
So today was another day of.. fighting rust. I ran out of seam sealer for the body so I started fixing the rear hatch. Water somehow made it behind the glass and rusted a few places. Some were so bad I had to cut them all out and replace with new metal.
IMG_7038.webp

IMG_7036.webp
IMG_7037.webp

After some grinding and welding I got to this stage.
IMG_7040.webp

IMG_7041.webp
IMG_7042.webp
IMG_7044.webp

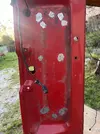
Lastly I plugged all the holes for license plate brackets as I'll just use 3M double sided tape when the car will be finished.IMG_7046.webp
 
Late night photos but I finished all the seam sealing and painted the undercarriage with 3M 08873. I got quite frustrated as some of the paint bottles were quite dry-harder compared to others even though the paint was bought new and is not expired.
IMG_7053.webp
IMG_7212.webp
IMG_7213.webp
IMG_7214.webp

Tomorrow I'll buy two more bottles and tidy up a places where the coating is too thin. It can never be a one day job😂
 
Not really moving as fast as I want to but today was the end of the underbody protection/painting.
I painted the last bits with the 3M stuff, 2 layers of some other black sealing paint (whatever the shop sold me, I'm not so sure but they said).
Before applying the last paint coats I made my own drain plugs out of some POM-C I had laying around.
IMG_7241.webp
IMG_7242.webpIMG_7245.webp
IMG_7248.webp

Seeing the underbody complete it gives me a morale boost as I've been struggling feeling like I haven't done any visible real progress.

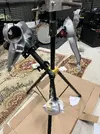
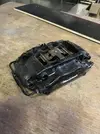
For the end of the day I took out my new brake setup to check for clearance on my speedline wheels. I will need to buy a refurb kit for the callipers as I'm going to be powder coating them.
Also I'm not sure about the correct model of them as the only numbers I cand find are 6971 and 6972 on the other half of the calliper. All I know is that they are from a Maserati and were used on a hillclimb 5 GTT, so they come with an adapter for the wheel hub.
IMG_7276.webp
 
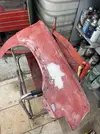
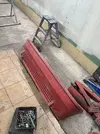
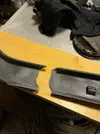
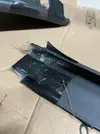
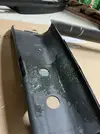
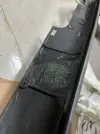
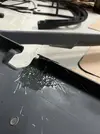
Last few days I started fixing the body kit. Some of the wheel arches had broken screw "boss features"? Also many small cracks I had to grind down and fill with fiberglass. I also made some progress on the sideskirts that had a few broken tabs.
IMG_7289.webpIMG_7290.webp
IMG_7292.webp
IMG_7294.webp

My dad started working on the front bumper as it's in a quite bad shape and I don't really have any real experience working on bigger parts as the bumper needs replacing the full bottom part.

IMG_7296.webp

On the other note. The shell is off to paint! Finally it moved away from the workshop for the first time in so many years.
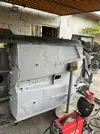
I made a trolley of some kind for easier transportation of the shell on the trusk/around the workshop for the paintwork. Nothing special, just some metal tubes and bigger wheels.

IMG_7318.webp
IMG_7323.webp

Now it's time to quickly finish the bodykit and start working on the engine. Just a quick service as it had a full teardown and rebuild 1000km ago.
If I remember correctly it still has group A LSD and kind of built engine with who knows what parts. I'll see when I open it up.
 
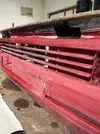
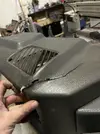
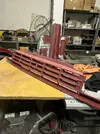
Today I managed to start repairing a broken part of the front grill, plugged all the holes on the side skirts as each one was cracked.
I had some problems with slow curing time with the fiberglass resin. I used a scale to measure out 2% mix of resin and hardener but it took 3 hours to start getting hard instead of 10 minutes as it says on the box. The room temperature was 22 degrees Celsius. Before mixing I shaken the can of resin and after adding hardner I mixed about 2 minutes, so I really don't know what I did wrong.
IMG_7362.webp
IMG_7363.webp
IMG_7364.webp
IMG_7366.webp

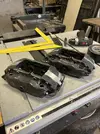
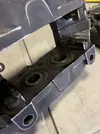
After that I started working on the front Brembos. Originally I had planned to sandblast them and powder coat them but the seals look really good (they maybe have a few 100 km as the calipers were already rebuilt when they were used on a hillclimb car). So the plan right now is to just primer and paint them.
IMG_7358.webp

I also sanded down the hard edge where two halves meet so it looks nicer.
IMG_7367.webp
IMG_7369.webp
 
Quick bodyshop update.

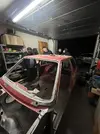
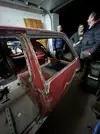
They started the work on all the panels and the body. There was A LOT of filler used previously, not the best repairs and bad paint prep. So they have quite a bit of work to do - about two months they estimate.
That works great for me as it keeps the 5 in a closed workshop during the winter as that I only have one car garage and the Impreza is parked inside.
IMG_7418.webp
IMG_7419.webp
IMG_7420.webp
IMG_7421.webp
IMG_7423.webp
IMG_7424.webp
 
Due to some personal reasons the 5 is back home from the body shop a bit early and stored in a barn.

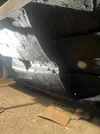
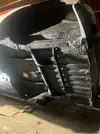
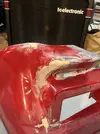
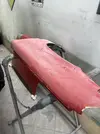
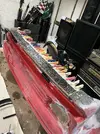
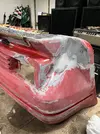
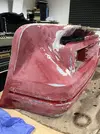
Today I did some more front bumper repairs. The lower lip was broken at least on 4 separate occasions and filled with bondo so I decided to do it right and removed the whole bottom part and started making a new one.
I used a water-resistant plywood as a base, impregnated with resin. If the end result won't be ok I'll just buy a new bumper but right now I decided to try my best repairing it and maybe learn a thing or two.
IMG_7474.webp

I also did a lot of sanding and chasing out some cracks.
IMG_7475.webp
IMG_7477.webp
IMG_7476.webp

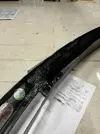
Also some minor repair on rear wheel arche as the rear bolt hole tab was broken. I will still need to trim it to dimension once it dries.
IMG_7478.webp

And lastly while I was working with fiberglass I (again) repaired cracked front lip from my Impreza.
IMG_7479.webp
 
Another day, another repair.
Continued work on the front bumper. I don't know why the resin is hardening slower than it says on the package - 24hours and still not completely dry. The catalyst is new, sealed with "best before in 2026". The mixture is correct as I'm using a 0,01g scale resolution when measuring. It's also in a heated room with 20 degrees Celsius.
IMG_7503.webp
IMG_7504.webp

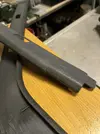
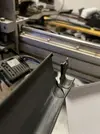
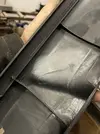
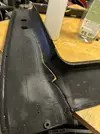
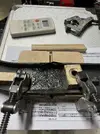
Next it was time to fix cracked interior plastics. They all had previous repairs that didn't held well.
IMG_7487.webp
IMG_7486.webp
IMG_7488.webp
IMG_7490.webp
IMG_7491.webp
IMG_7492.webp
IMG_7493.webp
IMG_7494.webp
IMG_7495.webp
IMG_7496.webp
IMG_7497.webp
IMG_7498.webp

IMG_7500.webpIMG_7499.webp

IMG_7502.webp
Next I started sanding the front grill to make it easier for the bodyshop next time.
IMG_7505.webp

Also does anybody have one on hand out of the car and could help me and measure the mounting tabs? Mine are all broken and would like to make them before sending the car out again. Thanks.
IMG_7506.webp

IMG_7501.webp
 
Back
Top