There is more to life with TurboRenault.co.uk

Register a free account today to become a member! Once signed in, you'll be able to participate on this site by adding your own topics and posts, as well as connect with other members through your own private inbox!

Renault 11 Turbo Phase 2 Restoration

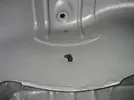
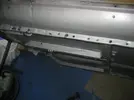
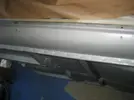
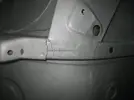
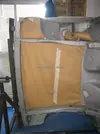
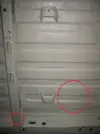
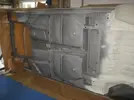
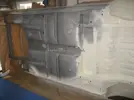
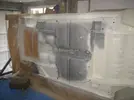
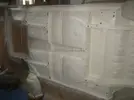
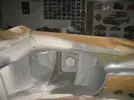
Following the painting a couple of weeks ago I found there were a few spots where the rust treatment layer had collected in pools, and I'd missed mopping it up before I over-painted it with the Epoxy 121, so basically the Epoxy 121 could just be wiped away.... :ai: so I had a couple of hours in the garage today and did a bit more painting:
IMG_4616.webp
IMG_4622.webp
IMG_4620.webp
IMG_4623.webp
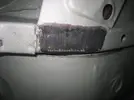
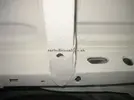
I also wasn't very happy with the smoothness of the patch I'd welded onto the N/S/F chassis rail, so I ended up grinding a bit more off it, and then re-covering it with rust-proof paint and then Epoxy 121:
IMG_4621.webp
IMG_4626.webp
I now want to cover a few of the parts that the spray gun cannot reach (like the back-side of brackets etc) with a little coat of Epoxy 121, then I'll be ready to start with the stonechip.

Thanks for reading :)
 
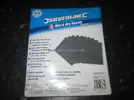
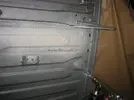
Another productive day in the garage today. The manufacturer of the Epoxy-Mastic 121 recommend that you flat it down with 320 grit sandpaper before you over-paint, so that was today's first job. I'd bought a couple of packs of 320 grit paper if advance of today, so was all prepared:
IMG_4629.webp
I got myself set up with a little bucket of water and began the wet sanding, couldn't resist this opportunity to post this photo as I know that @Mart loves to see my little winning stool every now & then! :grin.gif:
IMG_4631.webp
After a couple of hours rubbing down I was left with this:
IMG_4636.webp
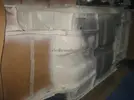
I then wiped all the remaining water off the panels and made sure everything was nice & dry ready to accept the masking. Spent a fair bit of time on the masking this time and was quite pleased with the results!
IMG_4642.webp
IMG_4644.webp
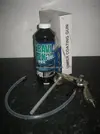
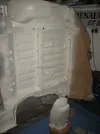
Now I was ready to have a go with the U-Pol Gravitex stone chip kit I bought some time ago. The kit came with 6 bottles of sealer and the spray gun ready to go:
IMG_4647.webp
Quite a nice little kit as the bottle just screws straight onto the gun, so no faffing about cleaning the feed cup after you paint!
IMG_4649.webp
I thought I'd have a go with just 1 bottle today and see how it went... with all the protective gear on again, I made a start...
IMG_4650.webp
As you can see, it sure does splatter out of the gun and It took a bit of fiddling with the pressures to find a satisfactory feed rate. I went with the white Gravitex as I thought it would help brighten up the paint that will be going over the top of this little lot...

I was quite pleased with how it went on:
IMG_4651.webp
But there are a couple of areas where it went on too thick and unfortunately there's a couple of runs :(
IMG_4653.webp
So I've not left the heater on it tonight to dry and will report back how it looks tomorrow:
IMG_4655.webp

Thanks for reading! :)
 
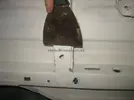
Thanks to @andybond 's suggestion I tried to remove the runs in the Gravitex this morning, and found that a decorating scraper was just the tool for the job! :de:
IMG_4659.webp
IMG_4660.webp
IMG_4662.webp
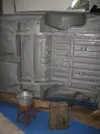
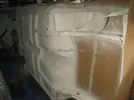
I then continued to cover the rest of the underneath of the car with the Gravitex Plus:
IMG_4663.webp
IMG_4666.webp
IMG_4667.webp
IMG_4672.webp
So far I've used 4 bottles of the Gravitex. Still have a few bits to finish in the front near side arch, but want to roll the car over to get at that bit:
IMG_4669.webp
Now I'm going to do a bit of research on over-painting Gravitex. I noticed on the spec sheet it recommended I put down a primer first... so looks like another 2 lots of coatings to go before the underneath is finished.... :dp: Be welcome to hear the suggestions from any pro-painters on here about that like @Haz or anyone else?

Thanks for reading :)
 
Looking good. You're making some great progress now!
Personally, I've had no issues painting direct onto gravitex, as its white it will make it easier so see if there's enough colour basecoat on too.
Just give the gravitex some time to cure, just press into lumpy bits with screwdriver, they want to be hard.
Dry prep with a grey scotchbrite pad, blow of and paint.
Also you mentioned waxoyl, don't apply until areas are fully painted as paint will react with it.
Look forwards to seeing more progress. Starting mine over Christmas
 
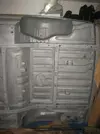
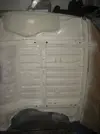
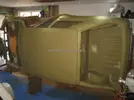
Finished off the Gravitex coating today, the last part to do was the N/S/F arch so I turned the car over on the spit for better access:
IMG_4676.webp
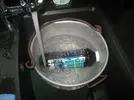
I'd read on the t'internet that the Gravitex will go on better if you leave it in a bucket of warm water for 10 minutes or so before you use it, so I thought I'd give it a go:
IMG_4679.webp
Can't say I noticed any difference... :search.gif:
IMG_4681.webp
So that's all the Gravitex done now! :bp: All together I used 4 full bottles and a quick spray from the 5th.
IMG_4683.webp
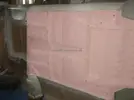
Next plan is to paint the underneath Body colour, and after doing a bit of research I'm going be using a (F***ing no idea) paint as I don't want to be going to all the effort needed with respirators etc.. to use 2 Pack. I'm just going to be painting the very centre section of the underneath as shown here in Pink:
Picture1.webp
Thanks for Reading :)
 
Last edited:
Looking good. You're making some great progress now!
Personally, I've had no issues painting direct onto gravitex, as its white it will make it easier so see if there's enough colour basecoat on too.
Just give the gravitex some time to cure, just press into lumpy bits with screwdriver, they want to be hard.
Dry prep with a grey scotchbrite pad, blow of and paint.
Also you mentioned waxoyl, don't apply until areas are fully painted as paint will react with it.
Look forwards to seeing more progress. Starting mine over Christmas
@Haz,

Can you please advise me on EXACTLY what paint I need?? I'm reading the old t'Internet and getting a bit confused with it all.... I want to be able to paint the bottom in the body colour and them gloss it, so it comes up nice & shiny. I'm a bit afraid on painting with 2K stuff because I'm a bit concerned about the PPE stuff I would need??

Regards

Steve
 
To be honest, I know you want to save money & paint the shell yourself, I would highly recommend that a professionally equipped body shop do the areas that are seen, the reason I say this many fold.
The first is as you say is the 2 pack paint & the PPE to go with it, then there is the consistency of the paint layers and colour shade applied, dust, curing time and overall finish.
I am not knocking your capability as you have done a cracking job so far, but there is always certain things that cannot be done at home safely or properly in any restoration project so it is best to leave it to the people who have the equipment to do it to hand.
Hi @Red21,
I agree with you totally mate, I'm not wanting to paint any of the exterior panels, I'm only wanting to have a play with the non visible parts ie, underneath.
 
Back
Top