There is more to life with TurboRenault.co.uk
You are using an out of date browser. It may not display this or other websites correctly.
You should upgrade or use an alternative browser.
You should upgrade or use an alternative browser.
Renault 11 Turbo Phase 2 Restoration
- Thread starter Big Steve - Raider
- Start date
Andyquadra
Well-Known Member
when your welding really thin metal, you can sort of spot weld it in short bursts. Enough to get good penetration but not long enough to over heat the spot causing a hole, almost pulse welding
malcolm
Member
Secure that gas bottle! If it falls and knocks the reg off you have a torpedo going through the wall. Strapping the bottle to a table or something ought to be fine.
There is something about thin metal like Andyquadra mentions on here: http://www.mig-welding.co.uk/thin-metal.htm You can only do thin metal in one run with fancier machines.
Have you discovered flap discs for tidying up welds? any bits of metal you might have welded to the reverse might be best ground or cut off with the standard discs, but flap discs are good at not removing parent metal and leave a finish much more like I expect you would be going for.
Sorry guys, I've decided to pause the 11 for a bit and just get the ST Cup re-commissioned so I can get some use out of it this summer on track days etc. 

DaveL485
Staff member
It's a disgrace isn't it!I'm sorry guys just won't cut it I come on this site every now and then specifically to check up on the progress of this 11. Unbelievable
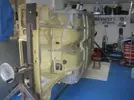
So 145 days (or 4 months, 23 days!) since I last worked on the 11 Turbo  I got my bum in the garage today and got cracking again!! First thing I decided to raise the car up a little bit more on the rotisserie so I could get it at a proper 90 degrees to make it easier to work on:
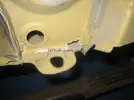
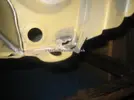
In my mind I had thought all of the prep underneath had finished, so the plan for today was to start the masking ready for the under-seal etc, however once I started to look over the car again, I realised there was still some welding that needed doing to make good some holes, so again I got the welder out had a play. First there was a small hole in the O/S corner of the boot floor:
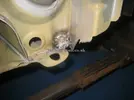
Then, there were a couple of unused plug holes again in the boot floor on the O/S so they had the treatment also:
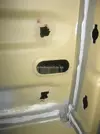
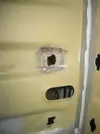
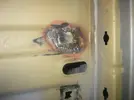
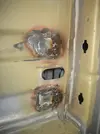
So it might not look like it on these pictures, but I feel I'm getting a bit more of a hang with this welding lark now and think I've also found a good setting on the welder, and the gas is working a treat!
I then noticed that there were STILL some open seams...
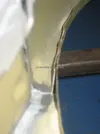
so got busy with the seam sealer...
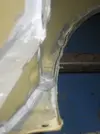
So here we are nearly 5 months after my last update, and the work is still the same... sorry about that guys.. but needs must! I can see the end is near though, and have even made myself a little list of things to buy for the next steps...
Thanks for reading
 I got my bum in the garage today and got cracking again!! First thing I decided to raise the car up a little bit more on the rotisserie so I could get it at a proper 90 degrees to make it easier to work on:
In my mind I had thought all of the prep underneath had finished, so the plan for today was to start the masking ready for the under-seal etc, however once I started to look over the car again, I realised there was still some welding that needed doing to make good some holes, so again I got the welder out had a play. First there was a small hole in the O/S corner of the boot floor:


Then, there were a couple of unused plug holes again in the boot floor on the O/S so they had the treatment also:


So it might not look like it on these pictures, but I feel I'm getting a bit more of a hang with this welding lark now and think I've also found a good setting on the welder, and the gas is working a treat!

I then noticed that there were STILL some open seams...

so got busy with the seam sealer...

So here we are nearly 5 months after my last update, and the work is still the same... sorry about that guys.. but needs must! I can see the end is near though, and have even made myself a little list of things to buy for the next steps...

Thanks for reading
Last edited:
Even though I've been diligent in trying to add the protection to the car following the paint strip, I noticed a couple of bits where the dreaded rust was bubbling up UNDER the protective paint I'd already applied:
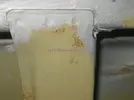
I knew that I couldn't ignore it, as it would only come back to bite me HARDER later on, so I went over the underneath of the car with a fine toothed comb and where I found any presence of rust, I gave it a quick scrape with my wire wheel to remove the paint and rust already there:
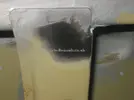
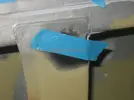
I then marked where I'd been with a bit of blue masking tape, so I could remember where I'd been, and know where to return with the rust converter:
You can see that after I went over the whole of the car, there were a few points I was not happy with:
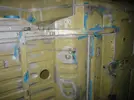

I knew that I couldn't ignore it, as it would only come back to bite me HARDER later on, so I went over the underneath of the car with a fine toothed comb and where I found any presence of rust, I gave it a quick scrape with my wire wheel to remove the paint and rust already there:

I then marked where I'd been with a bit of blue masking tape, so I could remember where I'd been, and know where to return with the rust converter:

You can see that after I went over the whole of the car, there were a few points I was not happy with:

Had a sh1t load of #serviceparts delivered to Thomson Towers this week so I can crack on with the work this weekend: :bt:
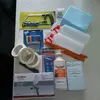

- Rustbuster fe123 Rust Converter to neutralise any of that ‘orrible remaining rust I found last time..
- Spraygun for the primer coat on the underside of the car
- Panel wipe and lint free disposable wipes for surface preparation
- Masking tape and hole plugs to cover the bits I don’t want to paint
- Spray Guns for various cleaning
- Hacksaw, blades and cuttong discs to help remove the last bits of rust that need welding up
- Marker pens to stop me always wasting time looking for the one I had a minute ago.. hang on.. where's it gone?? :ci:
Following my quest to seek out and destroy all remaining rust on the underneath of the car I was digging at one particular grotty looking spot and soon found this on the N/S/R Axle mounting position:
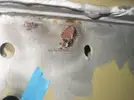
Following a bit more digging, I soon found this and realised that a coat of paint wasn't going to fix this one!!! So I marked a neat square round the rust and decided to cut it out:
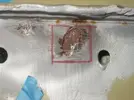
I used some of the new Dremel cutting discs that arrived:
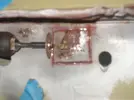
After I cut out the square, I soon found that the rust had penetrated between the seems of the two pieces of metal further than first thought:
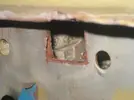
So it was then out with the marker pen again, and marked a bigger section to cut out..
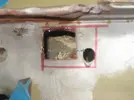
Unfortunately this gave the same results..
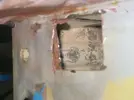
So repeating the same process once more... I finally got to a decent bit of metal to weld back onto..
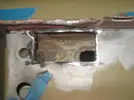
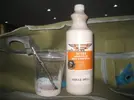
As my new Rustbuster fe-123 rust converter had arrived:
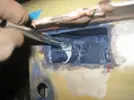
I thought it prudent to give the inside of the section a quick going over, whilst I had access to it:
Then it was just a case of making the new repair patch:
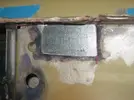
Welding it on:
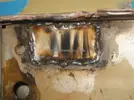
And then grinding the welds smooth to make it more attractive:
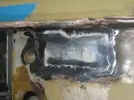
Next I had to cut a new hole in the R/O/S chassis rail where the welder had covered one of the holes needed to route the fuel tank breathers, thankfully my Dremel cutting disk was just the right tool for this job:
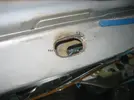
I then found another suspicious looking section on the F/O/S Chassis rail to the engine bay:
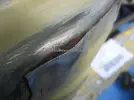
So again it was a case of carefully cutting it out:
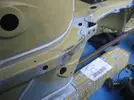
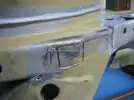
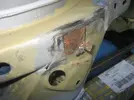
Treating the rust:
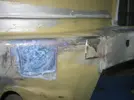
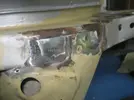
And then welding in a new patch:
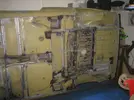
To finish off, I then decided to go over all of the remaining bits of rust I'd found on the underneath of the car with the FE-123 Rust Converter. You can see it turns black where it finds something to work on...
Thanks for reading

Following a bit more digging, I soon found this and realised that a coat of paint wasn't going to fix this one!!! So I marked a neat square round the rust and decided to cut it out:

I used some of the new Dremel cutting discs that arrived:

After I cut out the square, I soon found that the rust had penetrated between the seems of the two pieces of metal further than first thought:

So it was then out with the marker pen again, and marked a bigger section to cut out..

Unfortunately this gave the same results..

So repeating the same process once more... I finally got to a decent bit of metal to weld back onto..

As my new Rustbuster fe-123 rust converter had arrived:

I thought it prudent to give the inside of the section a quick going over, whilst I had access to it:

Then it was just a case of making the new repair patch:

Welding it on:

And then grinding the welds smooth to make it more attractive:

Next I had to cut a new hole in the R/O/S chassis rail where the welder had covered one of the holes needed to route the fuel tank breathers, thankfully my Dremel cutting disk was just the right tool for this job:

I then found another suspicious looking section on the F/O/S Chassis rail to the engine bay:

So again it was a case of carefully cutting it out:


Treating the rust:

And then welding in a new patch:


To finish off, I then decided to go over all of the remaining bits of rust I'd found on the underneath of the car with the FE-123 Rust Converter. You can see it turns black where it finds something to work on...

Thanks for reading
I like the idea of the FE-123 Rust Converter neutralising any rust it finds on the car.. so I decided to paint the rest of the underneath of the car with it to hopefully temper any thoughts the car has of rusting too much in the future. Here you can see the product is quite milky when it's applied:
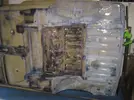
But when it dries, it turns black where it found something to work on and you can see there were plenty of spots where it found something to activate:
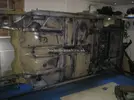
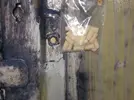
I could then start preparing for the painting of the underneath of the car. I didn't want to be fighting with small screws and locators when it came time for re-assembly, so I masked any open threads with some little cork bungs I bought a few weeks back:
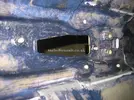
I also used regular masking tape and a big roll of brown paper to cover the external surfaces:

But when it dries, it turns black where it found something to work on and you can see there were plenty of spots where it found something to activate:

I could then start preparing for the painting of the underneath of the car. I didn't want to be fighting with small screws and locators when it came time for re-assembly, so I masked any open threads with some little cork bungs I bought a few weeks back:


I also used regular masking tape and a big roll of brown paper to cover the external surfaces:

LET THERE BE PAINT!!! :ai:
Finally I managed to reach a point today where I finished with the preparation of the underneath of the car and could start covering it with paint!!
The underneath of the car was all dry from the covering of Rustbuster FE-123 it had, and any parts susceptible to rusting had turned black:
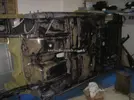
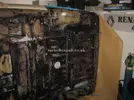
I finished off masking a few bits to avoid excessive over-spray:
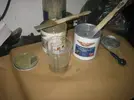
Then finally made a start mixing the paint!!! :bi: I'm painting the underneath of the car in more of the Rustbuster Epoxy Mastic 121 in a rather fetching Aluminium colour which is not too far off the original silver of the car. It's a 2-pack paint, so I mixed the two parts and also added 15% thinners as it recommended for spraying:
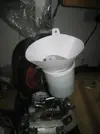
To ensure there were no lumpy-bits to clog up the gun, I also invested in some disposable filters, to strain the mix as I was pouring it into the gun:
Then I donned the full "Altern8" Protective gear (ask your dad's if you weren't around in the 90's):bj:

I was my first time painting with a proper spray gun, and after a bit of fiddling with the settings, I finally got to the stage where I could get some paint onto the car, and it was going on OK!! You can see the fumes in this picture so I was pleased I had the mask on!!
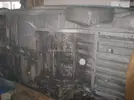
All in all I ended up mixing 3 x 300ml loads (Total 900ml) of Epoxy Mastic 121 to spray the underneath of the car and am quite pleased with the results so far:
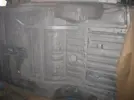
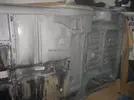
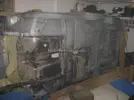
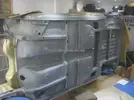 So I've now left everything to dry with my Infra-red Heater ticking away... lets hope it looks that good in the morning!!
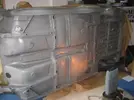
Thanks for reading!
jamesc
Well-Known Member
...

...
....Bane's raw power coupled with his genius level intellect makes him a considerable threat to Batman...
Keep up the good work fella, I'm impressed
DaveL485
Staff member
HAHAHAHA!!....Bane's raw power coupled with his genius level intellect makes him a considerable threat to Batman...
Keep up the good work fella, I'm impressed
Brilliant stuff Steve.
So I've now left everything to dry with my Infra-red Heater ticking away... lets hope it looks that good in the morning!!
Well the results are in, and it's all good! :ay:
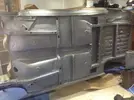
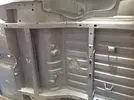
It's all dried to a kind of mottled finish (which I think is due to the face the gun was spluttering a bit) but I'm quite pleased with that as it's fitting of the underside of the car, and there's even a shine to it as well!
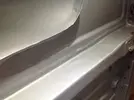
So I'm going to give the few remaining bits a bit more paint and then I'm thinking now is the time to start injecting the cavities with wax/sealant before I put the stonechip on.
Thanks for reading
davemaygtt
Well-Known Member
That's some real awesome attention to detail. Wish I could restore either of my cars to such a level. A like alone didn't cut it on this one!
Similar threads
- Featured
- Replies
- 86
- Views
- 2K
- Replies
- 4
- Views
- 363
- Replies
- 6
- Views
- 270
- Replies
- 2
- Views
- 265
