There is more to life with TurboRenault.co.uk

Register a free account today to become a member! Once signed in, you'll be able to participate on this site by adding your own topics and posts, as well as connect with other members through your own private inbox!

5 GT Turbo R5 GT Turbo - Complete strip down and re-build #1

Coming on really well Chris. Starting to look like a car again and the effort is spot on. Just wish I had the time to get to my own stuff.

The only thing I think I’d have done differently is let the second coat of primer sit a bit longer. A painter we used years ago would Prime, leave it for a week and then dry block and re prime. Don’t get me wrong he would do it around 5 times to make sure it was perfect. But it’s a lot of work.

Are you at paint stage with the primer or have you got to give it a final flat with a finer grit? I’d just hate to see it sink around the last amount of filler you put in. Especially after all your hard work.

Can’t wait to see it all done.
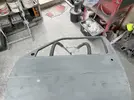
Hi @Mark_L, thanks for the reply. I have filled. blocked and sanded back to 800G now and thought it was ready to go to paint. What would you suggest, I don't think my delicate fingers can take much more sanding! :) I now have shiny finger tips! :)
 
Hi @Mark_L, thanks for the reply. I have filled. blocked and sanded back to 800G now and thought it was ready to go to paint. What would you suggest, I don't think my delicate fingers can take much more sanding! :) I now have shiny finger tips! :)
How long did you leave it before going to 800?
 
How long did you leave it before going to 800?
I left the shell in high build untouched for a good few weeks, the wings were left for 3 days before I started sanding and the same for the hatch. The other (plastic) bits had little to no filler in them but again, a couple of days. I have got the doors filled and sanded in epoxy ready to hit build tomorrow. 👍
 
Another 'Bodyshop' update!!
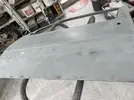
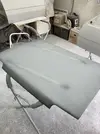
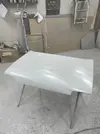
I got the doors out of the shed and guide coated them up! Then gave them a blast with 180G over the top of the epoxy just to get an idea of how much work was coming my way!
IMG_4997 Large.webp
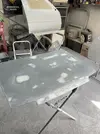
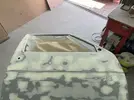
I circled the low spots with a pencil and knocked some of the high spots down!
IMG_5003 Large.webp
IMG_5005 Large.webp

IMG_5006 Large.webp
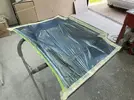
Wow, lots to sand! I got the other door ready also and got both masked up ready for high build. I also touched up the rub through's with some epoxy!
IMG_5007 Large.webp
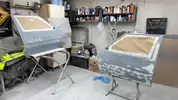
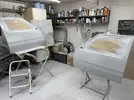
Got the high build on!
IMG_5008 Large.webp
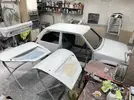
I put them to one side to dry out and got the bonnet down out of the shed!
IMG_5009 Large.webp
I did the same again, guide coated it on the epoxy and rubbed it back, pencil marked it and filled it, then sanded it back, touched it up with epoxy!
IMG_5010 Large.webp
Then masked it up ready for high build!
IMG_5012 Large.webp
IMG_5015 Large.webp
I then got the doors out again and guide coated and blocked them, still lots of issues, so carried out the process again!
IMG_5013 Large.webp
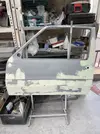
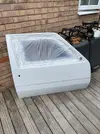
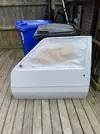
I spent hours on these doors, but they are looking good now! Just have to block and sand them - 180G - 320G - 600G then 800G on the DA
IMG_5017 Large.webp
IMG_5018 Large.webp
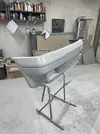
Then on to the front bumper and grille, the final pieces of the bodywork mission!
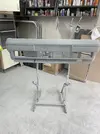
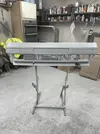
Started off rubbing them down with the 180G and cleaned them off!
IMG_5021 Large.webpIMG_5022 Large.webp
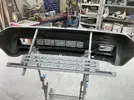
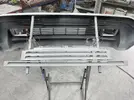
That stand I made works a treat! Then on with the high build!
IMG_5024 Large.webpIMG_5025 Large.webpIMG_5026 Large.webp
I then got everything back in the garage, let it dry off and hopefully get it all ready for paint by the end of this week! I have booked the Paint booth for 2 days at the end of this month so need to be ready! IMG_5028 Large.webp
Thanks for reading guys!
 
Lots more progress.👍

Just give the high build a few days before you knock it back. (Give your fingers a rest too.)
Thanks Mark, having to wear leather gardening gloves to keep going with the sanding, my fingers are in bits! Hopefully that’s it for paint now!
 
Mind numbing init......
The longer you leave it ( obvs clean ) the better according to my painter, that's why you see sanding marks/filler edges appear months later in what was perfect final paint finish, I've got a bike tank thats been sat for six months cos I've had to use so much filler to get it right, extreme perhaps....but it takes me that long to motivate him to do anything, anyway.
Painting and prep is a minefield, every direction there's pitfalls, that's why loads of places avoid resto work, far more cost effective to paint modern stuff than something that needs loads of prep/guarantee a long term finish.
You'll get there, a good painter fwriend is very useful these days.
 
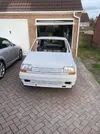
So, this week I finally managed to get the prep work finished! It nearly broke me if i'm honest, encouragement from the group and Mr @Duncan Grier got me through it!! I also managed to put all the bits back on the car, I had to make some minor adjustments and drill some new holes and generally fu*k around with it.
IMG_5076 Large.webp
Yeah, a bit of a Renault problem here I think!
IMG_5073 Large.webpIMG_5072 Large.webp
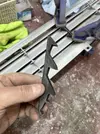
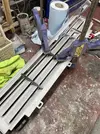
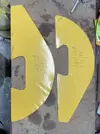
I bought some front grille repair/ strengthening bits!! These have worked really well!
IMG_5064 Large.webp
Just bond them in place!IMG_5062 Large.webp
IMG_5063 Large.webp
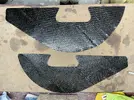
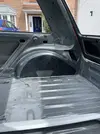
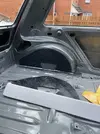
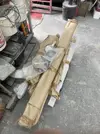
Its all nice and strong now! Also, finally i managed to get my hands on some sound deadening that is large enough to copy the rear arch sound deadening! I used the originals as a template and cut around them.IMG_5052 Large.webp
IMG_5055 Large.webpIMG_5056 Large.webpIMG_5053 Large.webpIMG_5054 Large.webp
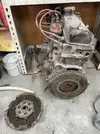
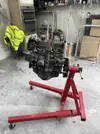
not too shabby at all!! As all of the dusty work is now behind me (fingers crossed) I dragged the engine out from under the shelf and mounted it on the engine stand! I had to remove the clutch and flywheel first!

IMG_5066 Large.webp
IMG_5067 Large.webp
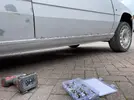
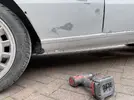
With the side skirts on,I decided to get some SS riv-nuts and button heads to fix it with! I marked the fixing points and got a 7mm drill bit for an M5 riv-nut.
IMG_5080 Large.webp
IMG_5081 Large.webp
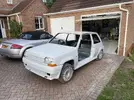
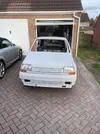
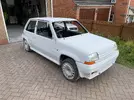
Today I gave the shell a wipe over and stripped the kit off and got it wrapped up ready for the paint booth next weekend!
IMG_5082 Large.webp
IMG_5083 Large.webp
I am absolutely dying with a cold, so going for a lie down!
Thanks for reading guys!
 
Back
Top