There is more to life with TurboRenault.co.uk

Register a free account today to become a member! Once signed in, you'll be able to participate on this site by adding your own topics and posts, as well as connect with other members through your own private inbox!

5 GT Turbo R5 GT Turbo - Complete strip down and re-build #1

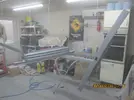
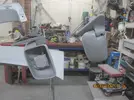
This year has been an absolute stinker already!! I am still managing to spend some time out there, but life keeps getting in the way! ;) I have been sanding and repairing the remaining plastics ready for epoxy!
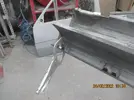
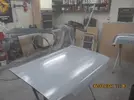
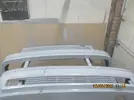
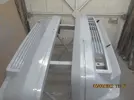
First I sanded down the filler that I put in last week, I also made a clip to replace the broken plastic tabs on the skirts.
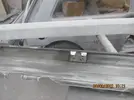
IMG_6396.JPG
IMG_6397.JPG
IMG_6398.JPG
IMG_6399.JPG
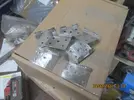
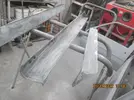
I then set about making more clips!
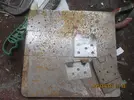
IMG_6400.JPG
IMG_6401.JPG
IMG_6404.JPG
IMG_6405.JPG
IMG_6409.JPG
IMG_6410.JPG
IMG_6411.JPG
IMG_6413.JPG
I also made some tabs for the grille!
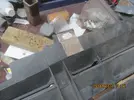
IMG_6414.JPG
IMG_6415.JPG
Once the paint had dried, I bonded the clips place with some 2 part epoxy glue and clamped them in place!
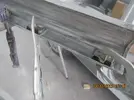
IMG_6417.JPG
IMG_6419.JPG
I then got some fibreglass on the second skirt!
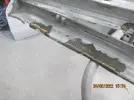
IMG_6420.JPG
Let it go off then got some filler on the front of it
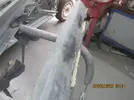
IMG_6421.JPG
I then sanded down the filler that I had previously applied to the spoilerIMG_6418.JPG
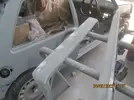
I got all of the replacement clips bonded and the tabs on the grille,
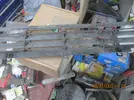
IMG_6429.JPG

IMG_6431.JPG
IMG_6434.JPG
I decided to give the replacement clips a coat of seam seal/ bond to give them some extra strength!
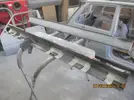
IMG_6435.JPG
IMG_6438.JPG
IMG_6439.JPG
IMG_6440.JPG
Then on to a repair on the rear arch! I started off with a black permanent marker and cut it to suit!
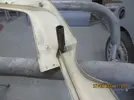
IMG_6443.JPG
I then got some fibreglass mat and rolled it up!
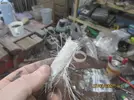
IMG_6446.JPG
IMG_6447.JPG
I mixed up some resin and poured it in.
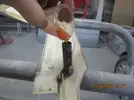
IMG_6449.JPG
IMG_6451.JPG
Lets see if that sticks and goes off!!
I then moved on to the rear bumper and got some filler in that nasty gash!
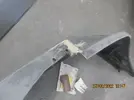
IMG_6452.JPG
Once the resin had gone off, I cut the marker tube down to size!
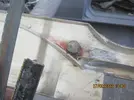
IMG_6455.JPG
I then drilled it out and attempted to screw the fixing in place!
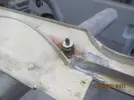
IMG_6456.JPG
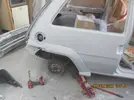
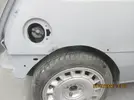
It seems to work! I'll bond it in there also, just for good measure! I then decided to fit the arch and drill the car to take the arch.
IMG_6457.JPG
IMG_6458.JPG
IMG_6461.JPG
The arch fits!
IMG_6459.JPG
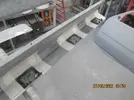
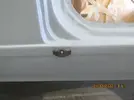
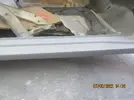
I then decided to have a go at getting the skirt tabs on to the cill! I held the skirt in place and marked where the tabs should be!
IMG_6462.JPG
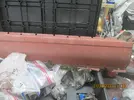
I got an old section of cill to get a measure for the rivets!
IMG_6468.JPG
IMG_6463.JPG
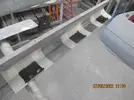
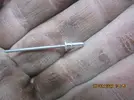
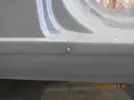
I then got on and drilled the holes out for the rivets and got them in!
IMG_6464.JPG
IMG_6465.JPG
IMG_6467.JPG
The skirt goes on!
IMG_6466.JPG
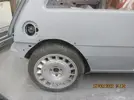
I then stripped the glass out of the wing mirrors and masked them up ready for epoxy!
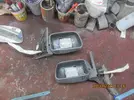
IMG_6470.JPG
The rear arch fixings have been bonded into position and now have new nuts!
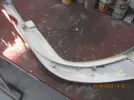
IMG_6471.JPG
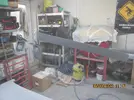
I then had a good clean up in the garage, hopefully will be able to get some paint on the go next weekend, also at Donnington on Sunday hopefully meeting @Big Steve - Raider & @andybond and anyone else that is going!
 
Last edited:
Got out there early today to take advantage of what feels like the first weekend this year that isn't either sub-zero or pissing down with rain!
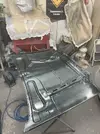
First I got the car out of the garage and set the trestles up and hung and laid all the bits out. Then I started off by trying to get rid of the silicone sealant used to hold the number plate on, surprisingly difficult to shift, I got a new stanley blade on it which made quite light work of it.
IMG_6472.JPG
Then on with the gloves and gave everything a good clean with some panel wipe.
IMG_6474.JPG
IMG_6475.JPG
IMG_6476.JPG
IMG_6477.JPG
I then dropped my son at work and got some epoxy mixed up!
IMG_6478.JPG
IMG_6479.JPG
I then got busy with the paint gun!
IMG_6480.JPG
IMG_6481.JPG
IMG_6482.JPG
IMG_6483.JPG
IMG_6484.JPG
IMG_6485.JPG
I ran out of paint so had to mix up a small batch to finish the side skirts and wing mirrors!
IMG_6486.JPG
IMG_6487.JPG
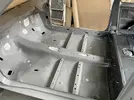
While that was all drying off, I got outside in the sunshine with a wad of sandpaper and began roughing up the epoxy finish ready to take some Tungsten Grey Paint!! Wow!
IMG_6488.JPG
IMG_6489.JPG
IMG_6490.JPG
IMG_6491.JPG
Good job I didn't get my nails done, this is a killer!
IMG_6492.JPG
I decide to get the rest of the inside of the car done as the weather is so nice!
IMG_6493.JPG
IMG_6494.JPG
IMG_6495.JPG
IMG_6496.JPG
IMG_6497.JPG
IMG_6498.JPG
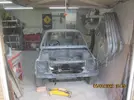
Had enough for one day, that sanding is hard work, my back is killing me! Had a clean up in the garage and got the car back in,
IMG_6499.JPG
I gave the subframe a quick wipe over!
IMG_6500.JPG

Thanks for reading guys - looking forward to tomorrow at Donnington!
 
BIG DAY planned for today, Get some Tungsten Grey paint back on the car!!!

200.gif

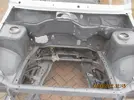
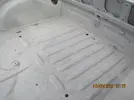
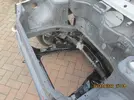
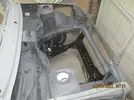
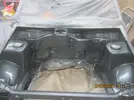
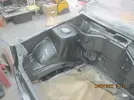
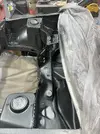
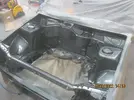
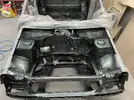
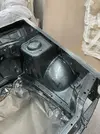
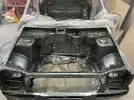
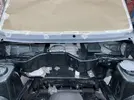
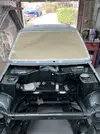
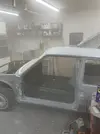
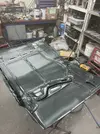
Started of with the panel cleaner and gave the engine bay and inside of the car a wipe down!
IMG_6502.webp
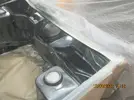
And then started masking up!
IMG_6503.webp

IMG_6504.webp
Then out with the Tungsten Grey paint!
IMG_6505.webp
IMG_6506.webp
First coat down!
IMG_6508.webp
IMG_6509.webp
IMG_6510.webp
IMG_4184.webp
Looks a bit ropey! but I did see that in a You tube video where the second coat takes up the slack! Hopefully!!
IMG_6511.webp
IMG_6512.webp
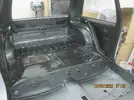
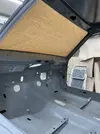
I then got inside and gave the roof a blast of paint!
IMG_6514.webp
IMG_6515.webp
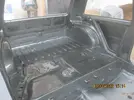
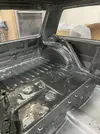
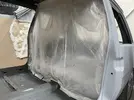
And then the rest of the rear of the inside!
IMG_6519.webp
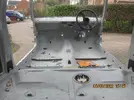
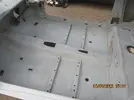
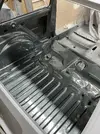
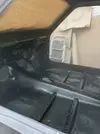
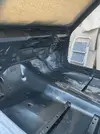
I gave the inside and roof a couple of coats of paint and then got on the clear coat! Two coats of that should do it!
IMG_4195.webp
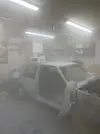
Woah, Its a bit misty in here!
IMG_6523.webp
Quite happy with the results, lets see how it looks in the morning!
IMG_4200.webp
IMG_4199.webpIMG_4198.webpIMG_4197.webp

IMG_4196.webp
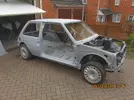
Its slowly coming back to life!!!
Thanks for reading guys!!
 
look's good, but you're going to kick yourself. You wouldn't of got much colour and clear on the bottom of the chassis leg's. I did the same thing and i'm an experienced painter. I couldnt get the car high enough to hit underneath

i got to blow mine in soon....with the engine and everything in place! going to be fun
hopefully you already head paint there and they look sweet
When I did the 9 engine bay I was scrambling around on the floor to get the angle up from underneath, think I gave myself a coat of paint in the process haha!
 
When I did the 9 engine bay I was scrambling around on the floor to get the angle up from underneath, think I gave myself a coat of paint in the process haha!
look's good, but you're going to kick yourself. You wouldn't of got much colour and clear on the bottom of the chassis leg's. I did the same thing and i'm an experienced painter. I couldnt get the car high enough to hit underneath

i got to blow mine in soon....with the engine and everything in place! going to be fun
hopefully you already head paint there and they look sweet
Hey @clarky_gtt i had already completed the underneath whilst it was still on the spit, that is all painted with dark grey epoxy paint and finished with high temp wax. It was still a game getting into the engine bay and trying to ensure paint and clear coat everywhere! I am quite happy with the finish though - for a first attempt! 😬
 
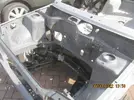
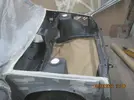
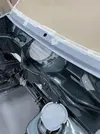
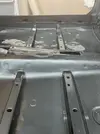
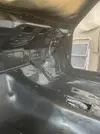
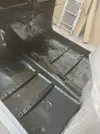
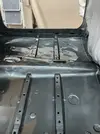
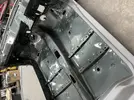
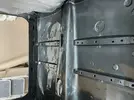
I spent a couple of hours at it today and this evening, I started off with the panel wipe and gave the front of the cabin a good wipe down and then got it masked up!
IMG_4277 Large.webp
IMG_4279 Large.webp
IMG_4280 Large.webp
IMG_4281 Large.webp
IMG_4284 Large.webp
IMG_4285 Large.webp
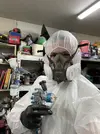
Then this eveningI went out there and got dressed up like a raver from the 90's!
IMG_4287 Large.webp
I then mixed up some paint, gave the tack rag a good wipe around and got on with putting the paint down!
IMG_4288 Large.webp
IMG_4291 Large.webp
First coat down!
IMG_4294 Large.webp
2nd Coat, left it to stand for an hour and then mixed up some clear coat. I have started using the 3M cup system, it is so much easier to clean up!
IMG_4298 Large.webp
Then on with the clear coat!
IMG_4299 Large.webp
IMG_4304 Large.webp
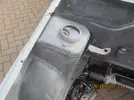
Got a few runs on the bulkhead, it will be behind the blower, so not too concerned!
IMG_4305 Large.webp
IMG_4306 Large.webp
IMG_4307 Large.webp
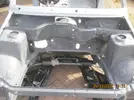
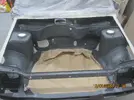
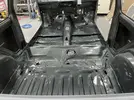
Well thats the inside of the car painted now! woohoo!!! lets see how it looks in the morning. Next to spray the back of the bonnet, doors and tailgate!
Thanks for reading!
 
Take care with it, even though its touch dry it's not dry dry, it takes a while to harden up properly. I left the Vee for six weeks after it was painted before I reassembled it.
Thanks Dave, I have lots of other bodywork to be getting on with, I have no plans to start installing anything yet! this will soon all be masked off again as I go through the high build and blocking stage! Gonna paint the inside of the doors, bonnet and hatch first and fit them all to the car for blocking! I think thats the right way to do it???????? 👍
 
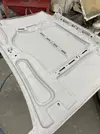
I did a bit more tonight, I decided to give the back of the bonnet a lick of paint! I started off by giving the epoxy a rub over with some 180 grit!
IMG_4312 Large.webp
I then got some paint on the bonnet!

IMG_4313 Large.webp
IMG_4314 Large.webp
Again, the first coat looks terrible, but this is a great learning curve, maybe i need to use a finer grit sand paper as you can see where I have rubbed it!
IMG_4315 Large.webp

It looks a lot better after the second pass! Still some 'pops' and sanding marks, so I gave it another pass, left it an hour and then got on with the clear coat!

IMG_4316 Large.webp

A whole lot of learning with this tonight, I couldn't believe the amount of crap in the air that found its way on to the paint finish is unbelievable, I need to get some form of extraction in there before attempting to paint the outside of the car!
I need a plan!!!! hmmmmmmmm!!!

200.gif

Thanks for reading guys!
 
Last edited:
Back
Top