There is more to life with TurboRenault.co.uk
You are using an out of date browser. It may not display this or other websites correctly.
You should upgrade or use an alternative browser.
You should upgrade or use an alternative browser.
5 GT Turbo R5 GT Turbo - Complete strip down and re-build #1
- Thread starter Chris74#
- Start date
-
- Tags
- gt turbo r5 gt turbo turbo
She mixing the Concrete for your new boots already..!!?I don't know, I may have pushed it too far! If there are no further posts, you know why!!!
DaveL485
Staff member
Its easier to ask forgiveness, than to ask permissionI don't know, I may have pushed it too far! If there are no further posts, you know why!!!
Chris74#
Well-Known Member
The electrolysis really works well, the horrible thick green paint that was all over these has broken down and in the most part come off the mounts, along with the other rubbish that was on them!
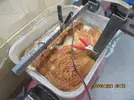
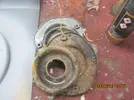
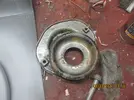
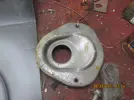
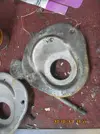
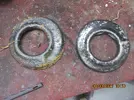
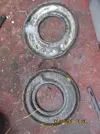
I'll give them another soak and see if I can get them any cleaner.
I decided to get the fuel tanks out of the loft and give them a clean, I started with the auxiliary tank!
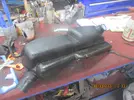
It is absolutely coated in nastiness! I plugged the ends and started scrubbing!
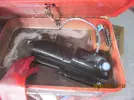
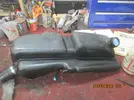
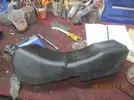
It came out nice and clean! I then hung it up to dry out!
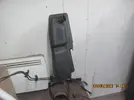
I then got the fuel filler spout, again absolutely minging!!
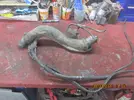
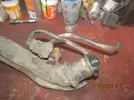
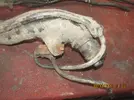
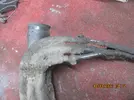
I started by removing the hoses, I had to cut a couple of the jubilee clips off as they were completely ceased. The bracket for the one way valve had disintegrated. Luckily I bought a new one some months back!
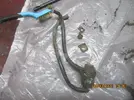
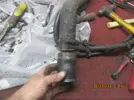
I took plenty of pictures to ensure that I could put it back together again!
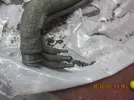
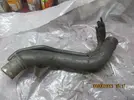
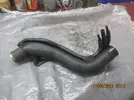
Once I got it stripped, I started scrubbing
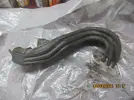
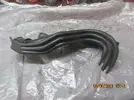
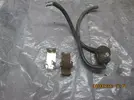
I gave the one way valve and pipes a clean down also.
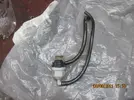
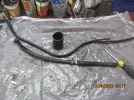
When cleaning the pipes, I notice that there is the remains of a Tee piece. Does anyone have one of these for sale!
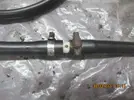
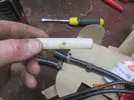
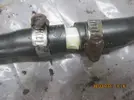
I put it all back together and hung it up to dry out!
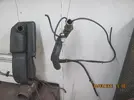
I put the other dust shield on but I have run out of black paint!
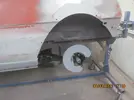
I checked the top mounts after leaving them in the electrolysis tub!
They cleaned up really nice.
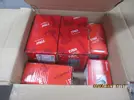
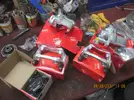
More shiny bits turned up today! New front callipers and pads!
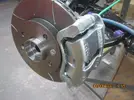
I set about getting them on to the front subframe!
If anyone has one of those Tee pieces, please let me know!!
Thanks for reading guys!


I'll give them another soak and see if I can get them any cleaner.
I decided to get the fuel tanks out of the loft and give them a clean, I started with the auxiliary tank!

It is absolutely coated in nastiness! I plugged the ends and started scrubbing!


It came out nice and clean! I then hung it up to dry out!

I then got the fuel filler spout, again absolutely minging!!


I started by removing the hoses, I had to cut a couple of the jubilee clips off as they were completely ceased. The bracket for the one way valve had disintegrated. Luckily I bought a new one some months back!


I took plenty of pictures to ensure that I could put it back together again!


Once I got it stripped, I started scrubbing


I gave the one way valve and pipes a clean down also.


When cleaning the pipes, I notice that there is the remains of a Tee piece. Does anyone have one of these for sale!


I put it all back together and hung it up to dry out!

I put the other dust shield on but I have run out of black paint!

I checked the top mounts after leaving them in the electrolysis tub!

They cleaned up really nice.
More shiny bits turned up today! New front callipers and pads!


I set about getting them on to the front subframe!


If anyone has one of those Tee pieces, please let me know!!
Thanks for reading guys!
If anyone has one of those Tee pieces, please let me know!!
Thanks for reading guys!
Measure the old one up. Quick google finds this:

Eberspacher Espar Heater Fuel Pipe Fitting T Piece 8/8/6mm (26231151) | eBay
Eberspacher Fuel T-Piece 8X6X8mm. Genuine Eberspacher Part. Eberspacher Part Number.
www.ebay.co.uk
Or this:
8mm-4mm-8mm Airline Reducing T Piece (3pk)
The Kockney Koi 8mm-4mm-8mm Airline Reducing T Piece is ideal for spurring smaller 4mm airlines from a larger 8mm airline run. Supplied as a pack of 3, these airline connectors are easy to use with airline simply pushing externally over the barbed connections.
Chris74#
Well-Known Member
Thanks @Big Steve - Raider, The T Piece approx 11mm x 4mm x 11mm internal Dimension.Measure the old one up. Quick google finds this:

Eberspacher Espar Heater Fuel Pipe Fitting T Piece 8/8/6mm (26231151) | eBay
Eberspacher Fuel T-Piece 8X6X8mm. Genuine Eberspacher Part. Eberspacher Part Number.www.ebay.co.uk
Or this:
8mm-4mm-8mm Airline Reducing T Piece (3pk)
The Kockney Koi 8mm-4mm-8mm Airline Reducing T Piece is ideal for spurring smaller 4mm airlines from a larger 8mm airline run. Supplied as a pack of 3, these airline connectors are easy to use with airline simply pushing externally over the barbed connections.www.pond-planet.co.uk
Next challenge please..Thanks @Big Steve - Raider, The T Piece approx 11mm x 4mm x 11mm internal Dimension.
Chris74#
Well-Known Member
Thanks Steve, bought via your link!
Chris74#
Well-Known Member
More shiny's today, the steering rack inner and outer rods.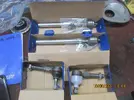
I got to work on getting the steering rack back together
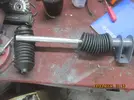
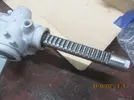

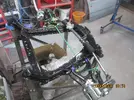
New fasteners in the rack.
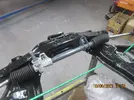
I just fitted them loose for now so that I can tweak them when its back on the car.
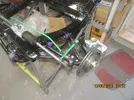
I got some more gloss black paint and finished off the rear disc dust guards.
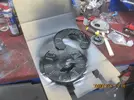
Short and sweet!
Thanks for reading guys!

I got to work on getting the steering rack back together


New fasteners in the rack.

I just fitted them loose for now so that I can tweak them when its back on the car.

I got some more gloss black paint and finished off the rear disc dust guards.

Short and sweet!
Thanks for reading guys!
Chris74#
Well-Known Member
Hi Dave, I did exactly the same, after I had cleaned the old gunky stuff off! I put grease on both ends, not sure if you are supposed to, but its on there now!!Looks fab. I threw some moly grease on my rack teeth, it looked a bit dry.
DaveL485
Staff member
Same!I put grease on both ends, not sure if you are supposed to, but its on there now!!
Chris74#
Well-Known Member
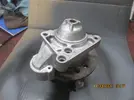
I got distracted during the week and decided to strip the starter motor down and give it a good clean!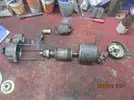
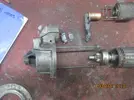
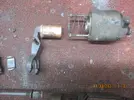
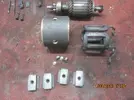
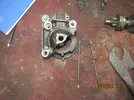
I got the aluminium cast into the parts washer and then into the blast cabinet!
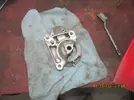
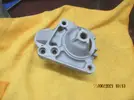
I then gave a quick going over with the wire brush on the dremel.
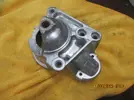
and then got some clear lacquer on it!
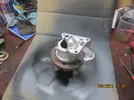
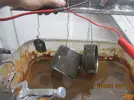
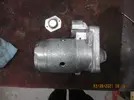
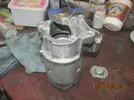
I stripped the motor down completely and dropped the body parts straight into the electro tank!

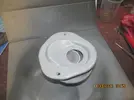
I then finished blasting the top mounts and got some etch primer on them!
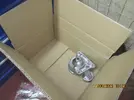
I started to collect the clean motor bits in a box!
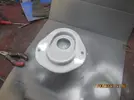
I decided to go with black stone chip on the underside of these!
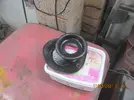
I got the bits out of the electro tank and gave them a going over with the wire brush...
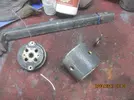
The grime just wiped off, no problem!!
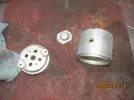
After buying more paint, I finished off the top mounts.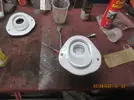
I then got some primer on the motor body!
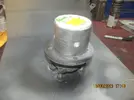
I made use of an old hub as a turntable!
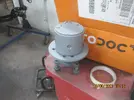
I got some lacquer on the other bits after a bit of a wire brush!
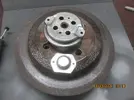
I then cleaned everything else, checked the brushes and the armature!
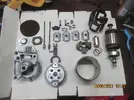
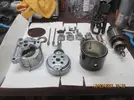
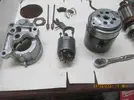
I then set about getting it all back together!
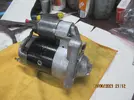
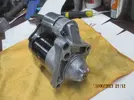
I think I might strip it again and get some silver paint on it.....not sure, I quite like the originality/ honesty of it!
I then masked off the top mounts and got the stone chip on the underneath!
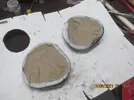
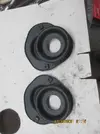
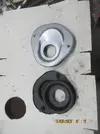
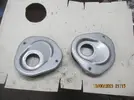
Thanks for reading guys!!


I got the aluminium cast into the parts washer and then into the blast cabinet!


I then gave a quick going over with the wire brush on the dremel.

and then got some clear lacquer on it!


I stripped the motor down completely and dropped the body parts straight into the electro tank!


I then finished blasting the top mounts and got some etch primer on them!

I started to collect the clean motor bits in a box!


I decided to go with black stone chip on the underside of these!

I got the bits out of the electro tank and gave them a going over with the wire brush...

The grime just wiped off, no problem!!


After buying more paint, I finished off the top mounts.

I then got some primer on the motor body!

I made use of an old hub as a turntable!

I got some lacquer on the other bits after a bit of a wire brush!

I then cleaned everything else, checked the brushes and the armature!


I then set about getting it all back together!


I think I might strip it again and get some silver paint on it.....not sure, I quite like the originality/ honesty of it!
I then masked off the top mounts and got the stone chip on the underneath!


Thanks for reading guys!!
Chris74#
Well-Known Member
Had a couple of hours at it this morning, but Ive got some commitments over the next couple of weeks so unable to do anything on it!
This morning, I removed the rear axle, now I know it fits, ready to get the underbody wax on!
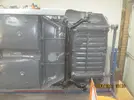
I have been subconsciously avoiding the underbody wax......I think?! I also cleaned out the electro tank and got some fresh soda and water in there and dropped the rear axle bolts in.
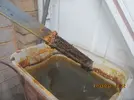
I then got the wax and panel wipe out and gave the underside of the car a wipe down prior to applying the wax.
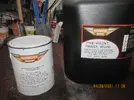
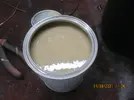
I was quite surprised at how 'runny' the wax is!
I got PPE'd up and got the spray gun out!!
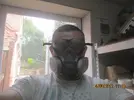
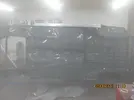
Its a bit misty in here!!
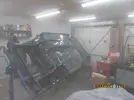
That was a lot easier than I expected, the wax poured straight into the gun and sprayed on with a 1.5 tip!
Points to note: Completely cover up as this stuff is sticky, and my hairy arms are in a sticky mess! (wedding to go to this afternoon)
Thanks for reading guys, update again in a few weeks!
This morning, I removed the rear axle, now I know it fits, ready to get the underbody wax on!

I have been subconsciously avoiding the underbody wax......I think?! I also cleaned out the electro tank and got some fresh soda and water in there and dropped the rear axle bolts in.

I then got the wax and panel wipe out and gave the underside of the car a wipe down prior to applying the wax.

I was quite surprised at how 'runny' the wax is!

I got PPE'd up and got the spray gun out!!


Its a bit misty in here!!

That was a lot easier than I expected, the wax poured straight into the gun and sprayed on with a 1.5 tip!
Points to note: Completely cover up as this stuff is sticky, and my hairy arms are in a sticky mess! (wedding to go to this afternoon)
Thanks for reading guys, update again in a few weeks!
Chris74#
Well-Known Member
Some shiny bits turned up for the front suspension.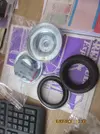

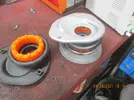
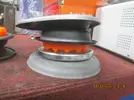
I painted the cap that sits on top of the spring.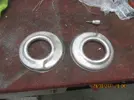
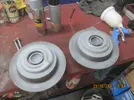
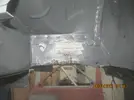
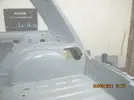
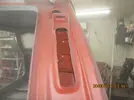
I then decided to get the cavity wax in! I taped up all the holes first.
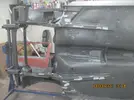
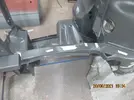
and then got the new spray gun and Dinitrol out!
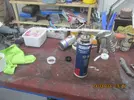
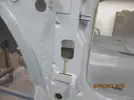
I got it everywhere, the front frame, up the A-posts, in the rear arches, across the top of the windscreen!
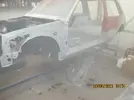
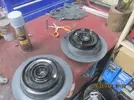
I then got some paint on the suspension caps.
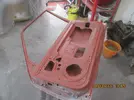
I decided to get back to the bodywork and set about seam sealing the doors!
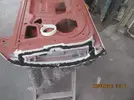

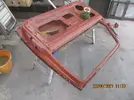 I then sanded the outside of the door down and got some etch primer on it!
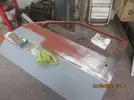
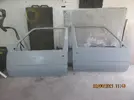
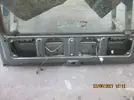
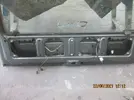
I then got the tailgate down that I bought a few months back and stripped it down, removed the rear screen and removed the loom and water pipe.
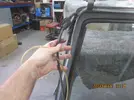
I got the glass out and removed the old sticker from it!

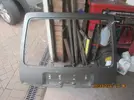
I then got the wings down and removed the plastic arches from them! some of the crews were ceased and broke out!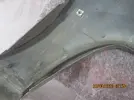
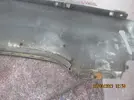
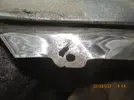
I cut this rust out and welded a new patch in there!
Thanks for reading guys!


I painted the cap that sits on top of the spring.


I then decided to get the cavity wax in! I taped up all the holes first.


and then got the new spray gun and Dinitrol out!

I got it everywhere, the front frame, up the A-posts, in the rear arches, across the top of the windscreen!


I then got some paint on the suspension caps.

I decided to get back to the bodywork and set about seam sealing the doors!


 I then sanded the outside of the door down and got some etch primer on it!


I then got the tailgate down that I bought a few months back and stripped it down, removed the rear screen and removed the loom and water pipe.


I got the glass out and removed the old sticker from it!


I then got the wings down and removed the plastic arches from them! some of the crews were ceased and broke out!


I cut this rust out and welded a new patch in there!
Thanks for reading guys!

Chris74#
Well-Known Member
I have been thinking about it for a while, and finally took the plunge during the week. I ordered a zinc plating kit.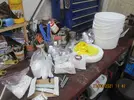
Another skill to learn!
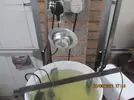
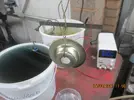
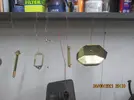
I got to work mixing chemicals!
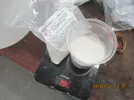
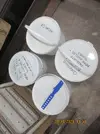
I thought I would use the rear axle clips as a test and then plate the top-hats for the front suspension!
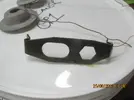
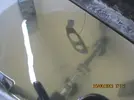
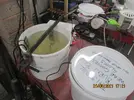
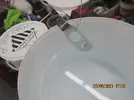
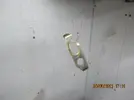
Not bad for a first attempt. I then got the top hats in there!
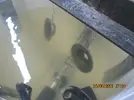
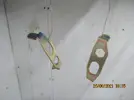
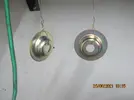
Threw a few more bits in!
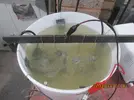
I then got back to reassembling the front struts, new springs used!
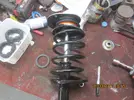
Spot the obvious mistake!! Muppet!!
I struggled to get them back together, as I was tightening the top bolt, I realised I had forgotten to fit the dust cover!!
I got the dust covers and got them in a bucket of warm water with soda crystals in it. It worked a treat!
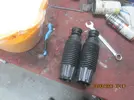
I then stripped the strut and got the dust covers on!
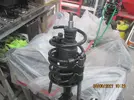
I worked out it was easier to do this with the strut fixed to the hub!
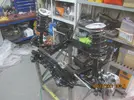
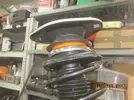
I decided to use a strut brace that I have to tie the struts together for now!
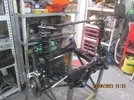
I got the fuel tank and took it to a friend who has a steam jet wash! and gave it a good going over! It turned out really well!
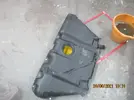
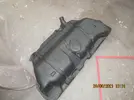
Still messing with the plating kit, its more difficult than I thought it would be!
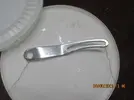
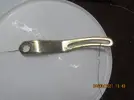
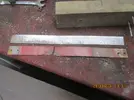
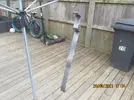
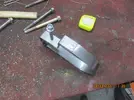
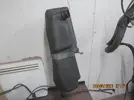
I was going to buy a new strap for the auxiliary tank but they are charging £30!! I decided to make a new strap for mine!
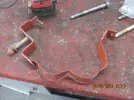
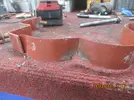
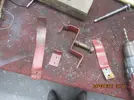

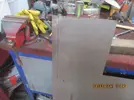
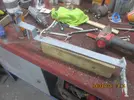
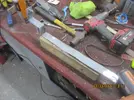
I welded it all together and got some paint on it!
Thanks for reading guys!

Another skill to learn!
I got to work mixing chemicals!


I thought I would use the rear axle clips as a test and then plate the top-hats for the front suspension!


Not bad for a first attempt. I then got the top hats in there!


Threw a few more bits in!


I then got back to reassembling the front struts, new springs used!

Spot the obvious mistake!! Muppet!!
I struggled to get them back together, as I was tightening the top bolt, I realised I had forgotten to fit the dust cover!!
I got the dust covers and got them in a bucket of warm water with soda crystals in it. It worked a treat!

I then stripped the strut and got the dust covers on!

I worked out it was easier to do this with the strut fixed to the hub!


I decided to use a strut brace that I have to tie the struts together for now!

I got the fuel tank and took it to a friend who has a steam jet wash! and gave it a good going over! It turned out really well!


Still messing with the plating kit, its more difficult than I thought it would be!


I was going to buy a new strap for the auxiliary tank but they are charging £30!! I decided to make a new strap for mine!


I welded it all together and got some paint on it!


Thanks for reading guys!
Chris74#
Well-Known Member
I decided to try and find all of the fuel system bits today and give them a clean and check that its all there and working as this is probably the first thing I will fit back to the car! I spent the whole day at it! Scrubbing, wire brushing and more scrubbing!
The T- section that I bought did not fit, the search continues @Big Steve - Raider
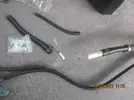
I printed off the drawings from catcar info as a bit of a reference.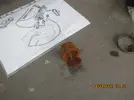
I started to connect everything together!
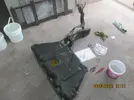
The fuel pump and filter plate is shagged, along with the mount for the fuel pump!

Looks like the fuel pump mount was stuck on with silicone!
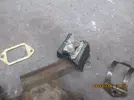
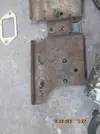
I went and got the spare fuel tank that I had as I could not find the gasket off the sender unit. I also noticed the heat shield on the spare fuel tank which is missing from mine!
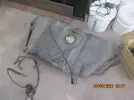
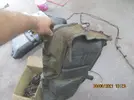
I kept on with the assembly of the fuel system off the car!
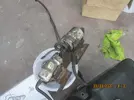
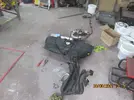
I got the fuel pump and filter and cleaned up the pump and binned the filter!
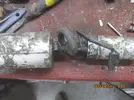
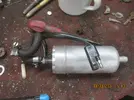
I got the fuel pressure regulator in the vice and removed it from its mount!
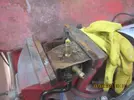
The mount is rusted, but serviceable, so I gave it a scrub in the parts washer and then dropped it into the electrolysis tank!
I gave all of the hoses and pipes a clean with degreaser and a scotch-brite pad.
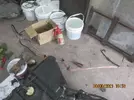
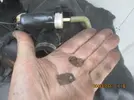
The metal retainer strap on the auxiliary tank pump had disintegrated, this is all that is left of it!!
So I cut a strip of metal and ground it down to suit the rear bracket!
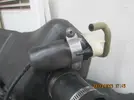
That should hold it for a few more years!!
I got some sticky back foam for the inside of the auxiliary tank restraint strap that I replaced yesterday!
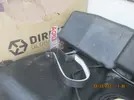
Thats that all clean ready to go back on! Just got to get a replacement back plate for the fuel pump and filter, and zinc plate the pressure regulator bracket!
Thanks for reading guys!

The T- section that I bought did not fit, the search continues @Big Steve - Raider

I printed off the drawings from catcar info as a bit of a reference.

I started to connect everything together!


The fuel pump and filter plate is shagged, along with the mount for the fuel pump!

Looks like the fuel pump mount was stuck on with silicone!


I went and got the spare fuel tank that I had as I could not find the gasket off the sender unit. I also noticed the heat shield on the spare fuel tank which is missing from mine!


I kept on with the assembly of the fuel system off the car!


I got the fuel pump and filter and cleaned up the pump and binned the filter!


I got the fuel pressure regulator in the vice and removed it from its mount!

The mount is rusted, but serviceable, so I gave it a scrub in the parts washer and then dropped it into the electrolysis tank!

I gave all of the hoses and pipes a clean with degreaser and a scotch-brite pad.

The metal retainer strap on the auxiliary tank pump had disintegrated, this is all that is left of it!!

So I cut a strip of metal and ground it down to suit the rear bracket!

That should hold it for a few more years!!
I got some sticky back foam for the inside of the auxiliary tank restraint strap that I replaced yesterday!

Thats that all clean ready to go back on! Just got to get a replacement back plate for the fuel pump and filter, and zinc plate the pressure regulator bracket!
Thanks for reading guys!
clarky_gtt
Well-Known Member
You may regret firing all that cavity wax in now. Soon as its a hot day, or even worse when it's in a paint oven it'll all seep out on your lovely fresh and soft paint. Ruining it!
Similar threads
- Replies
- 4
- Views
- 360
- Featured
- Replies
- 82
- Views
- 2K
- Question
- Replies
- 8
- Views
- 678
- Replies
- 6
- Views
- 268
