There is more to life with TurboRenault.co.uk
You are using an out of date browser. It may not display this or other websites correctly.
You should upgrade or use an alternative browser.
You should upgrade or use an alternative browser.
5 GT Turbo R5 GT Turbo - Complete strip down and re-build #1
- Thread starter Chris74#
- Start date
-
- Tags
- gt turbo r5 gt turbo turbo
clarky_gtt
Well-Known Member
yes, mate.Hi Clarky, I will be in Swindone either next week or the week after. Do you still have the manifold?
what day?
Chris74#
Well-Known Member
Just got to confirm with work, I’ll let you knowyes, mate.
what day?
Chris74#
Well-Known Member
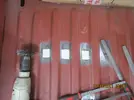
So, I started looking at the boot floor as it is perforated along the support bars underneath.
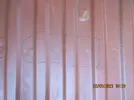
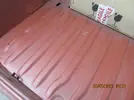
I then gave the paint a wire brush to see the extent of the rust!
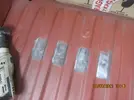
Its wasn't too bad, but I drilled out the spot welds and cut the rust out anyway!
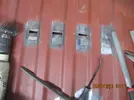
I then got the trust cardboard and made some templates for them.
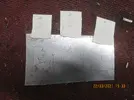
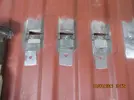
I then got as much rust eater in there as I could
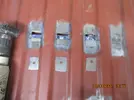
Note the holes drilled for plug welding after!
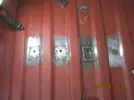
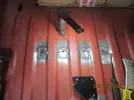
I then spotted a couple of tiny pin-holes closer to the back of the car and thought I could just drop a spot of weld on them - Oh no, as soon as I got any heat on them, they just blew open, I did chase them for a bit but thought it would be easier to cut back to good metal and fit some patches.- More templates and plates to make.
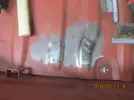
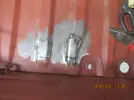
After a bit of fettling, the plates weren't a bad fit.

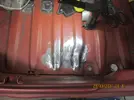
I then plug welded the rear section where the rear quarter panel and the inner arch lap each other. I started by filling in the old holes.
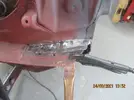
Then I cut a section out of the boot floor that was perforated and rust treated and patched that.
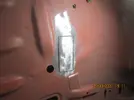
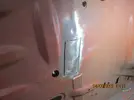

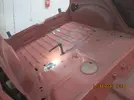
Note the dodgy rust patch in the pic below that appeared as I was welding!!
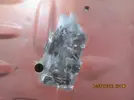
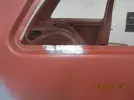
I then had a look at the rust patch on the drivers side rear window frame, again cut it out rust treatment and weld new patch!
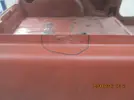
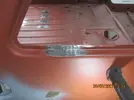
Thanks for reading!


I then gave the paint a wire brush to see the extent of the rust!

Its wasn't too bad, but I drilled out the spot welds and cut the rust out anyway!

I then got the trust cardboard and made some templates for them.


I then got as much rust eater in there as I could

Note the holes drilled for plug welding after!


I then spotted a couple of tiny pin-holes closer to the back of the car and thought I could just drop a spot of weld on them - Oh no, as soon as I got any heat on them, they just blew open, I did chase them for a bit but thought it would be easier to cut back to good metal and fit some patches.- More templates and plates to make.


After a bit of fettling, the plates weren't a bad fit.


I then plug welded the rear section where the rear quarter panel and the inner arch lap each other. I started by filling in the old holes.

Then I cut a section out of the boot floor that was perforated and rust treated and patched that.


Note the dodgy rust patch in the pic below that appeared as I was welding!!

I then had a look at the rust patch on the drivers side rear window frame, again cut it out rust treatment and weld new patch!


Thanks for reading!
Chris74#
Well-Known Member
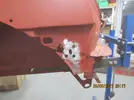
Started looking at the rear bumper support section on the passenger side, at first glance it didn't look too bad! So i removed some of the paint and drilled out the spot welds!
I then decided how I was going to repair this and marked and cut the bad bit out!
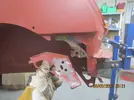
The inner arch that this attaches to is also bad
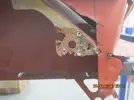
Out comes the cardboard!
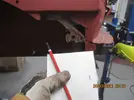
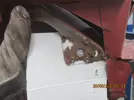
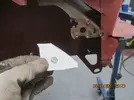
and I set about making a replacement patch!
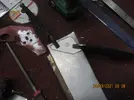
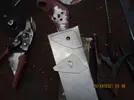
Then gave it a trail fit just to check it. Note the rolled edge on the top! and the crease as per the original piece.
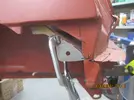
It looks ok, so I got on with welding it in and giving the area a clean.
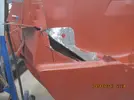
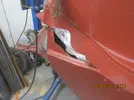
Found these great weld grinding discs, they get through the weld so quick!
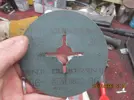
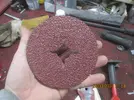
Anyway, I painted the newly welded section with some zinc primer and left it over night!
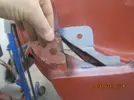
Thanks for reading

I then decided how I was going to repair this and marked and cut the bad bit out!

The inner arch that this attaches to is also bad

Out comes the cardboard!


and I set about making a replacement patch!


Then gave it a trail fit just to check it. Note the rolled edge on the top! and the crease as per the original piece.

It looks ok, so I got on with welding it in and giving the area a clean.


Found these great weld grinding discs, they get through the weld so quick!


Anyway, I painted the newly welded section with some zinc primer and left it over night!

Thanks for reading
Chris74#
Well-Known Member
Got out there this morning bright and breezy! and started making the patch for the bumper support. I had a good look at the piece I cut out and noticed a curved edge on the bottom!
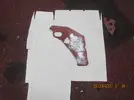
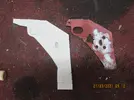
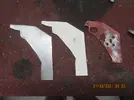
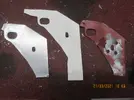
Starting to form the curved edge! and the curved hole.
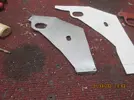
The plan is to drop a bit of weld in that bottom corner and form the curve with the grinder!

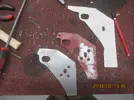
So, got it cleaned up and painted the back of it with zinc primer and left it to dry. I spotted another perforated section in the inner arch that needs looking at!
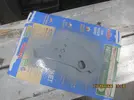
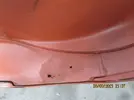
This is paper thin, gonna cut it out! Card board!!!!!
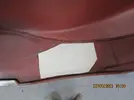
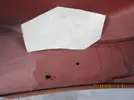
I then cut a plate, and gave it a bit of a bend!
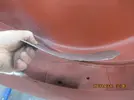
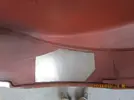
It seems to sit ok, so I marked around it and cut it out! again had to dill out a spot weld which attaches the two pieces of inner arch together.
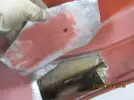
I gave the inner piece a clean and rust treatment and painted the back of the patch. Then went back to the bumper support as the paint is now dry!
After a bit of fettling, it fits quite nicely!
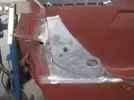
I had to mess about with the curved bit at the front but got there in the end!
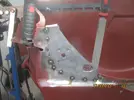
I then went to the curved edge that I mentioned earlier and dropped some weld on it and ground it down!

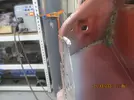
It doesn't look too bad at all!
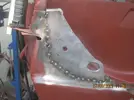
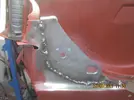
I managed to get some weld on the other curved section without blowing the arse out of it - result!
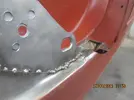
I then decided to turn the car up on its side so that I am welding down on to the metal! Had a couple of blow outs, but nothing major.
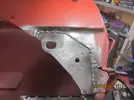
I then gave it a grind!
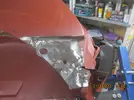
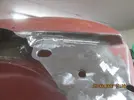
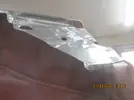
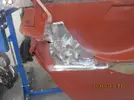
Not too shabby at all!!
Then back to the inner wheel arch.....
Paint dry
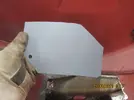
Started to tack it into position..
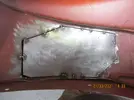
Had some issues with this one! some rather large gaps....point to note... next time just make a new patch, you will save a lot of hassle and time!! Also, don't leave your favourite bodging tool on the car and start hammering with a big hole in the inner arch as you will lose said tool down the bloody hole!! It is now residing somewhere in the roof section and won't come out!!
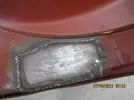
Got it welded in!! nightmare! I then got the grinder on it!
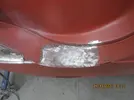
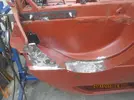
I took a look at the front of the arch and some rust there!
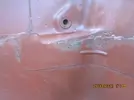
I marked and piloted the spot welds in the strap!
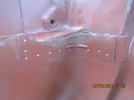
And then cut along the black line and removed the section of strap!
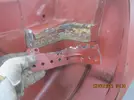
I gave the area a clean up
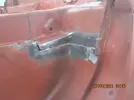
I then made a patch to replace the rusted out section of inner wheel arch!
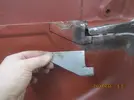
And then marked and cut it out
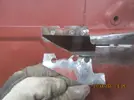
Then noticed that the boot floor skin was rusty and paper thin! some actually came off in my hand!
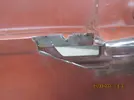
I cut the rest of it off and got an off cut to make a small patch. I used a welding magnet to hold it in position whilst I got a tack on it.
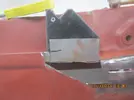
I left it long on purpose. I fettled it a bit and then tacked the one end.
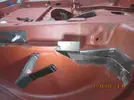
I then decided to weld along the back first, then along the front, so that I could grind the front edge of it and round it off a bit!
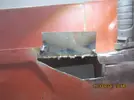
Got the grinder on it!
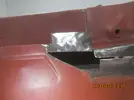
I then got a straight edge and marked the patch and cut it off!
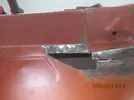
I wasn't happy with the original patch, so I made a new one, this one is much better, again I left it long!
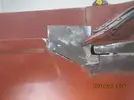
I got some zinc primer on both sections and called it a night!
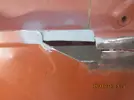
Thanks for reading guys!


Starting to form the curved edge! and the curved hole.

The plan is to drop a bit of weld in that bottom corner and form the curve with the grinder!


So, got it cleaned up and painted the back of it with zinc primer and left it to dry. I spotted another perforated section in the inner arch that needs looking at!


This is paper thin, gonna cut it out! Card board!!!!!


I then cut a plate, and gave it a bit of a bend!


It seems to sit ok, so I marked around it and cut it out! again had to dill out a spot weld which attaches the two pieces of inner arch together.

I gave the inner piece a clean and rust treatment and painted the back of the patch. Then went back to the bumper support as the paint is now dry!
After a bit of fettling, it fits quite nicely!

I had to mess about with the curved bit at the front but got there in the end!

I then went to the curved edge that I mentioned earlier and dropped some weld on it and ground it down!


It doesn't look too bad at all!


I managed to get some weld on the other curved section without blowing the arse out of it - result!

I then decided to turn the car up on its side so that I am welding down on to the metal! Had a couple of blow outs, but nothing major.

I then gave it a grind!


Not too shabby at all!!
Then back to the inner wheel arch.....
Paint dry

Started to tack it into position..

Had some issues with this one! some rather large gaps....point to note... next time just make a new patch, you will save a lot of hassle and time!! Also, don't leave your favourite bodging tool on the car and start hammering with a big hole in the inner arch as you will lose said tool down the bloody hole!! It is now residing somewhere in the roof section and won't come out!!

Got it welded in!! nightmare! I then got the grinder on it!


I took a look at the front of the arch and some rust there!

I marked and piloted the spot welds in the strap!

And then cut along the black line and removed the section of strap!

I gave the area a clean up

I then made a patch to replace the rusted out section of inner wheel arch!

And then marked and cut it out

Then noticed that the boot floor skin was rusty and paper thin! some actually came off in my hand!

I cut the rest of it off and got an off cut to make a small patch. I used a welding magnet to hold it in position whilst I got a tack on it.

I left it long on purpose. I fettled it a bit and then tacked the one end.

I then decided to weld along the back first, then along the front, so that I could grind the front edge of it and round it off a bit!

Got the grinder on it!

I then got a straight edge and marked the patch and cut it off!

I wasn't happy with the original patch, so I made a new one, this one is much better, again I left it long!

I got some zinc primer on both sections and called it a night!


Thanks for reading guys!
Last edited:
Duncan Grier
Well-Known Member
Great work and progress, well done 
Chris74#
Well-Known Member
Thanks Duncan.Great work and progress, well done
Chris74#
Well-Known Member
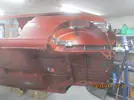
Went at it again today! I thought this was going to be an easy finish! but the French tin had other ideas! I tacked the plate I made yesterday in place.
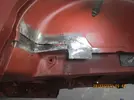
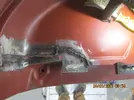
I got too enthusiastic with the grinder and had to cut more out and make another patch!
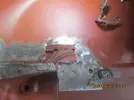
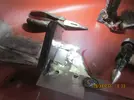
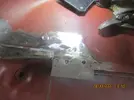
That went in OK, then filled in the pug welds!
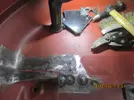
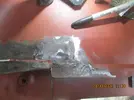 Got there in the end and cut it off to suit! On to the next bit!
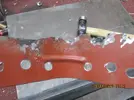
I thought I was going to just fit a flat plate to replace this, but then thought no! I'll make a jig to put the impression in the plate and then curve it!
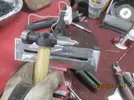
I got some scrap angle and cut it to suit, In effect I made a 200mm x 10mm letterbox!
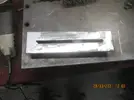
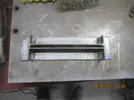
I got some scrap tin and started hammering!
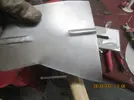
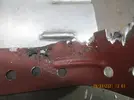
I then dropped the jig in the vice and had another go - This time I gave my hammer a bit of a grind to round it off a bit!
I then marked up a plate and began hammering the indent into it!
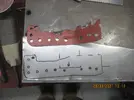
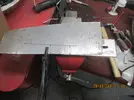
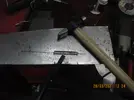
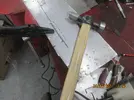
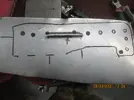
I then dropped it into the letterbox and began curving it! slowly slowly!!
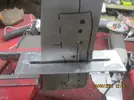
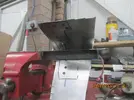
I left it big, and its a good job I did, after I bent it, i noticed that the indent was slightly too low, so I cleaned it off and remarked it with the indent in the right place!
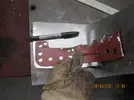
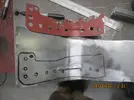
I then trimmed it down!
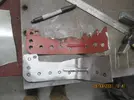
I then tried it on for fit! and drilled out the plug welds.
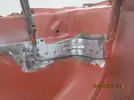
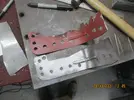
I gave the back of it a good clean and paint!
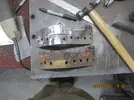
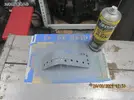
Gave the car shell a bit of paint also!
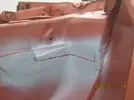
Once it had all dried, I tacked the piece in position!
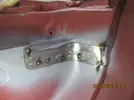
And then filled in all of the plug welds and fully welded the joint!
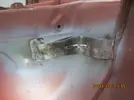
Once it was ground down, I gave it some paint!
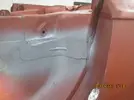
I don't think it looks too bad at all!
I then gave the other bits a lick of paint!
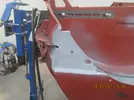
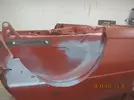
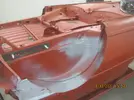
So I spent all weekend to cut out 5 pieces of rust!!
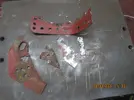
But worth it!!
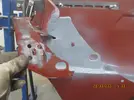
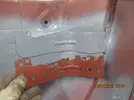
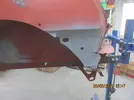
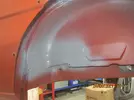
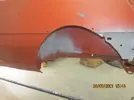
The letterbox worked a treat! I think some further development of this idea! Maybe use solid round rod for a better curve!!???
Thanks for reading guys,


I got too enthusiastic with the grinder and had to cut more out and make another patch!


That went in OK, then filled in the pug welds!

 Got there in the end and cut it off to suit! On to the next bit!
I thought I was going to just fit a flat plate to replace this, but then thought no! I'll make a jig to put the impression in the plate and then curve it!
I got some scrap angle and cut it to suit, In effect I made a 200mm x 10mm letterbox!


I got some scrap tin and started hammering!


I then dropped the jig in the vice and had another go - This time I gave my hammer a bit of a grind to round it off a bit!

I then marked up a plate and began hammering the indent into it!


I then dropped it into the letterbox and began curving it! slowly slowly!!


I left it big, and its a good job I did, after I bent it, i noticed that the indent was slightly too low, so I cleaned it off and remarked it with the indent in the right place!


I then trimmed it down!

I then tried it on for fit! and drilled out the plug welds.


I gave the back of it a good clean and paint!


Gave the car shell a bit of paint also!

Once it had all dried, I tacked the piece in position!

And then filled in all of the plug welds and fully welded the joint!

Once it was ground down, I gave it some paint!

I don't think it looks too bad at all!
I then gave the other bits a lick of paint!


So I spent all weekend to cut out 5 pieces of rust!!

But worth it!!


The letterbox worked a treat! I think some further development of this idea! Maybe use solid round rod for a better curve!!???
Thanks for reading guys,
Last edited:
Chris74#
Well-Known Member
@DaveL485 it is so time consuming, especially when you start getting into it and the rust is in layers! I took your advice with the welder and turned the gas up a little and the wire speed down a little, worked a treat, thanks for that. I also had a realisation that the penetration and overlap of the weld is more important than trying to get it to look pretty when you are grinding it down. That’s my best excuse for crappy looking welds!  I’ve just started looking at the tailgate and the rust around the window. Should be a challenge!
Chris74#
Well-Known Member
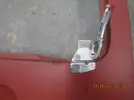
So, i got started on the tailgate. It has rotted out in the usual places at the bottom of the window!
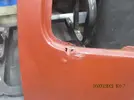
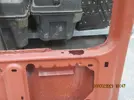
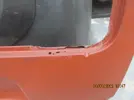
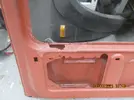
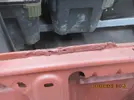
I started thinking about the little indent in the outer skin of the tailgate and how can I get it into the replacement piece that I am going to make. Solution below!!
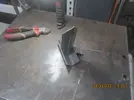

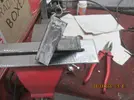
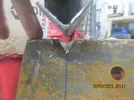
I got some scrap and bent it into a 90 and carried out a couple of trial runs!
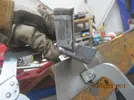
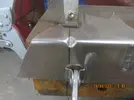
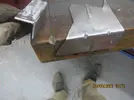
Not bad at all!! I then trimmed the scrap piece down and had a play with it.
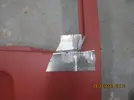
Bring on the cardboard, I decided to make the repair piece in two parts!
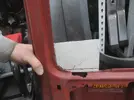
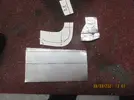
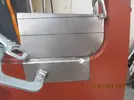
I formed the bottom piece and left the vertical piece in full! and then tacked it together.
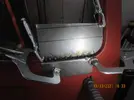
I then flipped it over and welded the back of it also as I want to grind the front down but need the strength to remain at the joint.
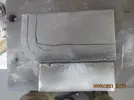
I then roughly marked it and trimmed it down.
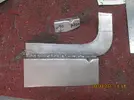
I then got the grinder on it and tidied the front joint up! Then another trial fit!
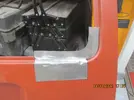
Then another trim
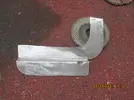
You would never know its two pieces! Then on to the rear piece!
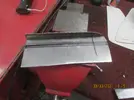
Started hammering and forming!
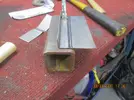
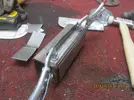
Trail fit
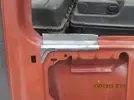
Further trimming and hammering, trying to get the curve tight!
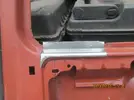
Thats a decent fit! time to mark and cut out the rust
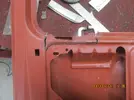
Welded in the repair piece and ground it down, I left the vertical leg long so that I can trim it to suit!
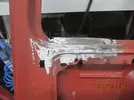
Not bad at all!
Then on to the front piece, I marked and cut out the rust.
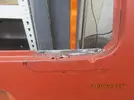
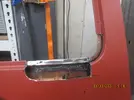
Whilst taking this piece, a spot weld became apparent, I drilled it out and then marked and drilled two holes in my repair piece to weld in.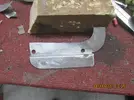
I then fitted the repair piece to the door.. and tacked it in position
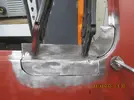
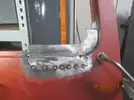
I then fully welded it, making sure that it stayed flush with the door, I had to give the repair piece some extra curve to ensure that it sat correctly.
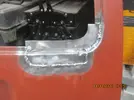
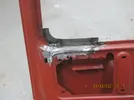
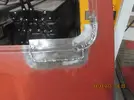
I don't think it looks too bad, Ive had enough for tonight, I'll get it ground down tomorrow evening and attempt to bend the front piece over the rear piece in line with the original detail!
Thanks for reading guys, this is proof that you don't need to buy those crappy repair patches and with a bit of time you can get decent results with a hammer and grinder!


I started thinking about the little indent in the outer skin of the tailgate and how can I get it into the replacement piece that I am going to make. Solution below!!


I got some scrap and bent it into a 90 and carried out a couple of trial runs!


Not bad at all!! I then trimmed the scrap piece down and had a play with it.


Bring on the cardboard, I decided to make the repair piece in two parts!


I formed the bottom piece and left the vertical piece in full! and then tacked it together.

I then flipped it over and welded the back of it also as I want to grind the front down but need the strength to remain at the joint.

I then roughly marked it and trimmed it down.

I then got the grinder on it and tidied the front joint up! Then another trial fit!

Then another trim

You would never know its two pieces! Then on to the rear piece!

Started hammering and forming!


Trail fit

Further trimming and hammering, trying to get the curve tight!

Thats a decent fit! time to mark and cut out the rust

Welded in the repair piece and ground it down, I left the vertical leg long so that I can trim it to suit!

Not bad at all!
Then on to the front piece, I marked and cut out the rust.


Whilst taking this piece, a spot weld became apparent, I drilled it out and then marked and drilled two holes in my repair piece to weld in.

I then fitted the repair piece to the door.. and tacked it in position


I then fully welded it, making sure that it stayed flush with the door, I had to give the repair piece some extra curve to ensure that it sat correctly.


I don't think it looks too bad, Ive had enough for tonight, I'll get it ground down tomorrow evening and attempt to bend the front piece over the rear piece in line with the original detail!
Thanks for reading guys, this is proof that you don't need to buy those crappy repair patches and with a bit of time you can get decent results with a hammer and grinder!
Chris74#
Well-Known Member
Just a quick update, I have been working on the tailgate for an hour or so of an evening, it is slow going!
I put a bit of zinc primer on the first patch and got to work on making the second patch. This time I am going to make it in 3-4 pieces to get all the angles closer, I wasn't that happy in the end with the last one!
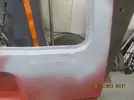
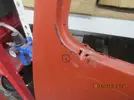

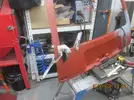
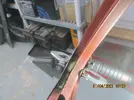
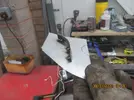
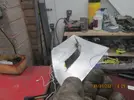
You can see the angles in the pics above

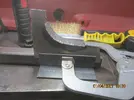
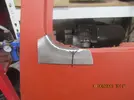
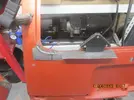
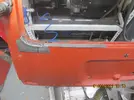
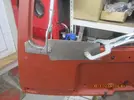
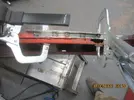
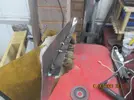
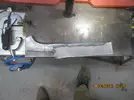
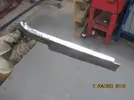

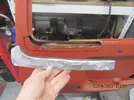
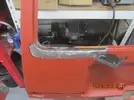
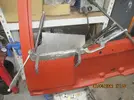
This was when the realisation that I would not be able to bang the indent into this panel as I have welded the edge where it needs to be. Plan B - Make another angled piece, knock the indent into it and then cut and weld it into the new patch I have made! What a ball-ache!!
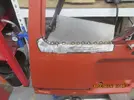
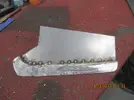
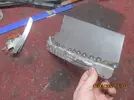
I will fully weld and grind it down tomorrow! Hopefully get it into place tomorrow and complete the welding works on the tailgate!
Thanks for reading guys!
I put a bit of zinc primer on the first patch and got to work on making the second patch. This time I am going to make it in 3-4 pieces to get all the angles closer, I wasn't that happy in the end with the last one!


You can see the angles in the pics above


This was when the realisation that I would not be able to bang the indent into this panel as I have welded the edge where it needs to be. Plan B - Make another angled piece, knock the indent into it and then cut and weld it into the new patch I have made! What a ball-ache!!


I will fully weld and grind it down tomorrow! Hopefully get it into place tomorrow and complete the welding works on the tailgate!
Thanks for reading guys!
Chris74#
Well-Known Member
Got on with it yesterday, and got the patch finished and in!
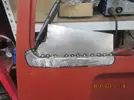
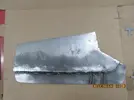
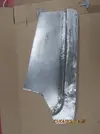
I then put some zinc primer on the back of it!
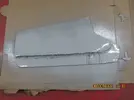
and cut the hole in the the tailgate. I sprayed some paint in there also for good measure!
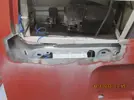
Then clamped it back into position ready for welding!
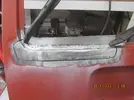
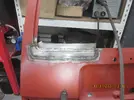
The grinded it off!
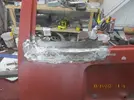
I then made the rear section!
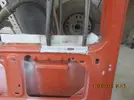
and welded that it in
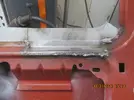
and grinder it off!
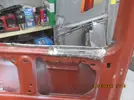
I went and picked up some 'bits' yesterday!
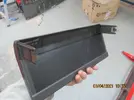
Replacement binnacle! all intact!
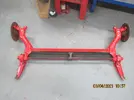
Rear GTT axle for the Campus!
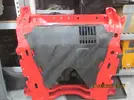
Spare font sub-frame with and engine cover that I didn't know existed! but super cool!!
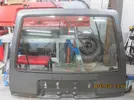
Spare tailgate with no rust and everything intact, the correct seals around the rear heated screen still intact! Result!
Thanks for reading guys!


I then put some zinc primer on the back of it!

and cut the hole in the the tailgate. I sprayed some paint in there also for good measure!

Then clamped it back into position ready for welding!


The grinded it off!

I then made the rear section!

and welded that it in

and grinder it off!

I went and picked up some 'bits' yesterday!
Replacement binnacle! all intact!


Rear GTT axle for the Campus!

Spare font sub-frame with and engine cover that I didn't know existed! but super cool!!
Spare tailgate with no rust and everything intact, the correct seals around the rear heated screen still intact! Result!

Thanks for reading guys!
Chris74#
Well-Known Member
So I decided to crack on with the passenger side cills........
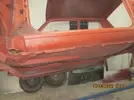
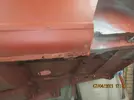
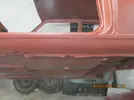
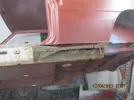
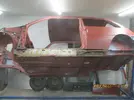
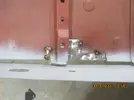
Inner Cills first!!
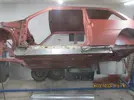
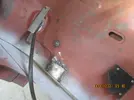
Got the jacking point off first, not too bad under there!
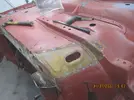
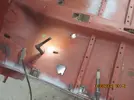
Just a bit of rust near the edge of the floor.
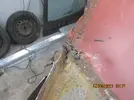
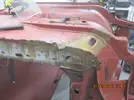
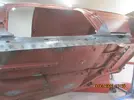
Inner cill is shagged!

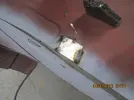
Got to work cutting it out!
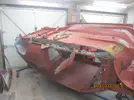
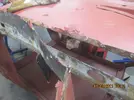
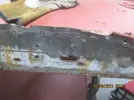
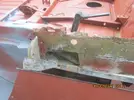
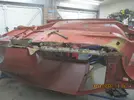
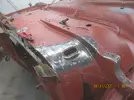
I have the same plan as you @Duncan Grier , a couple of hours a night!!
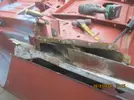
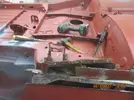
Jacking Point off!!
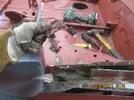
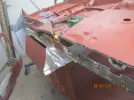
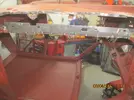
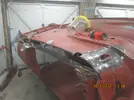
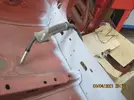
Fitted up and tacked the the new inner cill in place!
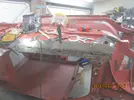
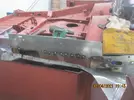
Got some primer on it!!
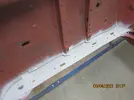
Then set about repairing the patches in the floor!
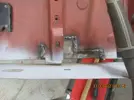
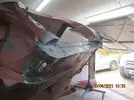
Then got a triall fit of the outer cill
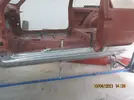
I then Drilled out for the plug welds and trimmed this cill, I wasn't happy with the one i fitted on the other side - an improvement I think.
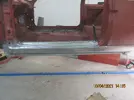
I then got some primer on the inside of the panel.
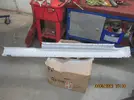
I then gave the remnants of the inner cill a clean and a lick of primer also. Ran out of the acid etch primer hence the two tone effect!
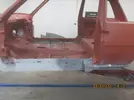
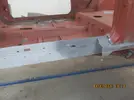
Another trial fit! and a couple of tack welds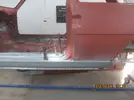
Carried on welding!! got it fully welded up!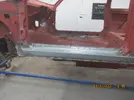
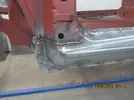
The back turned out much better after cutting it down, and completely slowing the welding process down!!
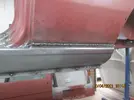
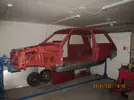
Getting close to having the shell all welded up now! Whats next @Big Steve - Raider - @DaveL485 - seam seal?
Thanks for reading guys!!


Inner Cills first!!

Got the jacking point off first, not too bad under there!

Just a bit of rust near the edge of the floor.


Inner cill is shagged!

Got to work cutting it out!


I have the same plan as you @Duncan Grier , a couple of hours a night!!


Jacking Point off!!


Fitted up and tacked the the new inner cill in place!


Got some primer on it!!

Then set about repairing the patches in the floor!


Then got a triall fit of the outer cill

I then Drilled out for the plug welds and trimmed this cill, I wasn't happy with the one i fitted on the other side - an improvement I think.

I then got some primer on the inside of the panel.

I then gave the remnants of the inner cill a clean and a lick of primer also. Ran out of the acid etch primer hence the two tone effect!


Another trial fit! and a couple of tack welds

Carried on welding!! got it fully welded up!


The back turned out much better after cutting it down, and completely slowing the welding process down!!


Getting close to having the shell all welded up now! Whats next @Big Steve - Raider - @DaveL485 - seam seal?
Thanks for reading guys!!
Whats next @Big Steve - Raider - @DaveL485 - seam seal?
Yep! If all the Rot’s gone, now time for the seam sealer..
Great work @Chris74#
Duncan Grier
Well-Known Member
Well done, looks great!!
Chris74#
Well-Known Member
Thanks Duncan, how are you getting on?Well done, looks great!!
Duncan Grier
Well-Known Member
Well I put the 5 on hold as I only had 1mm, 2mm and locally on Sat could only get 1.2mm sheet steel. So sacked off and will get some 1.5mm tomorrow as off work for the week (with family so not week on car lol  )
)
So between the boys running circles around us decided to start demolition on garden out house....hurting now lol
No final pics but corner flat also and plenty of brownie points earned
Skip on route for rubble and scrap/rubbish and few nights of burning wood ahead
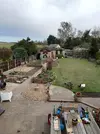
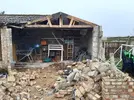
So between the boys running circles around us decided to start demolition on garden out house....hurting now lol
No final pics but corner flat also and plenty of brownie points earned
Skip on route for rubble and scrap/rubbish and few nights of burning wood ahead


Similar threads
- Replies
- 4
- Views
- 358
- Featured
- Replies
- 82
- Views
- 2K
- Question
- Replies
- 8
- Views
- 678
- Replies
- 6
- Views
- 268
