There is more to life with TurboRenault.co.uk

Register a free account today to become a member! Once signed in, you'll be able to participate on this site by adding your own topics and posts, as well as connect with other members through your own private inbox!

5 GT Turbo R5 GT Turbo - Complete strip down and re-build #1

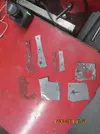
Well I put the 5 on hold as I only had 1mm, 2mm and locally on Sat could only get 1.2mm sheet steel. So sacked off and will get some 1.5mm tomorrow as off work for the week (with family so not week on car lol ;) )

So between the boys running circles around us decided to start demolition on garden out house....hurting now lol

No final pics but corner flat also and plenty of brownie points earned 👌

Skip on route for rubble and scrap/rubbish and few nights of burning wood ahead ;)

View attachment 154932

View attachment 154933
Wow, the garden looks great!...What are you building in place of the corner flat? :)
 
Yep! If all the Rot’s gone, now time for the seam sealer.. 👍

Great work @Chris74#
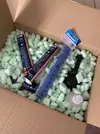
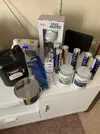
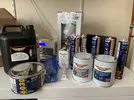
I spoke with Richard @ Rust yesterday. He is very patient and helpful. He went through all the options and outlined their pro's & cons. I settled with the epoxy EM121 Dark Grey for the underside of the car, Dinitrol 410 polyurethane seam sealer, Dinitrol metal body filler, FE-123 Rust treatment, and a nice shiny spray gun for the epoxy paint! Still got a bit of cut & going to get through, but this really feels like a milestone!!

The plan is to get all of the welding complete and then concentrate on the rear frame as there is some pitting there. Im going to cut out the really bad stuff and rust treat the minor pitted areas, then fill it with the Dinitrol metal filler, then go over it with the epoxy paint. It should look brand new under there once I'm done!

Are there any areas under there that need masking off so as not to cover with epoxy. I'm thinking more for earthing purposes! any ideas?

REF: Rust Remover & Prevention Treatments, Rust Proofing Cars | Rustbuster

Thanks for reading guys.... I might be able to post something other than cutting, grinding & welding!!

Breathe Jack Black GIF by Tenacious D
 
Are there any areas under there that need masking off so as not to cover with epoxy. I'm thinking more for earthing purposes! any ideas?

No. All the earthing points are where the wiring is, in the engine bay and boot typically. I'd recommend you screw in some bolts/plug the holes though so you're not having to struggle re-tapping everything after it's all covered in Epoxy.
 
No. All the earthing points are where the wiring is, in the engine bay and boot typically. I'd recommend you screw in some bolts/plug the holes though so you're not having to struggle re-tapping everything after it's all covered in Epoxy.

These should do the trick!! :)
 
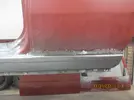
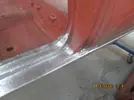
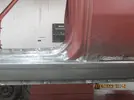
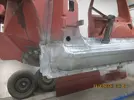
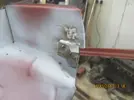
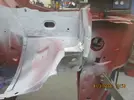
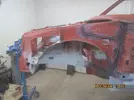
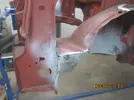
I got in the garage this week and got grinding. I was quite happy with the result.IMG_4862.webp

IMG_4863.webp
IMG_4865.webp
IMG_4867.webp
IMG_4869.webp
I then got the door and wing on just to check the alignment....Its pretty good, a bit of tweaking and it will be good to go.
IMG_4872.webp
I then stripped them off and dropped some paint on the cill just to slow the dreaded rust down!
IMG_4878.webp
IMG_4879.webp
IMG_4880.webp
IMG_4882.webp
That was enough for that day!!
 
I then moved on to the repair to the rear arch(that I should have done while the cill was off)IMG_4883.webp
I cut a cardboard template and then the tin!!
IMG_4886.webp

IMG_4887.webp
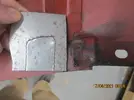
I then moved on to the rear lifting point! This need some modification as it was too big!
IMG_4888.webp
IMG_4890.webp
Then on to the front wheel arch and the various patches required!

IMG_4893.webp
IMG_4894.webp
IMG_4895.webp
IMG_4897.webp
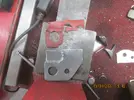
I started by removing the brake pipe restraint and cutting out the rust!
IMG_4899.webp
IMG_4900.webp
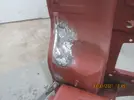
I then cut the rest of the problem areas out and gave them a dose of rust treatment!
IMG_4902.webp
IMG_4903.webp
IMG_4905.webp
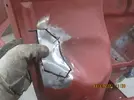
I trimmed this back to good metal and set about making the patches.
IMG_4917.webp
IMG_4920.webp
I then welded these in and made a new section for the bumper restraint as the existing one is f****d!! :)

IMG_4928.webp
I then welded this on, both sides as I want to grind it down with a bit of a bend on it!!
IMG_4930.webp
Then on to a rotten spot where the wheel arch joins the turret! More metal shaping!
IMG_4932.webp
I got busy with the hammer and cold chisel
IMG_4934.webp
IMG_4935.webp
IMG_4937.webp
IMG_4939.webp
I then got the new FE-123 from Rust.co.uk out!! and decided to get started on the seams in between jobs!
I lifted the seams as best I could and got in there with the wire brush, then loaded it with FE-123 and once dry tapped them back to closed again.
IMG_4943.webp
I then fully welded in the repair patch for the wheel arch.
IMG_4945.webp
I then spent some time separating seams, wire brushing and applying rust treatment. Its surprising how much time this takes! But its quite therapeutic!


IMG_4954.webp
IMG_4956.webp
I then got on with the repair patch in the firewall..
IMG_4957.webp
IMG_4959.webp
I then started to grind the welds down, and fix the brake pipe restraint back on and the front bumper fixing point.
IMG_4968.webp
IMG_4971.webp
IMG_4972.webp
IMG_4980.webp
IMG_4981.webp
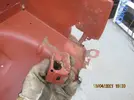
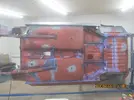
I then flipped the car so that I could finish grinding the bumper restraint down.
IMG_4983.webp
IMG_4984.webp
Looks good to me!! :)
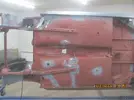
I then turned the car on its side so that I could get to the underside and grind down the welds in the floor, and make a start on the seam treatment.
IMG_4988.webp
Another cheeky patch required!!
IMG_4989.webp
IMG_4991.webp
I then continued with the seam treatment!!
IMG_4992.webp
Got the patch welded in!!
IMG_4993.webp
Thanks for reading guys!!
 
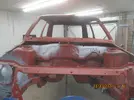
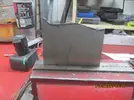
So its Sunday morning and I have decided to have a go at repairing the bulk head which someone has decided to cut a piece out of and drill lots of holes in it! IMG_4995.webp
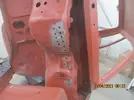
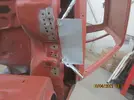
I was going to just swap the bulkhead out of the Campus but decided against it. I got a piece of scrap tin and began bending it into shape by hand.
IMG_4996.webp
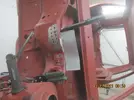
I noticed the little diagonal section that was missing so I left it long and cut it to suit!
IMG_4998.webp
My thinking was to get it close enough and then hammer and weld it in position! I've recently starting using a metal dolly to hammer the welds against, it seems to work quite well!
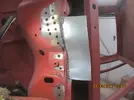
IMG_4999.webp
I tacked it in and then fully welded it once I was happy with the shape
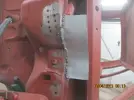
IMG_5001.webp
The welding is not pretty, but it has full penetration and I am going to grind it down!
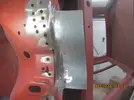
IMG_5003.webp
I then got the snips and trimmed it back to suit.
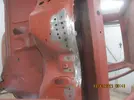
IMG_5005.webp
I turned out better than I expected it too.. Then on to the holes.. This is where things went south!!
I had welded in some of the holes last week but hadn't gotten around to grinding them out, so I got busy with the grinder, but got a bit over zealous with it and ended up making absolute shite of it!! I ended up having to cut a patch out in the end!
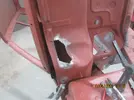
IMG_5006.webp
So I got busy with the hammer, cold chisel and a piece of scrap steel tube to form this shape!
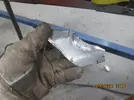
IMG_5007.webp
It looks ok!

IMG_5008.webp
I then tweaked it some more and then welded it in! I gave the weld a bit of a hammer with the dolly behind it and knocked it further into shape!
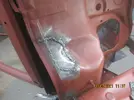
IMG_5009.webp
I gave it a grind off!!
IMG_5011.webp
So that balls up cost me nearly 2 hours!!
Then the wife shows up and starts f*****g about!! :)
IMG_5012.webp
After she got bored and f****d off, I got on with welding the other holes and grinding them down, I almost messed that up too and had to go back on a few patches where I came through with the grinder! Overall I am please with how it turned out!
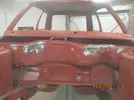
IMG_5013.webp
IMG_5014.webp
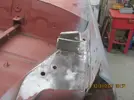
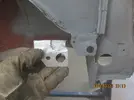
I then decided that the front bumper mount on the drivers side needed replacing with one like I fitted on the passenger side, so I made a replacement plate.
IMG_5015.webp
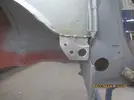
I cut the old one off and welded the new one on!
IMG_5016.webp
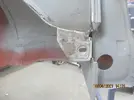
I then welded in the new front bumper mount and ground it all down!
IMG_5018.webp
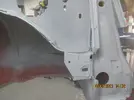
I then dropped some etch primer on it as a temporary measure!
IMG_5019.webp
I then had a clean up and put the car away and went for dinner. Aparently the sun is out today!!
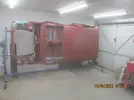
IMG_5020.webp
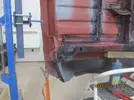
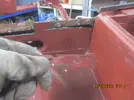
Whilst eating dinner I was thinking how black the rust treatment was on the back underside of the car so went to have a look after dinner. I got the pointed hammer out for a quick investigation!
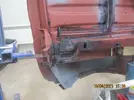
IMG_5021.webp
A couple of gentle taps and the holes begin to appear!!
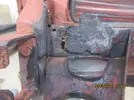
IMG_5026.webp
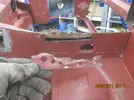
So I got the car up on a stool and bottle jack, ratchet strapped it to the roll over frame and removed the tie from the rollover jig.IMG_5025.webp
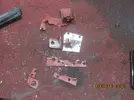
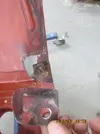
I started to drill out the spot welds to remove the rear towing eye, or at least thats what I think it is!! But my last bloody spot weld drill bit broke!!!!
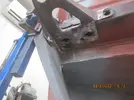
IMG_5028.webp
So I am calling on the expertise on the forum on how best to deal with this rust on the rear legs. My idea is to remove the attached bits and then cut the leg back as far as good metal, make a new piece, weld it in and then clean up and re-attach the towing eye etc. @DaveL485 & @Big Steve - Raider what do you suggest with this?

Thanks for reading guys!
 
Well, you just gotta keep on digging until you bottom out the rot, making note of how it goes together and then just work backwards to put it back together.


You got to appreciate a tolerant Mrs!
Thanks @DaveL485 - Ive just spotted more of the same on the other leg! I spoke too soon about finishing the cutting and welding 🤬
 
So, I called the engine builder again today to try and get my engine back, he has had it for over a year now! He keeps fobbing me off with the waiting for parts excuse, it'll be next week and so on! I think Im just going to have to go down there and take the engine back in whatever condition it is currently in. If people have no intention of doing the work, why take it on????
 
So, I called the engine builder again today to try and get my engine back, he has had it for over a year now! He keeps fobbing me off with the waiting for parts excuse, it'll be next week and so on! I think Im just going to have to go down there and take the engine back in whatever condition it is currently in. If people have no intention of doing the work, why take it on????
Get it back and take it to Mark Branston aka Sparkie in Birmingham. He knows his shizz
 
Back
Top