There is more to life with TurboRenault.co.uk
You are using an out of date browser. It may not display this or other websites correctly.
You should upgrade or use an alternative browser.
You should upgrade or use an alternative browser.
5 GT Turbo R5 GT Turbo - Complete strip down and re-build #1
- Thread starter Chris74#
- Start date
-
- Tags
- gt turbo r5 gt turbo turbo
DaveL485
Staff member
In the summer when its quite warm you'll find you dont get much of that flash rust, but in the cold & damp winters it forms in a few days...I try and make my last task on each garage weekend to cover any bare metal. It really irritates me when I put a load of work in only to find the car trying to undo it next time I poke my head in the garage!
Chris74#
Well-Known Member
So......new development...I have sourced and bought an M reg R5 Prima that has a good body, and still runs which surprised me, although I think the head gasket has blown.
This is a massive help, with all of the panels I need, replacement floor front and back, inner wheel arches, front arches, bulk head panel and then the bonus bits like all of the engine rubber seals were in place, the gutter trims are in good condition with the stop ends still in place, the tailgate is perfect!! this just keeps on giving!
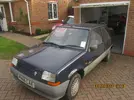
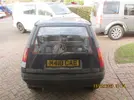
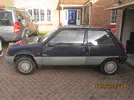

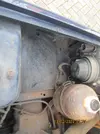
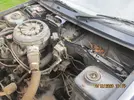
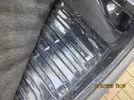
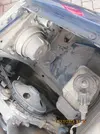
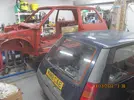
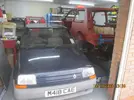
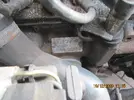
This should make things a lot easier..just need another garage now!!
Thanks for reading!!
This is a massive help, with all of the panels I need, replacement floor front and back, inner wheel arches, front arches, bulk head panel and then the bonus bits like all of the engine rubber seals were in place, the gutter trims are in good condition with the stop ends still in place, the tailgate is perfect!! this just keeps on giving!


This should make things a lot easier..just need another garage now!!
Thanks for reading!!
DaveL485
Staff member
Doesn't matter how much space you have, you'll always need more..just need another garage now!!
Chris74#
Well-Known Member
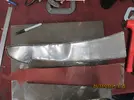
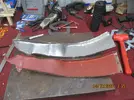
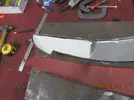
Got out there today and made the lower internal wheel arch. It turned out ok.

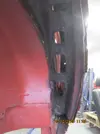
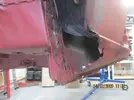
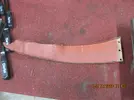
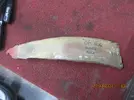
Cut a new piece of lat for it!
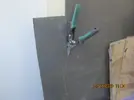
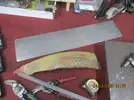
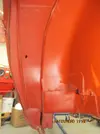
Had a look at the other side for comparison, and noticed just how bad the drivers side is!
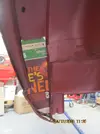
So I got to work making a cardboard template!
Then reversed it and laid it into the existing panel to ensure it fits.
And then tried the whole thing on the car!!

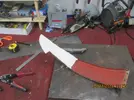
I then clamped the old panel on to the new flat and drew around it!
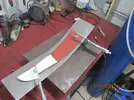
I then added 15mm all around as the returns. I plan to trim these off later to suit.

I then trimmed it off and began bending and hammering the metal!!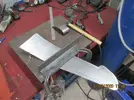
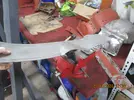
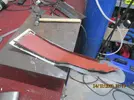
And hammering, and bending!!!
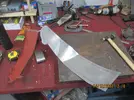
Once it was roughly the same shape as the original, I began hammering the returns on the panel, This caused me some issues - as I turned them up, it straightened out all my hard work hammering!!!
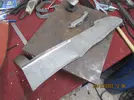
Gave it a trial fit just to check!
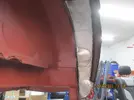
I noticed that there was still some remnants of the rusted old piece so I got the file out and filed them off!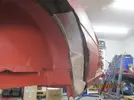
A much better fit! I had to put some cuts into the returns to get the thing to bend again, could do with some proper tools for this really! Once I had dressed it in and got it exactly where I wanted it, I took it back to the bench and dropped some welds on to the cuts, which has done the trick!
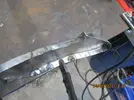
End result, I'm quite happy with that!!
Thanks for reading!!


Cut a new piece of lat for it!


Had a look at the other side for comparison, and noticed just how bad the drivers side is!

So I got to work making a cardboard template!

Then reversed it and laid it into the existing panel to ensure it fits.

And then tried the whole thing on the car!!

I then clamped the old panel on to the new flat and drew around it!

I then added 15mm all around as the returns. I plan to trim these off later to suit.

I then trimmed it off and began bending and hammering the metal!!


And hammering, and bending!!!

Once it was roughly the same shape as the original, I began hammering the returns on the panel, This caused me some issues - as I turned them up, it straightened out all my hard work hammering!!!

Gave it a trial fit just to check!

I noticed that there was still some remnants of the rusted old piece so I got the file out and filed them off!

A much better fit! I had to put some cuts into the returns to get the thing to bend again, could do with some proper tools for this really! Once I had dressed it in and got it exactly where I wanted it, I took it back to the bench and dropped some welds on to the cuts, which has done the trick!

End result, I'm quite happy with that!!


Thanks for reading!!
Last edited:
Mark_L
Well-Known Member
A shrinker/stretcher makes this kind of job a lot easier.Got out there today and made the lower internal wheel arch. It turned out ok.
View attachment 152348
View attachment 152349
View attachment 152350
View attachment 152351
View attachment 152352
Cut a new piece of lat for it!
View attachment 152353
View attachment 152354
Had a look at the other side for comparison, and noticed just how bad the drivers side is!
View attachment 152355
So I got to work making a cardboard template!
View attachment 152356
Then reversed it and laid it into the existing panel to ensure it fits.
View attachment 152357
And then tried the whole thing on the car!!
View attachment 152358
I then clamped the old panel on to the new flat and drew around it!
View attachment 152359
I then added 15mm all around as the returns. I plan to trim these off later to suit.
View attachment 152360
I then trimmed it off and began bending and hammering the metal!!View attachment 152362
View attachment 152363
View attachment 152364
And hammering, and bending!!!
View attachment 152365
Once it was roughly the same shape as the original, I began hammering the returns on the panel, This caused me some issues - as I turned them up, it straightened out all my hard work hammering!!!
View attachment 152366
Gave it a trial fit just to check!
View attachment 152367
I noticed that there was still some remnants of the rusted old piece so I got the file out and filed them off!View attachment 152368
A much better fit! I had to put some cuts into the returns to get the thing to bend again, could do with some proper tools for this really! Once I had dressed it in and got it exactly where I wanted it, I took it back to the bench and dropped some welds on to the cuts, which has done the trick!
View attachment 152369
End result, I'm quite happy with that!!
View attachment 152370
View attachment 152371
View attachment 152372
Thanks for reading!!
Chris74#
Well-Known Member
Funnily enough I ordered one last night!!A shrinker/stretcher makes this kind of job a lot easier.
Chris74#
Well-Known Member
Had another couple of days at it, I decided to leave the bodywork for now until a friend comes around to give me a few lessons in welding!! I started to strip the rear axle in order to replace the bearing bracket bushes and get it ready to go to the blasters and powder coat! What a game I had with the axle! I ended up heating the rubber bushes until they became brittle and snapped them off the trailing arm.
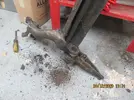
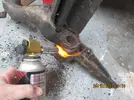
Apply Heat!
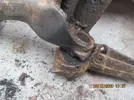
Apply Pressure!
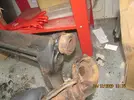
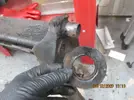
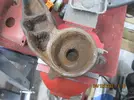
I then had to get the rest of the bush out of the bearing bracket with a hammer and chisel.....gently gently!!
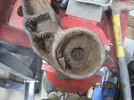
Working my way around
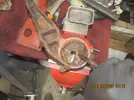

I then had the nightmare of trying to get the rest of the bush out of the trailing arm!! I lost the rest of yesterday scratching my head and trying various size hammers but to no avail! The main problem was that I wasn't sure if the remaining tube section was part of the trailing arm or the remnants of the bush! Back to you tube! Only thing I could find at 22 0 last night lying in bed, was a Russian guy changing the bushes on a Kangoo! the bushes look exactly the same by the way! I had a plan!
The wife did ask why I was watching Russians that late at night!!


Apply Heat!

Apply Pressure!


I then had to get the rest of the bush out of the bearing bracket with a hammer and chisel.....gently gently!!

Working my way around


I then had the nightmare of trying to get the rest of the bush out of the trailing arm!! I lost the rest of yesterday scratching my head and trying various size hammers but to no avail! The main problem was that I wasn't sure if the remaining tube section was part of the trailing arm or the remnants of the bush! Back to you tube! Only thing I could find at 22
The wife did ask why I was watching Russians that late at night!!
Chris74#
Well-Known Member
I headed back out there this morning with a plan to get these bushes out! The plan is simple. Get the recip saw and cut a single saw line in the bush being careful not to cut into the trailing arm! then get the puller tool that I made yesterday and pull the bush out of the arm.
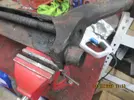
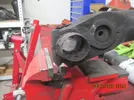
Single cut line with the recip saw!
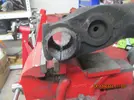

Use home made puller tool to pull the bush through the arm!
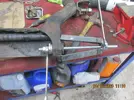
Thats it started!!
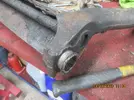
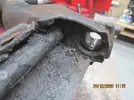
I then worked the rest of it out with the hammer and chisel...result!
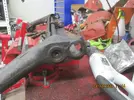
I then removed the calliper connection plates from the hubs! 30 years of rust is hard to shift with a T40 socket! Broke a socket and had to drill 2 out of the 8 screws out!
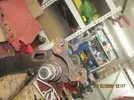
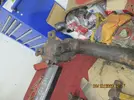
Had to get the impact screwdriver on the go!
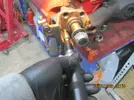
I noticed something with the numbers on the calliper connection and bearing brackets as shown in the pictures. Might be of use to someone in the future!
One side 41 and 642
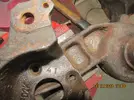
Otherside 39 and 643
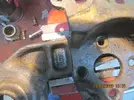
I managed to get the torsion bars out but cannot get the anti-roll bars out. I am going to take it to a local engineering outfit to remove them and fully drill out the broken screws, and re-tap everything.
I then turned my attention to the engine and gearbox. I started ny removing the exhaust and inlet manifold. Bit of a nightmare to get to but patience and persistence paid off.
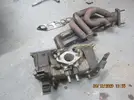
The car was running when I took it off the road, but it had started to blow from the exhaust manifold, I figured the gasket had packed up!
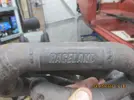
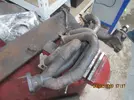
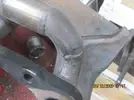
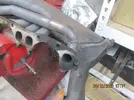
But the manifold is cracked!!
I then began puling all the plastic clips and metal brackets from the engine. I took pictures of every clip before i removed it and didn't snap one! I bagged the lot and began to make a collection for blasting and plating, I removed the rubber bushes from the alternator bracket and put it with the rest.
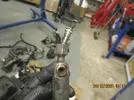
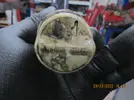
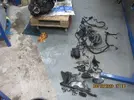
I then separated the gearbox and engine and drained what oil was left in the gearbox.
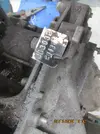
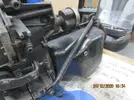
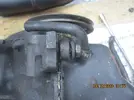
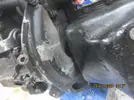
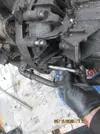
This bolt is different - mental note!!
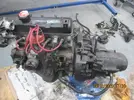
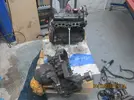
Feeling quite pleased with myself after todays adventures, got quite a bit done.
Also - New inner and outer cills ordered, front bumper mounts, one way valve bracket, and stretcher and shrinker!
Thanks for reading!


Single cut line with the recip saw!


Use home made puller tool to pull the bush through the arm!

Thats it started!!


I then worked the rest of it out with the hammer and chisel...result!

I then removed the calliper connection plates from the hubs! 30 years of rust is hard to shift with a T40 socket! Broke a socket and had to drill 2 out of the 8 screws out!


Had to get the impact screwdriver on the go!

I noticed something with the numbers on the calliper connection and bearing brackets as shown in the pictures. Might be of use to someone in the future!
One side 41 and 642

Otherside 39 and 643

I managed to get the torsion bars out but cannot get the anti-roll bars out. I am going to take it to a local engineering outfit to remove them and fully drill out the broken screws, and re-tap everything.
I then turned my attention to the engine and gearbox. I started ny removing the exhaust and inlet manifold. Bit of a nightmare to get to but patience and persistence paid off.

The car was running when I took it off the road, but it had started to blow from the exhaust manifold, I figured the gasket had packed up!


But the manifold is cracked!!
I then began puling all the plastic clips and metal brackets from the engine. I took pictures of every clip before i removed it and didn't snap one! I bagged the lot and began to make a collection for blasting and plating, I removed the rubber bushes from the alternator bracket and put it with the rest.


I then separated the gearbox and engine and drained what oil was left in the gearbox.


This bolt is different - mental note!!


Feeling quite pleased with myself after todays adventures, got quite a bit done.
Also - New inner and outer cills ordered, front bumper mounts, one way valve bracket, and stretcher and shrinker!
Thanks for reading!
Last edited:
Duncan Grier
Well-Known Member
Fair suggestion from @Brigsy. My experiance of doing 2 well over 10 years ago were a royal pita and real fight even with big boy toys. Can't imagine they have got any better with another decade added
Sure a good clean, prep and fresh coating will look fine and save a heap of fun however I fully expect you will go for most painful option just to know its done


Sure a good clean, prep and fresh coating will look fine and save a heap of fun
DaveL485
Staff member
If you had looked at my R9 Turbo thread there is a detailed rear axle strip and rebuild right here on TurboRenaultThe wife did ask why I was watching Russians that late at night!!
DaveL485
Staff member
Gasket had gone too looking at the carbon staining on the gasket face, get the flange checked for straightness after its welded up.But the manifold is cracked!!
clarky_gtt
Well-Known Member
I'd bin that Manifold, stock one is solid!
Chris74#
Well-Known Member
Thanks for the info @clarky_gtt Ill get on the hot for a decent stock manifold!I'd bin that Manifold, stock one is solid!
Similar threads
- Replies
- 4
- Views
- 360
- Featured
- Replies
- 82
- Views
- 2K
- Question
- Replies
- 8
- Views
- 678
- Replies
- 6
- Views
- 268
