There is more to life with TurboRenault.co.uk
You are using an out of date browser. It may not display this or other websites correctly.
You should upgrade or use an alternative browser.
You should upgrade or use an alternative browser.
5 GT Turbo R5 GT Turbo - Complete strip down and re-build #1
- Thread starter Chris74#
- Start date
-
- Tags
- gt turbo r5 gt turbo turbo
Chris74#
Well-Known Member
Did some cleaning of the brake callipers. Started with a dip in the parts washer, then into an experimental electrolysis tank, using H20 sodium bicarbonate, a battery charger and a metal plate. Then a dry off and a going over with the wire brush! they came out pretty good. They were in a right state with the most of the rubbers spilt or missing!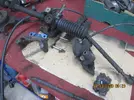
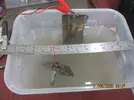
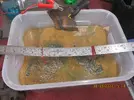
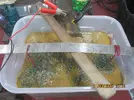
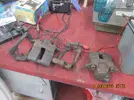
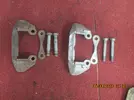
Before & After!
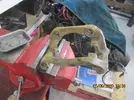
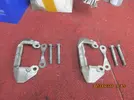
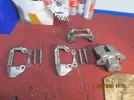
Just have to order some recon kits now.
Thanks for reading!!


Before & After!


Just have to order some recon kits now.
Thanks for reading!!
Last edited:
Chris74#
Well-Known Member
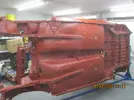
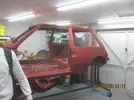
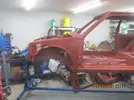
Had a better look at the bodywork today. It is a lot worse than i thought, I am going to get some 30mm x 30mm steel box section in order to brace the shell as both cills will need to come off (internal & external).
I decided to have a look at the O/S wheel arch and rear bumper connection point on the shell. The internal wheel arch has a rotten hole in it and the fuel bracket has almost completely gone. I decided to remove the internal wheel arch so that I can repair it more easily.
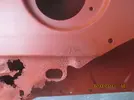
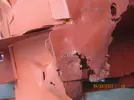
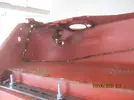
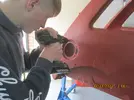
We drilled out the spot welds and then removed the internal arch!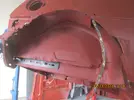
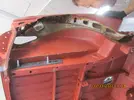
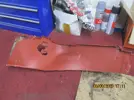
I then set about making a new panel to repair the damage to the bumper connection, the replacement plates I bought off ebay were no good for the amount of damage to the arches.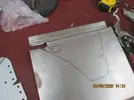
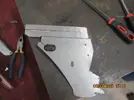
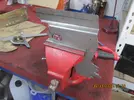
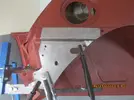
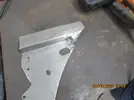
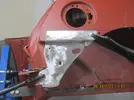
Just need to get some small grinder bits for the Dremel to tidy up the welding..not bad for a first attempt!
Time to watch another you tube video on welding in plates to car bodies!
Thanks for reading!
I decided to have a look at the O/S wheel arch and rear bumper connection point on the shell. The internal wheel arch has a rotten hole in it and the fuel bracket has almost completely gone. I decided to remove the internal wheel arch so that I can repair it more easily.


We drilled out the spot welds and then removed the internal arch!


I then set about making a new panel to repair the damage to the bumper connection, the replacement plates I bought off ebay were no good for the amount of damage to the arches.


Just need to get some small grinder bits for the Dremel to tidy up the welding..not bad for a first attempt!
Time to watch another you tube video on welding in plates to car bodies!
Thanks for reading!
Chris74#
Well-Known Member
So....I watched a few welding vids on You tube - Fitzees Fabs! Decided to go out and try my new found knowledge....How difficult can it be?
Oh dear!!
This is how it started,
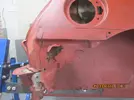
I then cut out a section so that I could clamp the new plate in that I made yesterday.
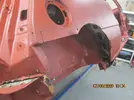
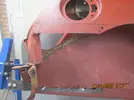
I then clamped on the new plate and began spot welding, trying not to blow too many holes in it!
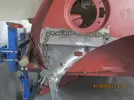
I blew quite a few holes in it, but managed to fill some of them back in!
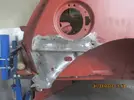
Definitely need more practice, but I don't think I did too bad for a first attempt!
Any hints and tips are very welcome!! @DaveL485 @Big Steve - Raider
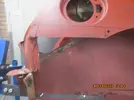
Oh dear!!
This is how it started,

I then cut out a section so that I could clamp the new plate in that I made yesterday.


I then clamped on the new plate and began spot welding, trying not to blow too many holes in it!

I blew quite a few holes in it, but managed to fill some of them back in!

Definitely need more practice, but I don't think I did too bad for a first attempt!
Any hints and tips are very welcome!! @DaveL485 @Big Steve - Raider

Last edited:
DaveL485
Staff member
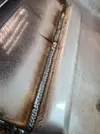
Blowing holes is too much heat usually, if i'm doing that I turn the power down a bit.
You should use the cut-out part and weld it to a scrap bit of new metal first to get your settings right.
Manage the heat, don't try and blast a line of weld all at once. I tend to weld a 1 sec spot, then wait until the glow has faded off before the next with a slight overlap, and the next and so on. The edge of the last spot of weld is a good point to strike the next arc imo, it tends to be tougher than the metal sheet.

Chris74#
Well-Known Member
Thanks @DaveL485 - I have the power setting to just above 0 and have messed about with the wire speed to a decent rate now. I have also tried welding the cut piece to a new piece and it worked absolutely fine (for my level).... I think I will keep practising on the bench for now until I get it a bit closer to acceptable!Blowing holes is too much heat usually, if i'm doing that I turn the power down a bit.
You should use the cut-out part and weld it to a scrap bit of new metal first to get your settings right.
Manage the heat, don't try and blast a line of weld all at once. I tend to weld a 1 sec spot, then wait until the glow has faded off before the next with a slight overlap, and the next and so on. The edge of the last spot of weld is a good point to strike the next arc imo, it tends to be tougher than the metal sheet.
View attachment 151130

Love your weld above by the way!!!
Chris74#
Well-Known Member
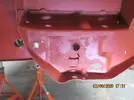
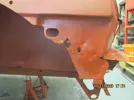
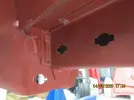
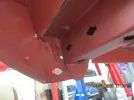
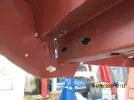
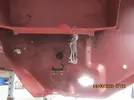
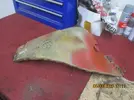
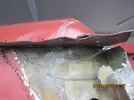
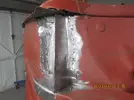
So, I shelved the welding for now, need more videos and practice! So I decided to remove that dodgy looking front jacking point,
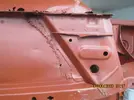
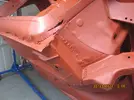
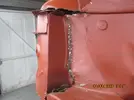
it didn't take much to get it off, a little grinding but most of the welds popped off with a bit of pressure from a screwdriver! It then came a way to reveal even more dodgy welding!
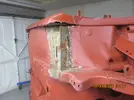
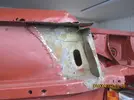
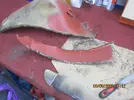
So I gave it a clean up!
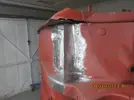
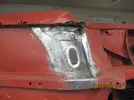
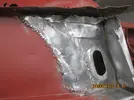
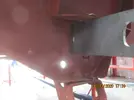
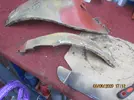
I then removed another piece of old metal, I believe I will need to make a new plate to match this!
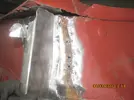
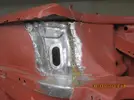
I then gave this a clean down!
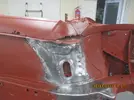
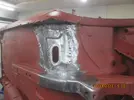
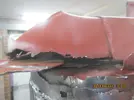
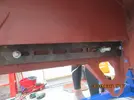
I think that cill needs replacing, it looks like the internal cill is made of a few different pieces of metal!!
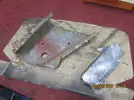
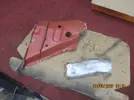
The other front and rear jacking points both need replacing also!!
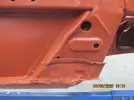
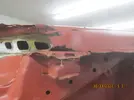
Thanks for reading, I appreciate the comments and suggestions!


it didn't take much to get it off, a little grinding but most of the welds popped off with a bit of pressure from a screwdriver! It then came a way to reveal even more dodgy welding!


So I gave it a clean up!


I then removed another piece of old metal, I believe I will need to make a new plate to match this!


I then gave this a clean down!


I think that cill needs replacing, it looks like the internal cill is made of a few different pieces of metal!!


The other front and rear jacking points both need replacing also!!


Thanks for reading, I appreciate the comments and suggestions!
Duncan Grier
Well-Known Member
Will be worth it in the end, stick with it.
At least you know it will be right after all the suprises
At least you know it will be right after all the suprises
Chris74#
Well-Known Member
Thanks @Duncan Grier , the task seems to keep getting bigger!Will be worth it in the end, stick with it.
At least you know it will be right after all the suprises
DaveL485
Staff member
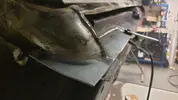
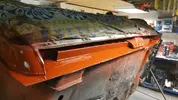
Amen to that. Looks like a well dodgy fix on that jacking point. I had similar, paid good money to have someone (that came recommended) do my jack points with genuine Renault parts. in 2016 IIRC. When I took the outer sills off this year I found this travesty in the inner sill.Thanks @Duncan Grier , the task seems to keep getting bigger!
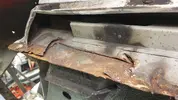
Had to cut all that shit show out and weld that up too. He didnt even weld the jack point to the inner sill itself, absolute shambles of a job, hidden under a shitload of underseal. Absolute wanker.
Chris74#
Well-Known Member
So, been off it for a while as my wife has decided that she wants her VW transporter converting so have started that.
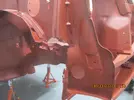
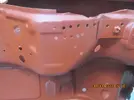
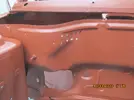
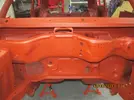
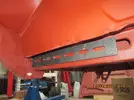
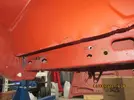
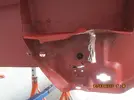
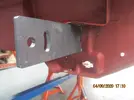
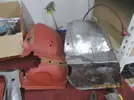
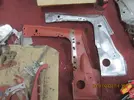
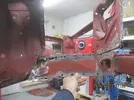
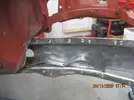
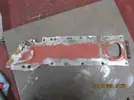
I have managed to get a few hours in over the weekend and have started breaking down the spare front end that I bought for replacement panels. I have cut and welded a couple of pieces into the front driver side wheel arch and also cleaned up and plug welded the headlight surround panel. I have also removed a plate from the front chassis arm and intend to make a replacement for it.
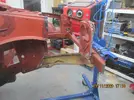
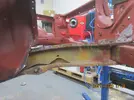
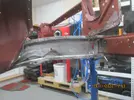
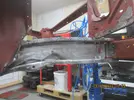
Thanks for reading!
I have managed to get a few hours in over the weekend and have started breaking down the spare front end that I bought for replacement panels. I have cut and welded a couple of pieces into the front driver side wheel arch and also cleaned up and plug welded the headlight surround panel. I have also removed a plate from the front chassis arm and intend to make a replacement for it.


Thanks for reading!
Chris74#
Well-Known Member
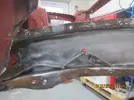
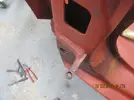
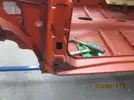
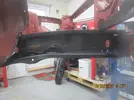
Got a couple of hours spare today, so got out in to the garage! I noticed that the front end arm that I cleaned up last time has started to surface rust so I made the replacement panel, spot welded the holes, ground them down and rust treated the whole arm. I then had another go at that bloody passenger door hinge pin!!! Got it out this time and managed not to destroy the welded bracket....bonus.
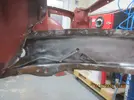
2 weeks surface rust/ flash rust.....whatever its called..still bloody rust!!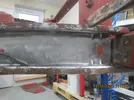
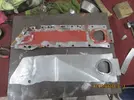
And now for making that replacement panel with no specialist tools!!
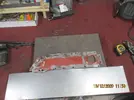
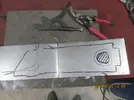
I flattened the existing panel and drew around it, I then took some measurements and marked them on the new sheet.
I got a bit of scrap angle and gripped the sheet to my worktop to make the bends before cutting to size.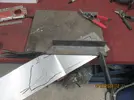
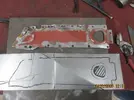
I then got a pile of rags and marked the raised corner section on the back of the sheet, and began to hammer it down into the pile of rags, using my lines as a guide!
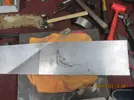
Its starting to take shape!
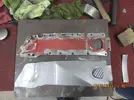
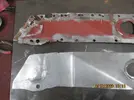
Almost there!!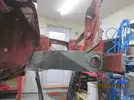
I then marked it from behind and trimmed off the excess!
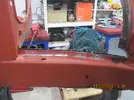
I'm quite happy with the result! Its not perfect, but its better than what was there!
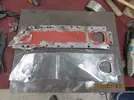
I then cleaned up the are with the grinder and welded the holes that I made drilling the spot welds out. I then ground it all down nice and smooth, and then applied rust eater to the whole area!
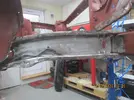
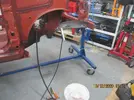
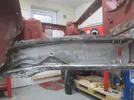
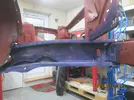
I Then decided to have another go at the dreaded door hinge pin! and after a few drill bits nd a fair bit of swearing, the remainder of the door hinge pin came out in a cloud of rust! RESULT!!
Thats all for today! I hope this is interesting for you guys. Any advice and tips as always is very welcome, and if anyone knows where I can get some replacement panels, floor front and back, cills inner and outer, maybe a drivers side rear quarter...please let me know.
Thanks for reading!

2 weeks surface rust/ flash rust.....whatever its called..still bloody rust!!


And now for making that replacement panel with no specialist tools!!

I flattened the existing panel and drew around it, I then took some measurements and marked them on the new sheet.

I got a bit of scrap angle and gripped the sheet to my worktop to make the bends before cutting to size.


I then got a pile of rags and marked the raised corner section on the back of the sheet, and began to hammer it down into the pile of rags, using my lines as a guide!

Its starting to take shape!


Almost there!!

I then marked it from behind and trimmed off the excess!

I'm quite happy with the result! Its not perfect, but its better than what was there!

I then cleaned up the are with the grinder and welded the holes that I made drilling the spot welds out. I then ground it all down nice and smooth, and then applied rust eater to the whole area!


I Then decided to have another go at the dreaded door hinge pin! and after a few drill bits nd a fair bit of swearing, the remainder of the door hinge pin came out in a cloud of rust! RESULT!!


Thats all for today! I hope this is interesting for you guys. Any advice and tips as always is very welcome, and if anyone knows where I can get some replacement panels, floor front and back, cills inner and outer, maybe a drivers side rear quarter...please let me know.
Thanks for reading!
Similar threads
- Replies
- 4
- Views
- 360
- Featured
- Replies
- 82
- Views
- 2K
- Question
- Replies
- 8
- Views
- 678
- Replies
- 6
- Views
- 268

