There is more to life with TurboRenault.co.uk
You are using an out of date browser. It may not display this or other websites correctly.
You should upgrade or use an alternative browser.
You should upgrade or use an alternative browser.
Haz
Well-Known Member
Non in particular, whatever weld through aerosol the paintshop sends. I tend to just use it on small bits when wanting to crack on. I prefer etch as it bites into the metal rather than sitting on top.
Good stuff, I may have spares but would prefer new.
Any luck with the rear arm bolts?
Good stuff, I may have spares but would prefer new.
Any luck with the rear arm bolts?
Haz
Well-Known Member
Making a little more progress around the car. A small repair piece for the os floor
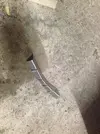
Fitted
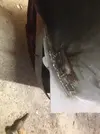
Sandblasted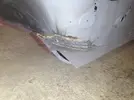
Etched and a repair to the chassis leg
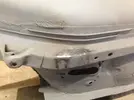
Along with etching other prices
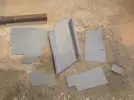
Flipped over and with a few tweaks the jacking point main section fitted
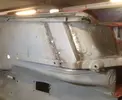
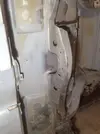
There's still a few scabby bits, between skins, like the exhaust hanger
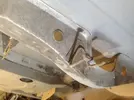
Removed
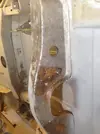
Cleaned up for etching
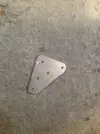
New plate
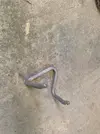
Hangers cleaned up and blasted
Attached
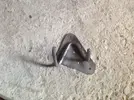
Weld through primer to reverse
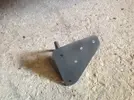
And re fitted
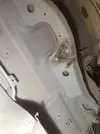
Rusty ns inner sill to tackle
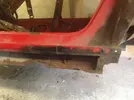
What's left of the Ns boot floor prepped
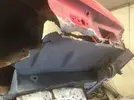
Pieces cut
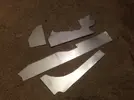
During fitting
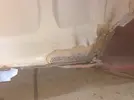
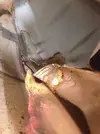
Blasted
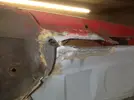
Aswell as the inside and etched
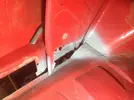
Outer fitted, more work required
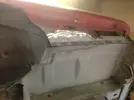
Cleaning up more areas around the boot floor
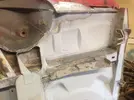
Etched to protect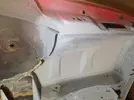
More blasting and etching to other areas, os boot floor
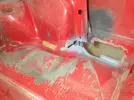
Ns footwell previous repair
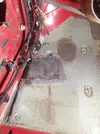
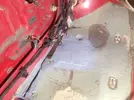
And the front subframe mounting points
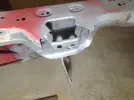
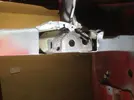
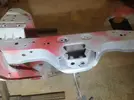
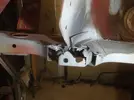
More templates and pieces
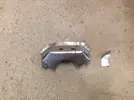
Fitted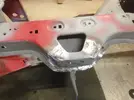
Etched
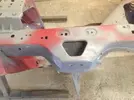
A few more scabs found in the boot
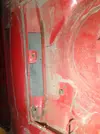
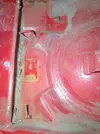
But thought I best tackle the os rear mounting point. Blasted up for a fresh start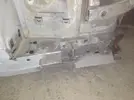
And a quick blast of the ns
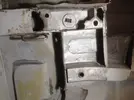
Etched up
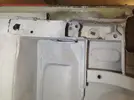
As the ns
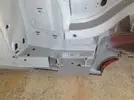
Underside looking pretty clean now
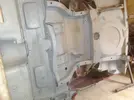
First os rear mount plate fitted
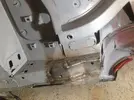
Cleaned up and next prepped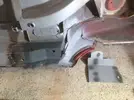
Fitted and folded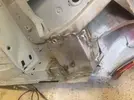
Etched between layers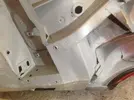
Including the inside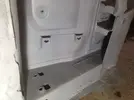
A few more pieces made and etched
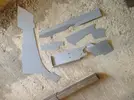
A bit of bending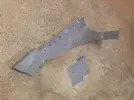
Mostly fitted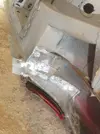
Front capping with awful welds!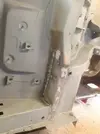
Etched between layers again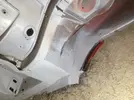
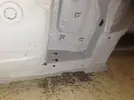
Cleaned up and final layers fitted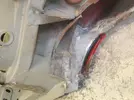
And etched again
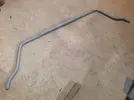
As was the arb, cleaned and blasted while watching paint dry!
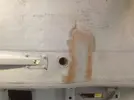
Although it's getting covered in gravitex, you can still make out contours, so some fibreglass paste to the ns floor repair
With some filler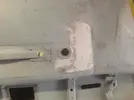
And of course the os rear mount
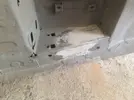
And the wheel arch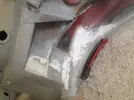
Cleaned up and finished with primer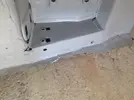
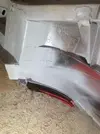
And the floor too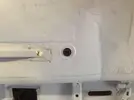
Cleaning up and etching more into the rear wheel arch areas
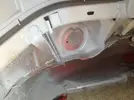
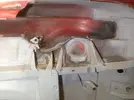
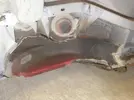
More scabs, triple skin. All 3 peeled back, blasted and weld through primered. Hammered back, the 3 welded together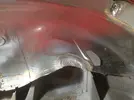
With and infill piece added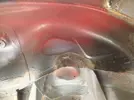
Blasting to the ns inner sill outer
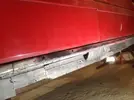
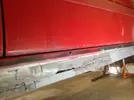
And a little more etching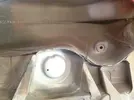
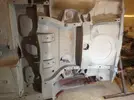
Getting there!

Fitted

Sandblasted

Etched and a repair to the chassis leg

Along with etching other prices

Flipped over and with a few tweaks the jacking point main section fitted

There's still a few scabby bits, between skins, like the exhaust hanger

Removed

Cleaned up for etching

New plate

Hangers cleaned up and blasted

Attached

Weld through primer to reverse

And re fitted

Rusty ns inner sill to tackle

What's left of the Ns boot floor prepped

Pieces cut

During fitting


Blasted

Aswell as the inside and etched

Outer fitted, more work required

Cleaning up more areas around the boot floor

Etched to protect

More blasting and etching to other areas, os boot floor

Ns footwell previous repair


And the front subframe mounting points


More templates and pieces

Fitted

Etched

A few more scabs found in the boot


But thought I best tackle the os rear mounting point. Blasted up for a fresh start

And a quick blast of the ns

Etched up

As the ns

Underside looking pretty clean now

First os rear mount plate fitted

Cleaned up and next prepped

Fitted and folded

Etched between layers

Including the inside

A few more pieces made and etched

A bit of bending

Mostly fitted

Front capping with awful welds!

Etched between layers again


Cleaned up and final layers fitted

And etched again

As was the arb, cleaned and blasted while watching paint dry!

Although it's getting covered in gravitex, you can still make out contours, so some fibreglass paste to the ns floor repair

With some filler

And of course the os rear mount

And the wheel arch

Cleaned up and finished with primer


And the floor too

Cleaning up and etching more into the rear wheel arch areas


More scabs, triple skin. All 3 peeled back, blasted and weld through primered. Hammered back, the 3 welded together

With and infill piece added

Blasting to the ns inner sill outer


And a little more etching


Getting there!
Last edited:
Haz
Well-Known Member
This has been left to the side for quite a while so I've pulled my finger out again. Unfortunately certain bits hadn't been finished so rust had returned on a few areas so once again back to derusting.
Due to the lulls the plan is to clean up what was left good and tackle a few other areas in an attempt to get things sealed off and closer to paining incase there's another lull!
Main good areas cleaned up and recoated
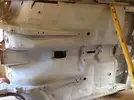
Gravitex to all good areas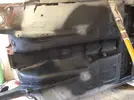
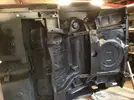

And once cured some sealer applied to all the good joints, along with extra in the problematic areas
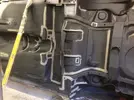
Finishing a bit more on the nsr boot corner
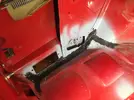
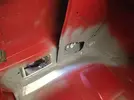
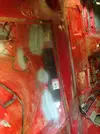
Cleaning up and repairs to door
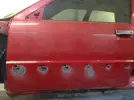
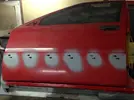
Moving into the nsr rear door shut, upper sill and arch, and some boot floor pieces
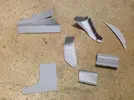
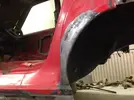
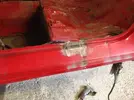
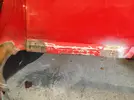
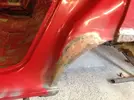
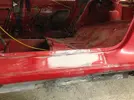
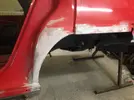
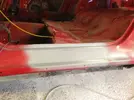
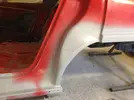
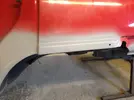

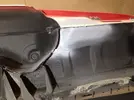
Keeping to the ns, continued onto the rear subframe mount
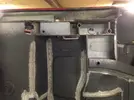
More plates
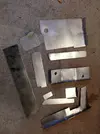
A repeat of the other side
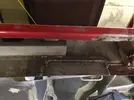
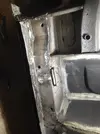
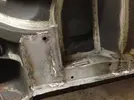

Trying to get more of the floor complete, next was the front sill corner
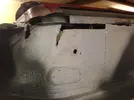
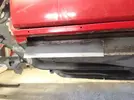
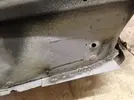
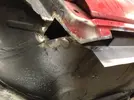
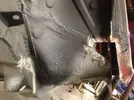
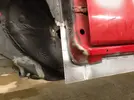
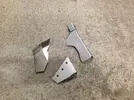
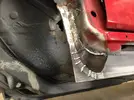
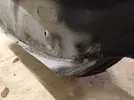
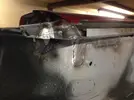
Followed on with the jacking point section
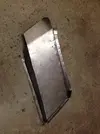
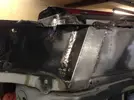
This side requires a little extra to make pretty but just getting the bulk done
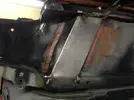

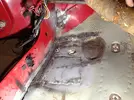
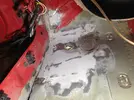
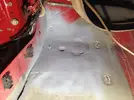
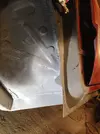

A little extra to be done in the bay
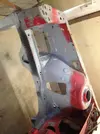
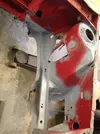
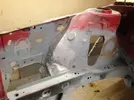
Extra smoothing of the floor
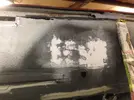
Blending of os boot floor corner

To be continued. .
Due to the lulls the plan is to clean up what was left good and tackle a few other areas in an attempt to get things sealed off and closer to paining incase there's another lull!
Main good areas cleaned up and recoated

Gravitex to all good areas


And once cured some sealer applied to all the good joints, along with extra in the problematic areas

Finishing a bit more on the nsr boot corner


Cleaning up and repairs to door


Moving into the nsr rear door shut, upper sill and arch, and some boot floor pieces


Keeping to the ns, continued onto the rear subframe mount

More plates

A repeat of the other side


Trying to get more of the floor complete, next was the front sill corner


Followed on with the jacking point section


This side requires a little extra to make pretty but just getting the bulk done


A little extra to be done in the bay


Extra smoothing of the floor

Blending of os boot floor corner

To be continued. .
Last edited:
DaveL485
Staff member
Will make mine seem like a walk in the park.By far the worst I've worked on!
Probably.
Cracking stuff mate, keep going, it has to run out of rust eventually lol
D
Deleted member 486
Cracking stuff mate, keep going, it has to run out of rust eventually lol
Come on Dave - you've owned old Renaults for long enough. If you think it's run out of rust you just haven't looked in the right places! It will also be making more as quickly as it can
Haz
Well-Known Member
Will make mine seem like a walk in the park.
Probably.
Cracking stuff mate, keep going, it has to run out of rust eventually lol
Hopefully! There was lots hiding under the sealer. About 45 plates so far.
DaveL485
Staff member
Haz
Well-Known Member
More again this week while on a roll, continuing with the ns inner sill, chopping and more plates
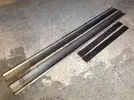

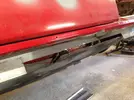
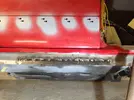
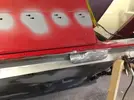
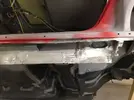
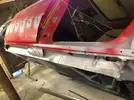
Finally on with the outer at long last!
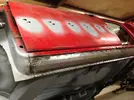
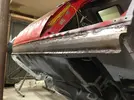

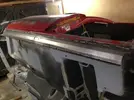
Joining the floor back to the sill
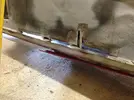

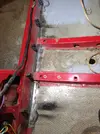
More filler work
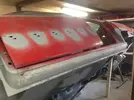
As good as it it's getting for now and primered
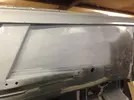
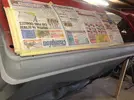
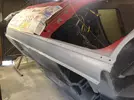
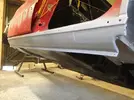
On side complete, ish. Made a start on the other side. Not wanting to chop too much out as it didn't warrant the extra work so mainly plated for strength
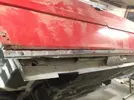
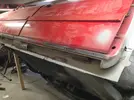
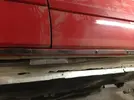
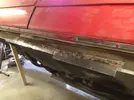
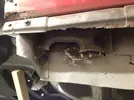
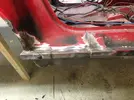
Slowly working into the rear arch and quarter while the muck can still exit the sill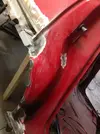
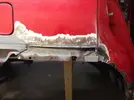
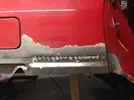
Started fillering but ran out, must have missed some pics of the ns boot corner welding
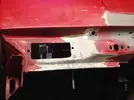
An early nsr arch repair finished off
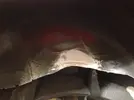
And a bit of sealer on the steering rack mount
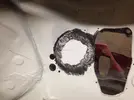
Awaiting supplies . .


Finally on with the outer at long last!


Joining the floor back to the sill


More filler work

As good as it it's getting for now and primered


On side complete, ish. Made a start on the other side. Not wanting to chop too much out as it didn't warrant the extra work so mainly plated for strength


Slowly working into the rear arch and quarter while the muck can still exit the sill


Started fillering but ran out, must have missed some pics of the ns boot corner welding

An early nsr arch repair finished off

And a bit of sealer on the steering rack mount

Awaiting supplies . .
roland rat
Member
Haz you are a wizard with the welder!!!
Any more updates on this?
Any more updates on this?
Similar threads
- Featured
- Replies
- 82
- Views
- 2K
- Question
- Replies
- 28
- Views
- 261
