There is more to life with TurboRenault.co.uk

Register a free account today to become a member! Once signed in, you'll be able to participate on this site by adding your own topics and posts, as well as connect with other members through your own private inbox!

21 Turbo J2 MHR

Jesus haz you dnt do stuff in half's mate , epic work mate , you still in ormskirk ?? might nip down one evening for a chin wag
 
Front or the rear trailing arm points? Seems everyone avoids stripping the items off so they never get a proper repair. Sealer and built up gunk hide how bad they can be.
I will! I'm sure mine will be on it at some point too!
 
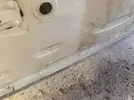
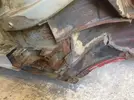
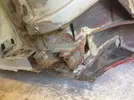
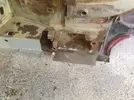
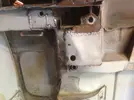
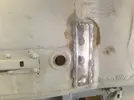
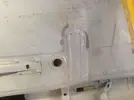
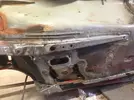
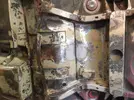
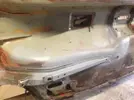
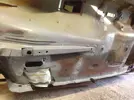
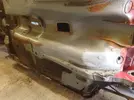
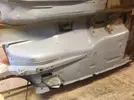
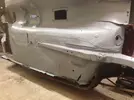
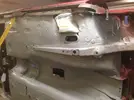
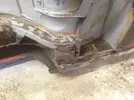
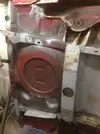
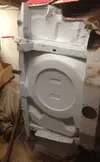
This week has been tackking the underside. The majority has been covered in a waxoyl stonechip which has to be completely removed. A blow torch and scraper to remove the bulk, then plenty of thinners and scrubbing to get in all the nooks and crannies to fully degrease. Wire wheels to remove the rust.IMG_9370.webp

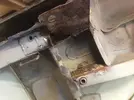
IMG_9371.webp
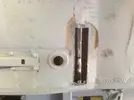
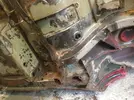
IMG_9372.webpIt's tedious job so decided to abort further welding to get the underside tidy, a clean slate to work with. In progress
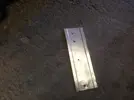
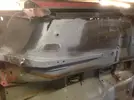
IMG_9373.webp IMG_9374.webp

Etch applied to bare metal areas
IMG_9375.webp IMG_9376.webp IMG_9377.webp IMG_9386.webp

IMG_9393.webp

With primer applied to ensure the waxoyl has been fully removed
IMG_9387.webp
IMG_9396.webp IMG_9397.webp

More derusting at the rear
IMG_9394.webp

Waxoyl removal, rust prepping and etch at the back end
IMG_9395.webp

Cleaned up and primed
IMG_9398.webp

Suspension points and arches next!
 
Forgive my igonorance but why do you remove the waxoil ? I guess to inspect what is there to asses if any more repairs are needed?
 
Yes, it's not original so chances are it's hiding something. It can get messy, it needs to be clean for welding, which can make it melt, run and drop onto other areas, with a slim chance of catching fire. It's also greasy and I want to reseal and gravitex the entire floor. It's not worth taking any chances with the amount of rust this one has.
 
It is! On the plus side, the general bodywork that you can see isn't too bad so it should move along swiftly once the underside is sorted.
 
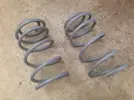
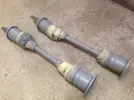
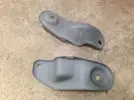
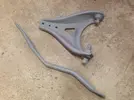
I wanted a little time away from the car after that mess, but with plenty to be on with some bolt on bits where derusted, cleaned up, and etched. See earlier posts for crustiness!
Rear struts
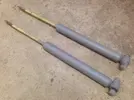
IMG_9411.webp

Rear springs
IMG_9412.webp

Rear shafts
IMG_9414.webp

Rear mounting brackets
IMG_9415.webp

Front wishbone and subframe brace
IMG_9416.webp

Finally got round to finishing the front subframe too
IMG_9417.webp

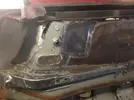
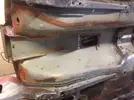
Back on the car and working on the os inner sill and floor, removing the previous patchwork, keeping some of the original features.
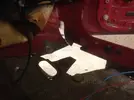
IMG_9434.webp IMG_9435.webp

Inner sill repair section
IMG_9436.webp
Fitted
IMG_9437.webp

Floor repair section
IMG_9438.webp

Fitted, some further work required to the thin bits!IMG_9449.webp
Etched inside and out
IMG_9452.webp

Moving along the sill
IMG_9439.webp IMG_9440.webp IMG_9450.webp IMG_9453.webp

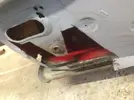
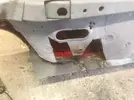
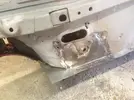
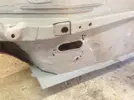
The rear suspension mounting points had again been patched so not wanting to chance hidden rust it was all opened up and removed back to good metal
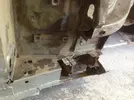
IMG_9418.webp
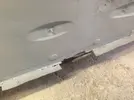
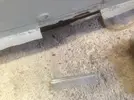
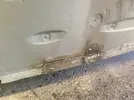
Not worth keeping the sill end like the pervious repair
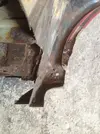
IMG_9420.webp

Continued into the wheelarch
IMG_9422.webp IMG_9423.webp

It all wants sandblasting before further welding so proceeded to template and make sections for the several layers
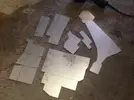
IMG_9429.webp

Welding in the only piece I could
IMG_9451.webp

Although the other side was patched the amount of hidden rust from previous repairs is worrying so decided to chop a piece off and check
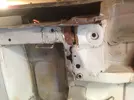
IMG_9424.webp

So another
IMG_9425.webp

With a bit of a poke at the rust
IMG_9426.webp

Onto the next
IMG_9427.webp

So pretty much the same required as the other side
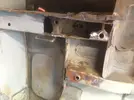
IMG_9428.webp

Ns floor where the seat rail mounts was a little holey
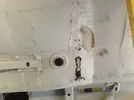
IMG_9441.webp

Chopped out and cleaned up
IMG_9442.webp

Repair section
IMG_9443.webp

Both insides coated with weld through primer
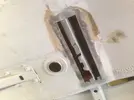
IMG_9445.webp IMG_9446.webp

Fitted
IMG_9447.webp

Etched inside and out
IMG_9454.webp

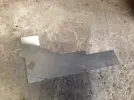
Once the etch was dry up front the template could be made for the jacking point section. I know these are available now, mine aren't as pretty or neat, but they don't have any holes the let the water in only to rust again!
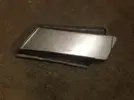
IMG_9455.webp
 
Not really! This could have been patched further and kept to the budget but this needs doing properly to ensure it lasts. It's by far the worst I've done in one go though.
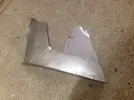
 
Back
Top