There is more to life with TurboRenault.co.uk
You are using an out of date browser. It may not display this or other websites correctly.
You should upgrade or use an alternative browser.
You should upgrade or use an alternative browser.
Haz
Well-Known Member
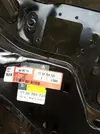
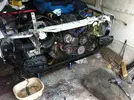
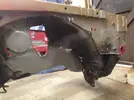
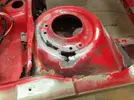
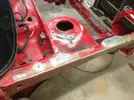
A bit of progress this week. Sandblasting to most of the affected areas around the engine bay.
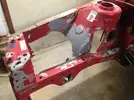
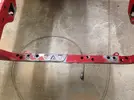
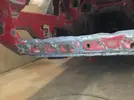
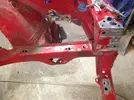

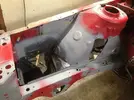
Etch primer to keep the rust at bay while I work my way round the car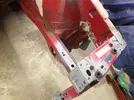
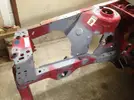
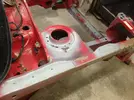
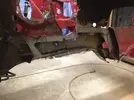
While trying to source some repair sections I made a start on some small bits and replaced the n/s bumper mount
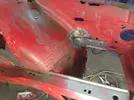
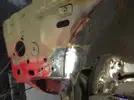
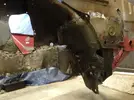
Opened up the chassis leg a bit more for a better inspection
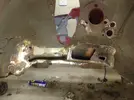
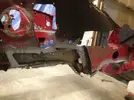
And peeled back the n/s turret to clean up
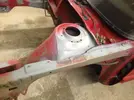


Etch primer to keep the rust at bay while I work my way round the car


While trying to source some repair sections I made a start on some small bits and replaced the n/s bumper mount


Opened up the chassis leg a bit more for a better inspection


And peeled back the n/s turret to clean up


Haz
Well-Known Member
Still looking for panels I decided to start on the worst bit, o/s inner wing and chassis leg.
Steering rack mounting point started and weak points removed
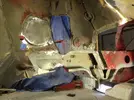
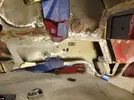
First internal section replaced
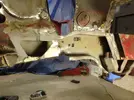
Inner and lower section removed
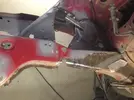
And replaced
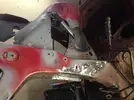
Middle internal section replaced
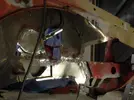
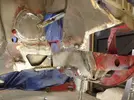
Etch primed both sided
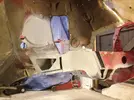
Sandblast and etch of the n/s turret
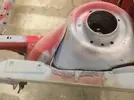
More blasting and etching around the engine bay
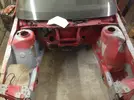
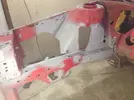
With a start on the door rust
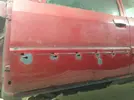
Outer skin and subframe mount outer, weld-thru primer on inside edge
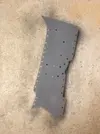
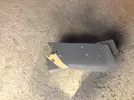
Attached
Started prepping the donor inner wing but ran out of gas!
Steering rack mounting point started and weak points removed


First internal section replaced

Inner and lower section removed

And replaced

Middle internal section replaced


Etch primed both sided

Sandblast and etch of the n/s turret

More blasting and etching around the engine bay


With a start on the door rust

Outer skin and subframe mount outer, weld-thru primer on inside edge


Attached

Started prepping the donor inner wing but ran out of gas!
Last edited:
D
Deleted member 486
Haz
Well-Known Member
Haz
Well-Known Member
More progress, bits here and there as time has allowed.
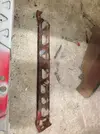
Continuing onto the front, and not wanting to buy the replacement crossmember
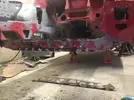
Template
Transferred
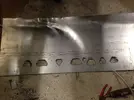
Some blasting
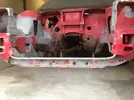
Cock up, but not starting again
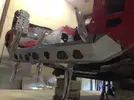
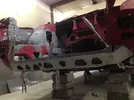
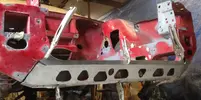
Further sandblasting around the engine bay
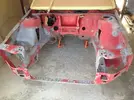
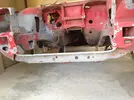
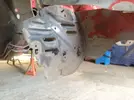
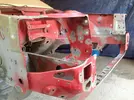
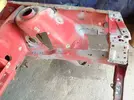
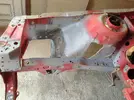
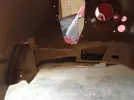
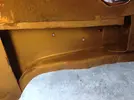
A few more pieces trimmed up
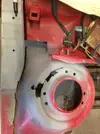
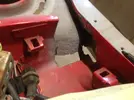
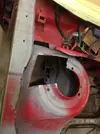
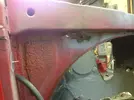
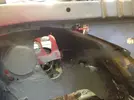
And some replacement bits
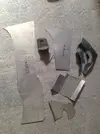
Cleaned up and etched
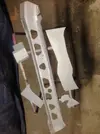
With the fresh areas of the bay etched
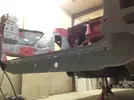
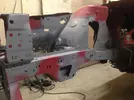
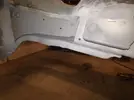
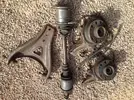
Another costly item seemed to be a subframe. I only have the one from simon's bumped ph1 so not to delay things further dug that out and checked it over
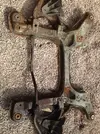
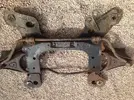
A bit scabby and a few dents but usuable so stripped, wire wheeled and sandblasted
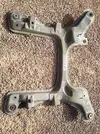
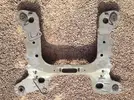
And wire wheeled a few bits while I was at it ready for blasting
While things are curing up front I had a poke about around the back quarter
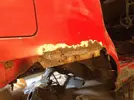
It's had a peice before, and lots of patching down the arch and rear mounting point
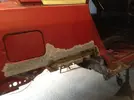
So continued round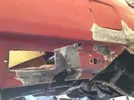
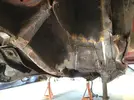


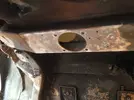
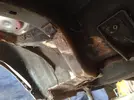
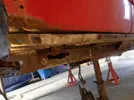
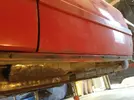
With more prepping down the sill
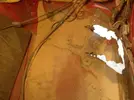
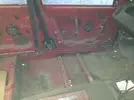
With more poking from inside
The joys!
Continuing onto the front, and not wanting to buy the replacement crossmember

Template

Transferred

Some blasting

Cock up, but not starting again


Further sandblasting around the engine bay


A few more pieces trimmed up


And some replacement bits

Cleaned up and etched

With the fresh areas of the bay etched


Another costly item seemed to be a subframe. I only have the one from simon's bumped ph1 so not to delay things further dug that out and checked it over


A bit scabby and a few dents but usuable so stripped, wire wheeled and sandblasted


And wire wheeled a few bits while I was at it ready for blasting

While things are curing up front I had a poke about around the back quarter

It's had a peice before, and lots of patching down the arch and rear mounting point

So continued round


With more prepping down the sill


With more poking from inside


The joys!
Haz
Well-Known Member
It is! To be fair, the main bodywork and panels aren't too bad. These are all the hidden areas that you can only see when it's fully stripped so I'm sure others are similar.
The 2wd that I'm using as a donor was better apart from the crash damage which made it not cost effective to repair. I'm sure most would have scrapped this, but with supposedly 30 left and about 18 known ones, plus this one has been owned by mostly club members, it seemed a shame to just break it.
The 2wd that I'm using as a donor was better apart from the crash damage which made it not cost effective to repair. I'm sure most would have scrapped this, but with supposedly 30 left and about 18 known ones, plus this one has been owned by mostly club members, it seemed a shame to just break it.
Haz
Well-Known Member
The repair pieces are etched
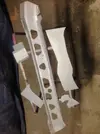
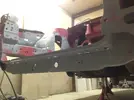
As was the lower crossmember
And a few more spots in the bay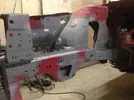
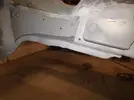
Inside the n/s chassis leg too
So time to start getting the pieces in. Inner leg first
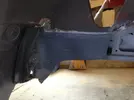
Coated with weldthru primer and the outer piece attached
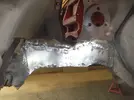
Not much during as I got carried away but the crossmember piece fitted and blended in.
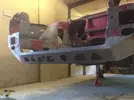
Coated with primer
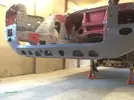
While the filler was out a few other bits were tidied up
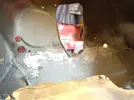
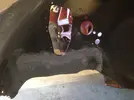
And some brush on sealer applied to some of the joins
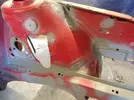
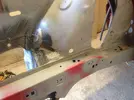
Adding a bit more primer to those bits
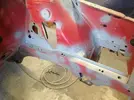
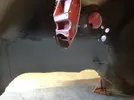
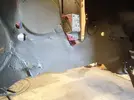
Not much rot left up front now so chopped open the subframe mount to get them cleaned up
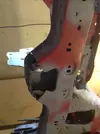
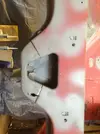
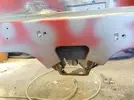
The n/s/r door removed as too far gone to repair
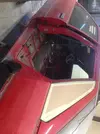
O/s jacking point removed
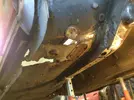
And yet more cleaning up under the rear
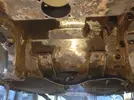
Normally I would just bash on but there's becoming far too much work underneath so thought I'd take a little time away from the car to make things easier and made a few jigs
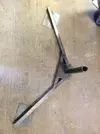
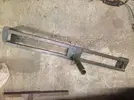
Bolted up
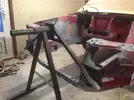
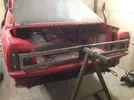
So it can be flipped over and saves me getting covered in splatter!
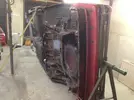
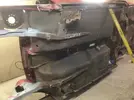
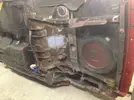
The centre isn't too bad but still plenty to be on with underneath
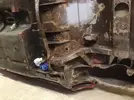
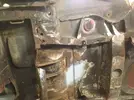
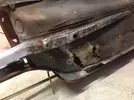
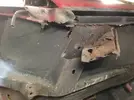

As was the lower crossmember

And a few more spots in the bay

Inside the n/s chassis leg too

So time to start getting the pieces in. Inner leg first

Coated with weldthru primer and the outer piece attached

Not much during as I got carried away but the crossmember piece fitted and blended in.

Coated with primer

While the filler was out a few other bits were tidied up


And some brush on sealer applied to some of the joins


Adding a bit more primer to those bits


Not much rot left up front now so chopped open the subframe mount to get them cleaned up


The n/s/r door removed as too far gone to repair

O/s jacking point removed

And yet more cleaning up under the rear

Normally I would just bash on but there's becoming far too much work underneath so thought I'd take a little time away from the car to make things easier and made a few jigs


Bolted up


So it can be flipped over and saves me getting covered in splatter!


The centre isn't too bad but still plenty to be on with underneath


DaveL485
Staff member
:determined:
Those subframe mounting points are frightening.
You'll be glad you made that jig! As much as I wanted my bits painted before the summer I don't think it will happen, I reckon my car is going to be on your jig this autumn/winter. What you're doing here is what I want doing to mine. I'll strip the shell to a rolling chassis and dump it at your door
Similar threads
- Featured
- Replies
- 82
- Views
- 2K
- Question
- Replies
- 28
- Views
- 261

