There is more to life with TurboRenault.co.uk

Register a free account today to become a member! Once signed in, you'll be able to participate on this site by adding your own topics and posts, as well as connect with other members through your own private inbox!

5 GT Turbo Another Red Renault 5 GT Turbo On It's Way Back To The Road

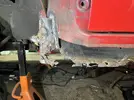
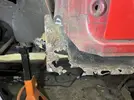
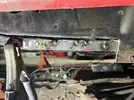
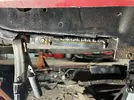
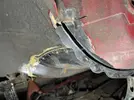
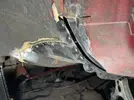
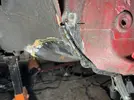
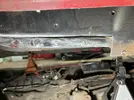
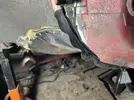
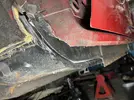
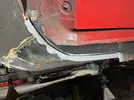
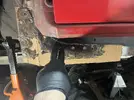
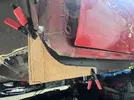
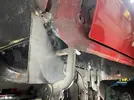
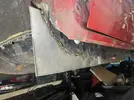
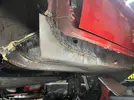
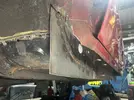
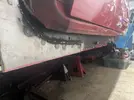
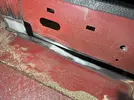
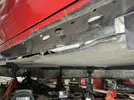
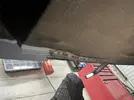
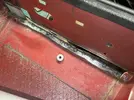
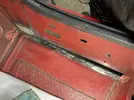
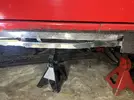
Front of the inner sill next

IMG_4189.webp
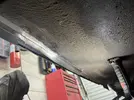
IMG_4191.webp

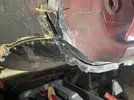
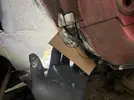
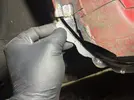
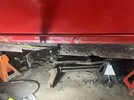
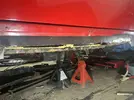
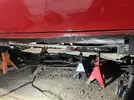
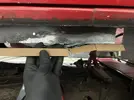
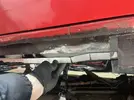
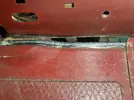
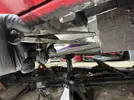
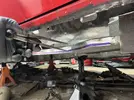
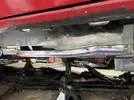
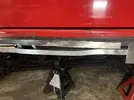
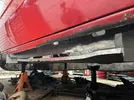
I then cut through the inner sill, along the floor pan. I have a Dremel with the flexi shaft that is great for this type of thing (foreshadowing)
IMG_4193.webp

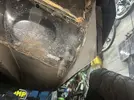
I then dropped a bollock! 🤦‍♂️
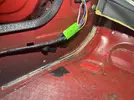
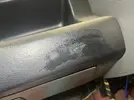
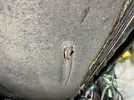
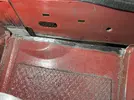
I was repositioning myself, with the flexi shaft in my hand.....(still running)...and I caught the dash with it! absolutely gutted!! 😭
It's fairly minor, but the dash was in mint condition...and it's RIGHT THERE front and centre! Idiot! I've been so careful too! fuming!

@Turbell warned me this could happen (relating to the bodywork). Ironically, I've had the dash covered over with a fire blanket but I had just moved it to where the sparks were flying. The dash and headlining are the only interior left in too. In hindsight, maybe they should have come out.

Oh well, could have been worse I guess. I am able to say that now I've kicked my self good and proper, but it is true. We move on and figure the dash at a later date.

IMG_4194.webp


IMG_4195.webp
IMG_4196.webp
IMG_4197.webp
IMG_4198.webp

IMG_4201.webp


IMG_4269.webp
IMG_4271.webp
IMG_4303.webp
IMG_4304.webp
IMG_4305.webp
IMG_4266.webp
IMG_4268.webp
IMG_4307.webp
IMG_4311.webp
IMG_4313.webp
IMG_4315.webp
IMG_4318.webp
IMG_4319.webp
IMG_4325.webp
 
IMG_4336.webp
IMG_4338.webp

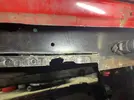
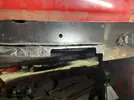
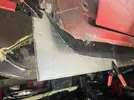
Again leaving some material on the front and lower edges to be trimmed once welded.
IMG_4340.webp

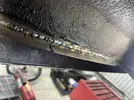
Lick of weld through
IMG_4352.webp

Plus plug weld holes in the floor flange.
IMG_4353.webp
IMG_4356.webp

Taking it steady to keep the heat down. This section warped on me on the other side so trying to avoid it this time.
IMG_4358.webp

Finished with very little warp.
IMG_4363.webp
IMG_4367.webp
IMG_4369.webp

I set the laser up again to transfer a line to the new section.

IMG_4381.webp
IMG_4383.webp

Trimmed flush and that's that section almost complete.
IMG_4384.webp

Now for the centre section.
IMG_4387.webp
IMG_4389.webp
IMG_4390.webp
IMG_4391.webp
IMG_4392.webp
IMG_4397.webp
IMG_4398.webp

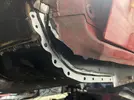
The floor flange is worse than the other side. The rear section has vanished, but a lot of the rest will go again.

And that's me up to date again. Proper gutted about the dash! I was getting over it but then posted this and it's set me off again 🤣 Although, I'm sure worse will happen before the project is complete. Comes with the territory doesn't it.

Cheers 👍.
 
Just goes with the territory mate, I've rebuilt a seat for bike I'm doing from base up, new foam, new cover, paid trimmer to fit cover, fookin mint it was, then doing someone a job, knocked folded up workmate into it......put a hole in cover...nearly spewed.
You could ask Peak Trim if they still do smart repairs, Louise runs it with her husband, trim repairs were his thing before they bought trimmers, they're at Clay X, Chez Vegas.
Good to know mate cheers. I’ll bear them in mind. I’m hoping it won’t be that noticeable 🤞🏻. Regardless, I’m not gonna spend any time sorting that until it’s the worst bit of the car. That’ll be a while yet.
 
Great progress and looking much better 😎

I can fully sympathise @Leigh5t and like @Turbell have my share of stories 🤬.....If I list them will trigger it off the same gutted feelings so I am not going to lol 😂

Focus on the positive progress made and sure you will sort the dash to a standard you are happy with after 💪
Cheers mate. Majority of the major rot removed now so I’m getting there.

Agreed, pretend none of it ever happened and save yourself the pain.
In fact, I’m sure I heard the sound of @Turbell workmate being launched down the road yesterday! 🤔🤣
 
If it's your own it's a bummer, if it's someone's else's you've fucked up and it's cost you a day, a week, a month's worth of brass, then that's when it really hurts, count your blessings , worse things happen at sea......
 
Cheers mate @paulseabrook

If you’re worried about welding on your car, get yourself down to your local scrapyard and buy a panel to practice on 👍🏻
Plus, you don’t have to be that good. I’m not great but I’m making progress. I’d say it’s more important that you keep yourself and your car/garage/house/street 🤣 as safe as possible.

I couldn’t agree more about this forum!

I look forward to your progress. Best of luck. 👍🏻
Funnily enough, I've just bought myself an R Tech welder and it's amazing, my car is a little worse than yours but luckily I've got a 1.4 R5 GL as a spare, which I've cut loads of panels off including the roof skin! Tempted to put a thread up. Just getting started on the driver's floor pan and chassis rail, there's a long road ahead! 😁
 
Funnily enough, I've just bought myself an R Tech welder and it's amazing, my car is a little worse than yours but luckily I've got a 1.4 R5 GL as a spare, which I've cut loads of panels off including the roof skin! Tempted to put a thread up. Just getting started on the driver's floor pan and chassis rail, there's a long road ahead! 😁

Definitely get a thread up! Interested in your roof swap, especially any pictures given my current area of focus with the 5 🫣
 
Agree with Duncan, get a thread up 👍🏻

That’s great that you have a donor car! It gives you patches and panels you can take for yours (assuming they’re not equally as bad, or worse), and also gives you lots of metal to practice on.
Also, If you don’t end up using the area around the fuel flap, I’d buy it from you. I bought one of a guy on eBay and it never turned up! So I’m on the lookout again 🤦🏼‍♂️

I’m looking forward to seeing your progress @paulseabrook 👍🏻
 
Agree with Duncan, get a thread up 👍🏻

That’s great that you have a donor car! It gives you patches and panels you can take for yours (assuming they’re not equally as bad, or worse), and also gives you lots of metal to practice on.
Also, If you don’t end up using the area around the fuel flap, I’d buy it from you. I bought one of a guy on eBay and it never turned up! So I’m on the lookout again 🤦🏼‍♂️

I’m looking forward to seeing your progress @paulseabrook 👍🏻
I'm pretty sure mines mint around the fuel cap, let me check and let you know. These cars hide rot well!
 
Time to crack on with the floor flange.

Considering what this area must have been exposed to over the years, I think it has survived remarkably well. Only the rear section in need of repair.

IMG_4404.webp


This scab has caught my eye a couple of times, and seeing as I had the grinder and a knotted wheel in hand, I thought I'd clean it up to see the damage.
IMG_4399.webp

Nowhere near as bad as I imagined.
IMG_4403.webp

Underside of the flange is in good condition.
IMG_4407.webp

Cleaned up the inside. The rot didn't extend in as far as I thought, maybe 5mm.
IMG_4409.webp
IMG_4411.webp

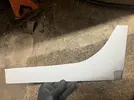
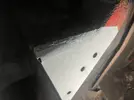
I made the repair piece up before removing any of the original metal. Cereal box CAD.
IMG_4412.webp
IMG_4414.webp
IMG_4415.webp

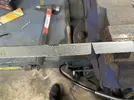
Folded (smacked in the vice), with excess material on all edges.
IMG_4418.webp

Notched for the curve and bend.
IMG_4419.webp

Offered up and marked where to cut.
IMG_4420.webp

Cut the section out
IMG_4422.webp
IMG_4441.webp

Patch final fettle and offered up.
IMG_4439.webp
IMG_4443.webp

Then defrost my hands.
IMG_4445.webp
 
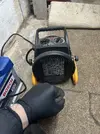
As per previous picture, it's been stupid cold in the garage for a while. So cold in fact, I'd forgotten about the paddling pool I'd had in there a while ago. Well....it's warmed up a bit now..... so all that damp is coming out to play! 🤦‍♂️

IMG_4505.webp

Regardless, we press on.


Tacked in place
IMG_4451.webp
IMG_4449.webp


Then gradually filling between the tacks.
IMG_4454.webp

Until complete
IMG_4509.webp
IMG_4512.webp

Then to fill in the notches.
IMG_4513.webp
IMG_4515.webp

You can see where the heat has driven the moisture away!! I'm going to have to start having the door open for a few hours each day. I've got a dehumidifier but I doubt that would touch it. I do have a few disposable dehumidifiers already inside the car and so far it looks ok.
IMG_4516.webp

Welds ground back.
IMG_4517.webp
IMG_4523.webp

Flange depth scribed.
IMG_4526.webp
IMG_4527.webp
IMG_4528.webp

Trimmed to size.
IMG_4529.webp

Tickled the welds inside.
IMG_4535.webp

Done 👍
IMG_4531.webp
 
Back
Top