There is more to life with TurboRenault.co.uk

Register a free account today to become a member! Once signed in, you'll be able to participate on this site by adding your own topics and posts, as well as connect with other members through your own private inbox!

Renault 11 Turbo Phase 2 Restoration

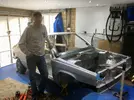
Now it's back, I can't help but feel a little in-awe of the work ahead of me?! But standing in the garage looking at the bloody thing isn't going to get it back together is it?! So let's crack on!!

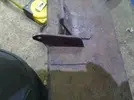
First thing I wanted to do was whip the passenger door off, re-position and then get the OE rear axle off:
135296
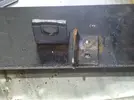
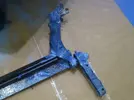
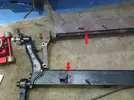
Reason being, the Brake Balance bracket on the 19 16v Rear beam, is different to the R11 Turbo, so I wanted to swap it over:
135298
R11 OE:
135299
R19 16v OE
135300
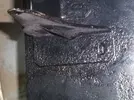
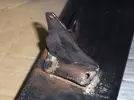
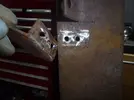
Bought myself a Cobalt Spot Weld Drill Bit some months ago for this occasion, needless to say it soon made simple work of drilling out the spot welds and then it was a case of thrashing it off with the hammer and chisel:
135301
Did the same on the R19 16V Beam:
135302
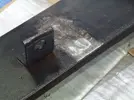
Then it was a quick lick over with the 4 inch flap disk:
135303
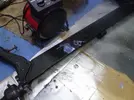
Before giving it a little tickle with the rust proofing paint and then leaving it under the heater for a while:
135304

Thanks for reading :)
 
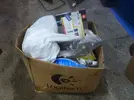
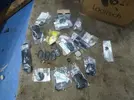
I pulled out the box of "Brakes" bits:
136346
Which contained a lot of new parts I'd squirreled away, together with some old parts that still need some work:
136347

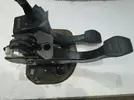
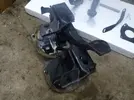
Given that everything with the braking system starts with the foot pedal, I had a long hard look at the pedal assembly I had:
136348
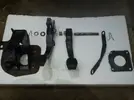
Then I stripped it down to it's component parts:
136349
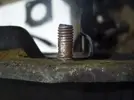
But I found that one of the threads were damaged :( :
136350
So I dug around and found the brake pedal assembly out of the other 11 Turbo I broke which I've now boxed up the pedal assembly to get it powdercoated.
136351
Now I had a good pedal assembly I started to look how I could get the new larger servo to fit?? After an hour of head scratching and offering it up to the car... I realised that the only one that would fit, was the original one🤦‍♂️So following the work I did on my Clio 182, I stripped and re-painted the OE Servo:
136352


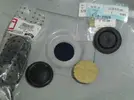
Whilst I was digging through the brake box, I found a bag of plugs I'd bought to (hopefully) fill in the holes in the body from the manufacturing process:
136353

The original plugs used on the car from the factory, were metal ones with tabs that were bent back to secure with some adhesive for sealant. I'd been looking long and hard for the right size plugs, and actually bought some from Renault and my usual go to company Restagraf:
136354
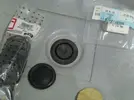
The Renault ones fitted, but the plug could still be moved around in the hole, so wasn't the perfect fit:
136355
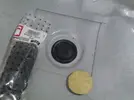
So I tried the Restagraf one, and BINGO!! The bloody thing fits that well, I couldn't actually get it back out again!! I think I shouldn't see any leakage with these bad lads!! (Not that I'll be driving it in the rain anyway):
136356
If any of you need some of these in the future, this is the part number from the RESTAGRAF website:
136357

Thanks for reading :)
 
Last edited:
Got an afternoon in the garage today and continued to bugger about with the rear axle, even after ALL of the bloody paint, I still noticed a few small patches of rust coming through, so I thought I would have another final go at trying to kill it off... :ireful2.gif:
137956
Once I'd applied the rust treatment, I wanted to prepare it to be bolted back onto the car, but first I needed to refabricate the brake lines, so I dug the rear calipers out:
137948
Then after looking at routing of the original brake line:
137955
I started to make a new one which was straighter and neater:
137953
137952
137951
Then I did the other side:
137950
137949
Need to try and source a few of these clips now if any of you have a lead on them, please let me know?
137954

Finally I again gave the axle a little spray with black paint:
137958

Thanks for reading :)
 
Started applying the cavity wax to various box sections and hidden bits that didn't get a coat of paint. What a flippin messy old job this is, and it doesn't look too nice, but if it holds off the old tin worm from grabbing hold then I'm all for it!!
138405
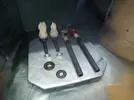
I then spent a couple of hours making a new foam insulation pad for the brake servo mounting plate that's currently at the powdercoaters. When I get the powdercoated part back I should now be ready to start bolting the braking system back onto the car:
138406

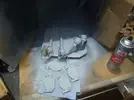
Then finally it was more painting of parts ready to go on. This time the AntiRoll bar mounting kit:
138407

Thanks for reading :)
 
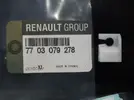
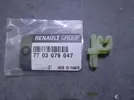
Found em -> 7703079278

These are the "post" brake clips:
139195

And then the ones that go into the 6.5mm hole along the axle arm are these fellows:
139194

Now I had all of the necessary clip paraphanalia and the brake lines all painted up, I could finally get the brake lines installed onto the axle:
139193

And then the Axle finally mounted back onto the car! :dance.gif::
139192

Thanks for reading!! :)
 
Got another day on it last Saturday, first task was to refit the Torsion Bars:
P1170208.webp
Then wheels:
P1170209.webp
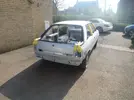
Then I could wheel it out of the garage and have a look at the paintwork in the sun for the first time. Don't worry those streaks on the bonnet are dirt from when it was transported home:
P1170212.webp
P1170211.webp
P1170220.webp
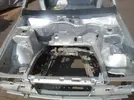
I removed the drivers door and bonnet (safely tucked them away in the spare room) and turned the car around with the help of a trolly jack, brute force and ignorance:
GIFMaker.org_OBflCz.gif
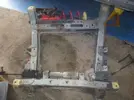
..back into the garage to remove the front subframe:
GIFMaker.org_jD3lYH.gif
I've got the new subframe to fit on, but thinking this Steering rack may be suitable for rebuild:
P1170240.webp
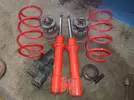
Then I stripped the front shock absorbers:
P1170249.webp
A nice surprise on Sunday as @DaveL485 popped round for a looksie and to collect a fuel tank I had going spare:
IMG_7408.webp
Thanks for reading Chaps & Chapesses!! :)
 
Got the brake pedal and pedal-box bracket back from the powdercoaters, so re-built the Pedal-Box Assembly:
GIFMaker.org_jtPHLy.gif

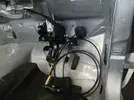
Then re-fitted it to the car together with all the other little bits that are fitted to that area in the car (Throttle Cable, New Headlight Adjustment Cables, Accelerator Pedal Bracket):
GIFMaker.org_G2IqIq.gif

Final result now gives me a few more things on the car!
P1170275.webp

Thanks for reading :)
 
Sorry for it being a while between updates chaps... been busy with the the Megane 4GT, weekends away and I also had a weekend fitting new Fascia's to my Garage... thought I would take a few pictures. of the progress:
GIFMaker.org_tCGYaN.gif

What a bloody day that was, saw Rain, Hail and Sun... like bloody 4 seasons in 1 day!! :ireful2.gif:
 
But this weekend I got back to the matter at hand and spent a few hours on the car. First job was to give some of the steering parts a lick of paint:
P1170311.jpg
P1170312.jpg
P1170313.jpg

I then gave the rack a little buff up, to prepare that for painting:
P1170316.jpg
P1170317.jpg
P1170318.jpg

Then I finally bit the bullet and finished the job I'd been putting off... the fecking brake lines:
P1170319.jpg
P1170320.jpg
P1170322.webp
P1170323.jpg
P1170326.jpg
P1170328.jpg
P1170330.jpg
P1170333.jpg

Now I've got the routing finalised, I'm chuffed to bits with the final results! Just got to take them all off now and get them painted green :i-m_so_happy.gif:

Thanks for reading :)
 
Back
Top