There is more to life with TurboRenault.co.uk

Register a free account today to become a member! Once signed in, you'll be able to participate on this site by adding your own topics and posts, as well as connect with other members through your own private inbox!

Renault 11 Turbo Phase 2 Restoration

A nice sunny evening tonight so thought I would continue some of the work on the 11T engine.

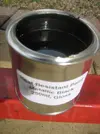
Following our agreement on the colour to paint the engine block (black :ca:) , I looked all over the internet for options of what paint to use. When I did the Raider I used VHT Black Aerosol and although the block was nice and evenly covered, it was dull and had a matt finish which made me disappointed. So this time I have decided to use a High Temp Enamel paint, and to again make it a little different, I got a Black Metallic gloss one :grin.gif::
IMG_5904.webp
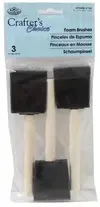
I read that the best way to apply the engine enamel paints was with a Foam Brush (Never heard of such a thing before, so nipped down to Hobbycraft and bought these for £1!:
Capture.webp
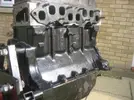
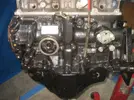
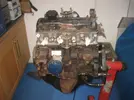
Thought I would give the back of the engine a couple of coats first to see how it looked before I would apply it to the front (most visible) side of the engine. I was pleased with the results in the end :ay::
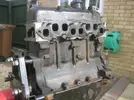
IMG_5899.webp
IMG_5910.webp

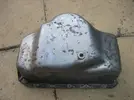
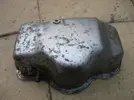
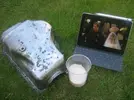
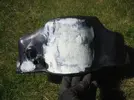
Next I turned my attention to the Sump, as you saw when I took it off, it was in a right sorry state:
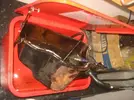
IMG_5883.webp
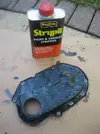
I gave it a little going over with a wire brush, and that improved it a little, but I knew it needed more work. So I thought I would have another go with the paint stripper I bought some time ago. Instructions are pretty simple, Stipple over the item, then wait. So I stippled:
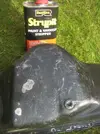
IMG_5913.webp
Was encouraged to find this happening after only a few minutes:
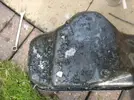
IMG_5915.webp
I then gave it a little agitation with a wooden spatula, and WOW! :ai::
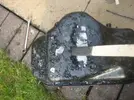
IMG_5916.webp
So I carried on stippling and scraping:
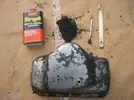
IMG_5919.webp
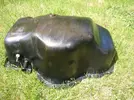
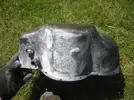
And finally ended up with this:
IMG_5923.webp
IMG_5924.webp
Quite Chuffed with the results in the end!! Not sure what I'll do to re-cover it? Perhaps powdercoat it or paint again this time?? Again would welcome any suggestions/recommendations?

Thanks for reading :)
 
Decided I would have a go at painting the sump with a rattle can given the weather was so nice, and there was nothing really worth watching on Telly.. :ca:
IMG_5932.webp
Now the sump was all stripped, I first applied a liberal covering of the Rustbuster FE-123 rust-proofing solution I used previously in this build on the bodywork of the car (You can see the container of pink solution in the above photograph):
IMG_5934.webp
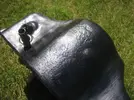
Next I wanted to see if I could improve the pitting that was on the front of the sump caused by the rampant rust-worm:
IMG_5935.webp
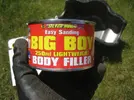
Bought myself a tub of Big Boy Bodyfiller from Toolstation, and set about filling in the pits:
IMG_5939.webp
IMG_5940.webp
Then rubbed it down:
IMG_5943.webp
A quick wipe down, then ready to Paint! but before that, I prepped the Timing Chain cover for the same fate:
IMG_5937.webp
IMG_5942.webp
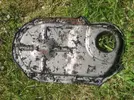
Then painted the lot:
IMG_5947.webp
The final results look.... Okay.... I'm still in two minds if I will take them somewhere and get them stripped and powdercoated... :bh:

Given the good results of painting the back of the engine, I continued to paint the front. Masked everything up and removed the dipstick:IMG_5931.webp
IMG_5945.webp

I managed to nip past my favourite plater this week, so managed to get a heap of parts plated:
IMG_5956.webp
So I could start to re-assemble the engine this evening.
IMG_5959.webp
Starting to look better:
IMG_5874.webp

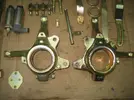
I was very pleased with the hubs I got plated this week:
IMG_5957.webp
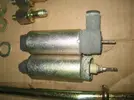
But unfortunatley not everything went swimmingly.... it Looks like the two Anti Perc solenoid valves didn't agree too well with the plating acids.... OOPS...
IMG_5958.webp
Back to the drawing board for them then I guess..... :dy:

Thanks for reading :)
 
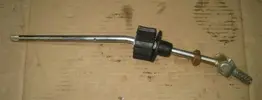
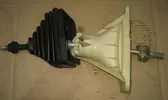
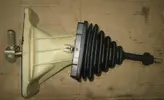
Whilst I'm sourcing another sump from @Adey (Think that one I've got is past restoring TBH) I thought I would get the gearstick assembly rebuilt, after I had the main shaft re-plated. Fairly simple process to rebuild and used some more of my new schmoo stash of parts: :by:
IMG_5965.webp
IMG_5966.webp
IMG_5967.webp
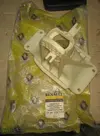
New in bag gearstick housing:
IMG_5969.webp
IMG_5970.webp
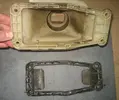
However I'm missing the neoprene draft seal on the bottom of the new housing:
IMG_5977.webp
However, thanks to good old eBay, I managed to source a new roll, then it was just a matter of cutting out a new piece and sticking it on!
IMG_5978.webp
IMG_5979.webp
IMG_5980.webp
Finished!! I've got a new gearknob to put on, but I'm going to only put it on when I've got the gearstick mounted in the car, so I can be sure I've got it aligned properly
IMG_5981.webp

Thanks for reading :)
 
Engine refresh continues with a few more re-plated shiney bits being bolted on together with a new OE water pump with the correct plated pulley (not the black pulley as fitted to nearly all aftermarket ones):
IMG_5984.webp
IMG_5985.webp
IMG_5986.webp

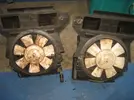
Couldn't resist purchasing a new old stock VALEO heater box I saw in Turkey some months ago :an: so set about transferring over the necessary wiring looms and fan:
IMG_5991.webp
IMG_5987.webp
IMG_5988.webp
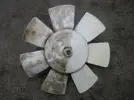
Couldn't possible put one of these manky old fans in the heater box without some love:
IMG_5994.webp
Nice to see where the effort goes!!
IMG_5995.webp

I also had a closer look at the two exhaust manifolds I have to compare which is the flatter one. I realised that the worktops we have at home were the perfect large flat surface to compare the two (Can't say that @Millie_Bee agree as much :cr:). You can see on this little video I made that whereas they both seem flat to the eye, when you put them on a perfect flat surface, you can see which one will be the most likley to leak.


I've got plans for the manifold I've chosen... :dh:

Thanks for reading :cool:
 
Had a look back at the thread over the last few days ,brilliant job Steve , your dedication to the diamond is second to none can't wait to see the finished product .
I had a silver one on an F plate ,sold it to buy a house many years ok .so the green eyed may set in if I see it for really .
 
Back
Top