There is more to life with TurboRenault.co.uk

Register a free account today to become a member! Once signed in, you'll be able to participate on this site by adding your own topics and posts, as well as connect with other members through your own private inbox!

Renault 11 Turbo Phase 2 Restoration

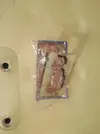
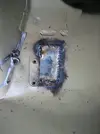
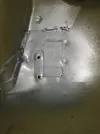
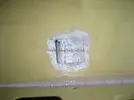
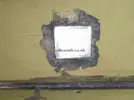
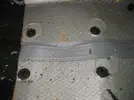
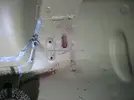
Thought I'd past the "dealing with rust" part of this build by now.. but after a bit of digging around a couple of grotty points inside the car I found this... :an:
IMG_4734.webp
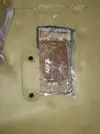
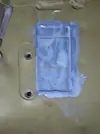
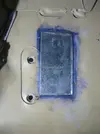
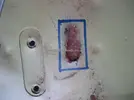
So usual service resumed of grinding out, treating and replacing with new metal..
IMG_4736.webp
IMG_4738.webp
IMG_4744.webp
IMG_4745.webp
IMG_4747.webp
IMG_4761.webp
IMG_4765.webp

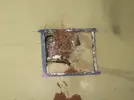
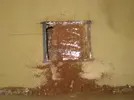
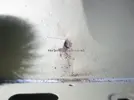
And I found another bit of grot as well... :ao:
IMG_4749.webp
IMG_4753.webp
IMG_4755.webp
IMG_4758.webp
IMG_4759.webp
IMG_4760.webp
IMG_4764.webp
Not flawless, but as it's going to be covered by the carpet/interior I figured it was ok..

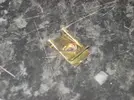
Whilst I had the grinding/welding kit out, I thought I'd fix the missing bottom screw location for the front O/S wing that was lost during the fabrication work that was done by the welder some months ago. The existing screw thread was present on the N/S of the car, so I set about copying it as best I could.. I started off with the correct threaded spire clip:
IMG_4769.webp
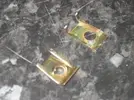
and then split it down so I just had the "Threaded" part:
IMG_4770.webp
I then drilled out the sill for the clearance hole I required:
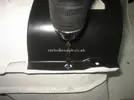
IMG_4773.webp
Then removed the existing paint on the back-side of the sill:
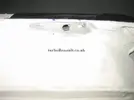
IMG_4776.webp
And then a couple of spot welds to keep the threaded section in place:
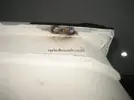
IMG_4781.webp
Job Jobbed!!

Thanks for reading :)
 
I decided to upload an abridged version of this build onto RetroRides to share my experience with other Retro-Heads and It's unearthed an old owner of my car and this is what he wrote about my car:

This is my old R11 from about 5 year ago. I brought it of a retired chap who owned a local motor factors. It started life as his wife's car then he had a local race prep company prep it for hill climbs hence the engine and suspension mods. He completed 2 climbs before Ill health meant he had to let it go and has a good customer to his motor factors I got first dibs. Was an absolute weapon! I'll dig out some old photos for you and I'm afraid I'm guilty of spraying the bonnet matte black.. was a cool thing to do 5 years ago and it covered the lacquer glazing. Was always popping boost hoses and splitting inter-coolers hence the strapped inter-cooler

Apparently he's got some old pictures & details which he'd going to share with me :i-m_so_happy.gif: So I'm looking forwards to seeing that!!
This is the car version of "Oh you're seeing her now? I dated her a few years ago"

Uncomfortable.
 
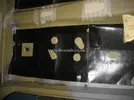
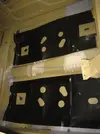
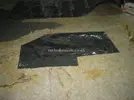
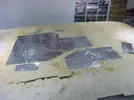
Now the interior is free from major spots (as far as I can see) I could start to add the sound deadening to the floor panels, again copying the OE design from pictures I took during the stripdown:
IMG_3640.webp
IMG_4733.webp
IMG_4791.webp
IMG_4792.webp

Thank you for reading :)
 
Looks amazing. well done sir! One question.. I see you have applied sound deadening onto primer. Is this wise? If any moisture gets in will the primer not suck the moisture in? Or is a "special" primer?
 
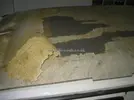
As the body shell is dam near ready for the re-spray now, I had to figure out what I was going to with the headlining as it was damaged when I removed it from the car during the strip down:
IMG_4805.webp
IMG_4806.webp

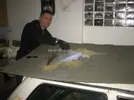
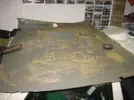
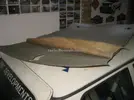
As it's the headlining that gives the roof some strength, I need to fix it before they start to paint the OUTSIDE of the car as they will not be able to rub down the roof of the car enough without it, as it would flap in the wind like a sail!! :D So thanks to a little bit of internet browsing I realise that I've first got to strengthen the existing headlining before I can go stripping off the old fabric and re-upholstering it. Therefore today's job was to start the re-strengthening of the headlining.

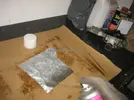
First I got some of @Millie-bee's regular kitchen foil and cut it to size to just cover the parts of the headlining that were open to the original foam padding of the headlining (my thinking here was that I don't want any resin from the next step to mix with the old foam and make re-covering the headlining board a royal faff..) I then gave the foil a quick spray of adhesive....
IMG_4809.webp
and stuck it straight to the back of the headlining board:
IMG_4807.webp

very quickly I had covered all of the existing damage on the headlining, and already the headlining started to look better for itself!!
IMG_4812.webp

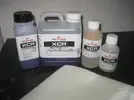
To fully stiffen the headlining I bought some Epoxy Resin and woven glass-fibre matting from the friendly people at Easy Composites. I phoned the guys there up and explained what I was wanting to do, so they recommended 1.5kg of their XFR Epoxy Resin, together with a Metre of their Woven Glass 2/2 Twill 200g 1m Wide glass-fibre reinforcement:
IMG_4814.webp
I first had to cut the glass-fibre reinforcement to size, as it came a little too large to go straight on:
IMG_4816.webp
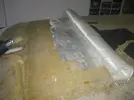
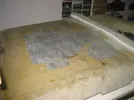
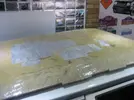
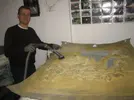
Next was a case of mixing up the Epoxy Resin, and then pre-applying it to the headlining first to "wet" it with a paintbrush, and then rolling out the glass-fibre reinforcement and applying some more Epoxy Resin over the top to ensure it was fully wetted and smoothed off. I rolled the matting out in 6 inch sections at a time to ensure I could get it all wetted ok:
IMG_4817.webp
IMG_4818.webp
IMG_4820.webp

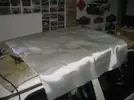
I'm really pleased with how it turned out, now just a case of waiting to see what it looks like when its all dry tomorrow??

Thanks for reading! :)
 
In the day our body shop use to support the roof panel with adjustable props and spreader plates.
You could try some wooden supports & plates in the right places.
 
As the car is going to the body-shop in 2 weeks, it's time to hustle to get it ready in time. Still plenty I want/have to do!! :an:

Following the first application of Epoxy Resin & glass-fibre mat on the headlining it improved the stiffness, but still not significantly enough, so I figured I needed another layer:
IMG_4843.webp
Given that I'm just applying it to the back of the headlining, I figured that I needed to apply some to the front of it as well, so I gingerly pulled a corner of the headlining off and saw that it came off easy enough:
IMG_4845.webp
So after a bit more pulling:
IMG_4848.webp
However at this point I realised that the headlining was still REALLY weak... so I needed a mould to ensure the headlining was going to continue to be the right shape... but what to use for that?? Oh I know..:
IMG_4850.webp
Next I made a start getting rid of the foam from the headlining, first method was scratching away with hands:
IMG_4851.webp
But then we realised a wire brush was the best tool!:
IMG_4852.webp
And a hoover:
IMG_4853.webp
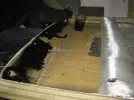
Next it was a grope around on your knees to lay-up the fibreglass in the roof of the car:
IMG_4855.webp
IMG_4856.webp
Next was to get the temporary spray booth installed to finish off a bit of Gravitex work on the back of the wings:
IMG_4870.webp
IMG_4872.webp
IMG_4875.webp
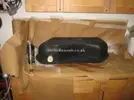
And the underneath of the new Fuel Tank I managed to source... well it's got to match the rest of the underneath of the car hasn't it! :grin.gif::
IMG_4876.webp
IMG_4877.webp
IMG_4879.webp
Next I had to stick the door-skin back to the strengthening bar to stop it from rattling in the wind:
IMG_4880.webp
IMG_4881.webp
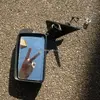
I then started to mask a few small parts to save labour at the body-shop. I did one of my new wing mirror's. One went great, but then when I started on the nearside mirror it frikkin broke on me the first time I bent it back on itself... you can see what I thought to it breaking on me!!
IMG_20160402_135254.webp
Last job was to get all the skirts & trim pieces out and give them a clean up to decide which ones were the best to use:
IMG_20160402_140436.webp

Thanks for reading :)

IMG_4847.webp

IMG_4873.webp
 
Last weekend before the body-shell goes to paint, so time was spent trying to prepare the car for the journey and finish off a few faffy bits. Thanks to my able assistant, Best Man @jas_racing (Toolstation Index and Hired Muscle :bv: ) we soon rattled thru it. First job was to re-right the body-shell and get the front & rear axle/wheels mounted:
IMG_4882.webp
IMG_4884.webp
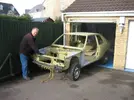
Then finally 527 days :ai: after the car entered the garage on 31/10/2014 (God I'm SHOCKED it was that long ago...):
IMG_4020.webp
She finally took her first gentle step outside into the sunshine on Saturday 9th April 2015:
IMG_4887.webp
Don't let anyone tell you a Home Restoration is a quick job... :an:
Whilst the car was outside the garage, enjoying its sunbathing session, we cut out the vents on the new front bumper to allow for the Inter-cooler:
IMG_4888.webp
IMG_4889.webp
Then I re-fitted the Bonnet after HOURS looking for the Bonnet Hinges...
IMG_4891.webp

Thanks for reading :)
 
Back
Top