There is more to life with TurboRenault.co.uk

Register a free account today to become a member! Once signed in, you'll be able to participate on this site by adding your own topics and posts, as well as connect with other members through your own private inbox!

Renault 11 Turbo Phase 2 Restoration

Might be worth going on detailing world and checking out their sub sections for a body shop? How far is too far? I could suggest 4 in a 2 hour travel window to check out from seeing their work.

A heated booth does nothing for the final finish, it only speeds up the drying time so they can get more cars in and out.

Also from personal experience be wary of new shops, it can take years for a bad job to show through. Doesn't mean they won't do it right just an agreement on seeing jobs they've done.

Also best to stay away from chemical strippers as they can leave hard to remove residues behind
 
You done well finding the o.e wings @Big Steve - Raider as the aftermarket fit poor. When i fitted aftermarket wings 15 years ago to my old 11t they literally fitted where they touched, 1/4 inch or so out from the bonnet where they should be flush with the edge !
 
Just seen the dent in the lower rear qtr. Might be worth getting the dent man on that before paint to save on filler?
 
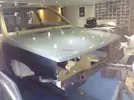
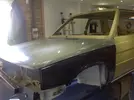
Another productive afternoon in the garage today in preparation for the upcoming re-spray... assuming I can find someone to do it.. but that's another story :dy:

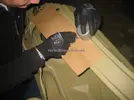
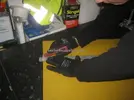
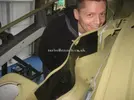
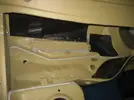
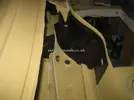
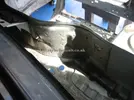
Again to keep the OE look, I wanted to re-fit the sound deadening visible in the engine bay that was removed in the dipping process. Referring to some of the pictures I took of the car during the stripping process me and Best Man Jez, made some templates of the shapes of the sound deadening I wanted:
IMG_4713.webp
Then when I was happy with the shape and fit of the template:
IMG_4714.webp
Next was to cut out the shape on the OE patterned bitumen style sound deadening:
IMG_4715.webp
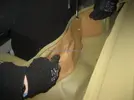
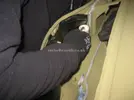
Then using a heat gun to soften up the sound deadening and a roller to flatten it into the shapes/corners it was stuck into the car:
IMG_4716.webp
IMG_4717.webp
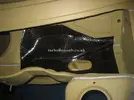
The end result was very close to the original pattern as I wanted:
IMG_4721.webp
IMG_3785.webp

Again the same was also done on the Drivers side of the car:
IMG_4723.webp
IMG_3803.webp

IMG_4724.webp
IMG_3804.webp
Thanks for reading :)
 
Hats off to you on this one, makes me want another............I like the mods as well, when I put Tel back on the road after having the 19 and the Cup I couldn't believe the steering was ever as heavy as it was, think I've still got the tape holder that fits below the stereo !
I'd love to see this in the flesh one day, but be ready for me tearing up .......... remembering the good old days before tinternet and sliced bread......and you could leave your front door open......
 
Looking better every time.
I wouldn't worry as much as you are with the bodyshops, I know a guy who can get just as nice a finish in a barn as a guy with a 10k booth.
The painting is only a portion of the job and the repairs are where some places cut corners. Seeing as you've done the majority to make sure the rust is kept at bay, along with all the time consuming jobs, and new panels it'll probably be one of the easiest jobs they've done for a while!
It should be a quick turnaround and I wouldn't have thought it would be left in the corner as there isn't a great deal of prep.
 
Back
Top