There is more to life with TurboRenault.co.uk
You are using an out of date browser. It may not display this or other websites correctly.
You should upgrade or use an alternative browser.
You should upgrade or use an alternative browser.
5 GT Turbo R5 GT Turbo - Complete strip down and re-build #1
- Thread starter Chris74#
- Start date
-
- Tags
- gt turbo r5 gt turbo turbo
Chris74#
Well-Known Member
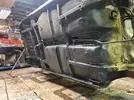
It took a while for the right coloured paint to turn up, so I had to wire brush the car again as the flash rust was all over it! I picked the wettest week of the year to leave the car stood there with no paint on it! I got all of the silicone bungs in place and got the first coat on! My first time spraying!
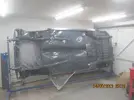
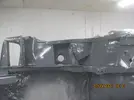

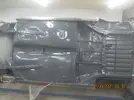
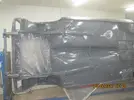
I then got started on the seam sealing, I was against the clock on this as I had 1 week to get the second coat on before I would have to sand it down to key in the second coat, and I didn't fancy that! What a crap job that is!!! never ending, mind numbing stuff!
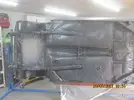
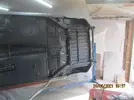
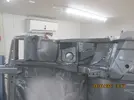
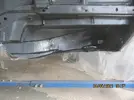
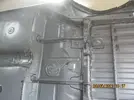
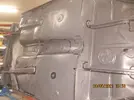
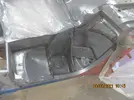
Once that was done, I gave the whole thing a wipe down with panel wipe, and then got the second coat on!
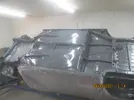
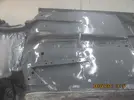
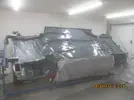
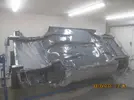
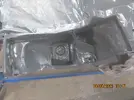
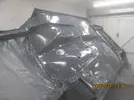
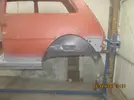
I got new pins for the doors and got them back on today, just to check the fit, they fit fine which is a result!
Thanks for reading guys!


I then got started on the seam sealing, I was against the clock on this as I had 1 week to get the second coat on before I would have to sand it down to key in the second coat, and I didn't fancy that! What a crap job that is!!! never ending, mind numbing stuff!


Once that was done, I gave the whole thing a wipe down with panel wipe, and then got the second coat on!


I got new pins for the doors and got them back on today, just to check the fit, they fit fine which is a result!
Thanks for reading guys!
Chris74#
Well-Known Member
I was going to speak to Rustbuster, I think they do a clear coat wax type finish. Any suggestions?Fantastic progress, well done. Whats the planned end-finish for the underside?
DaveL485
Staff member
Chris74#
Well-Known Member
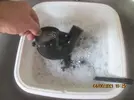
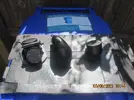
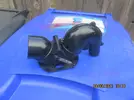
It's been a while so I thought I would drop an update on here. I have been sorting through bits and have got the front sub-frame and some other bits off to the powder coaters, including the body to the air filter. I took the top of the air filter apart, gave it a clean and a lick of paint and it is now as good as new.
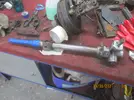
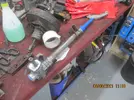
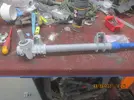
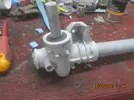
I also stripped the steering rack down, gave it a clean and a lick of the grey mastic paint, that should last for years now!

I have been messing around with the sandblaster also, and have upgraded it so it is now a usable bit of kit!
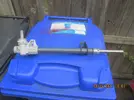
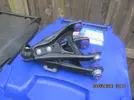
That'll look quite swanky when its fitted! I had some more power flex bushes turn up so fitted them. The instructions advised that steel sleeve is spot welded in place. So I did that, ground the welds down and dropped some paint on them before fitting the bushes.
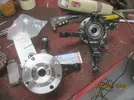
I have also pressed the bearings into the hubs!
If anyone is interested, mods on the blast cabinet!
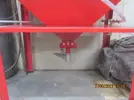
I got this valve off ebay and just removed the old hatch and bolted this one right in!
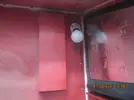
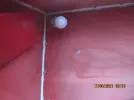
I fitted two extra lights and foil taped the door to stop the media falling all over the floor when the door is opened.
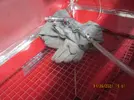
I got a new blast gun and fitted bigger bore hose and fittings direct from the compressor, give it a bit more va va voom!!
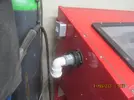
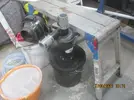
and then fitted a dust extractor. My vacuum just connects to the top of this. Further upgrades - Get some glass for the viewing screen as the plastic is rubbish!
Today I decided to try my hand at filling and sanding! I have been avoiding it long enough now and just need to get on with it!
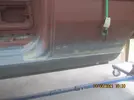
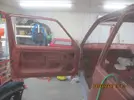
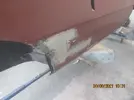
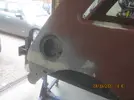
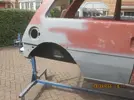
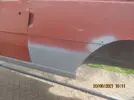
You'd never know I welded that!
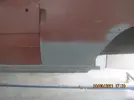
Its not quite the finished article yet, but I dropped some primer on it anyway to try and keep the rust away!
I had some spare paint left in the gun when I painted the steering rack so I threw it on the engine bay!
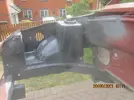
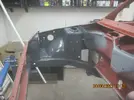
Its definitely starting to come together now!
Thanks for reading!


I also stripped the steering rack down, gave it a clean and a lick of the grey mastic paint, that should last for years now!


I have been messing around with the sandblaster also, and have upgraded it so it is now a usable bit of kit!


That'll look quite swanky when its fitted! I had some more power flex bushes turn up so fitted them. The instructions advised that steel sleeve is spot welded in place. So I did that, ground the welds down and dropped some paint on them before fitting the bushes.

I have also pressed the bearings into the hubs!

If anyone is interested, mods on the blast cabinet!

I got this valve off ebay and just removed the old hatch and bolted this one right in!


I fitted two extra lights and foil taped the door to stop the media falling all over the floor when the door is opened.

I got a new blast gun and fitted bigger bore hose and fittings direct from the compressor, give it a bit more va va voom!!


and then fitted a dust extractor. My vacuum just connects to the top of this. Further upgrades - Get some glass for the viewing screen as the plastic is rubbish!
Today I decided to try my hand at filling and sanding! I have been avoiding it long enough now and just need to get on with it!


You'd never know I welded that!

Its not quite the finished article yet, but I dropped some primer on it anyway to try and keep the rust away!
I had some spare paint left in the gun when I painted the steering rack so I threw it on the engine bay!


Its definitely starting to come together now!
Thanks for reading!
Last edited:
DaveL485
Staff member
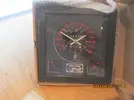
Thats pretty cool!Great Fathers day present!View attachment 156367
...I assume you have another one for the car though LOL
Chris74#
Well-Known Member
Unfortunately, I found the car dash broken in the loft last week!!Thats pretty cool!
...I assume you have another one for the car though LOL
Chris74#
Well-Known Member
Plodding on!!! I got the sub frame back from the powder coaters during the week! The new arms I bought with the new bushes in have now gone to the coaters also, they looked shite against the new powder coat on the sub frame!

I also got a friend round to give me some pointers on how to get this bodywork somewhere near. Paul owns Broadway Garage in Burton on Trent and is used to restoring VW's.
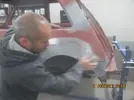
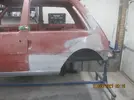
Once he got going, he showed me dents that I didn't even know were there!!
I also got some other bits back from the coaters...
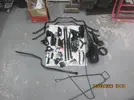
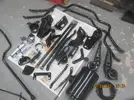
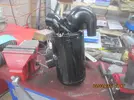
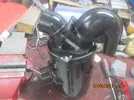
I put the air filter back together, it looks pretty good!
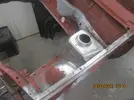
I got cracking with the stripping of the engine bay back to bare metal, ready for the mastic paint!
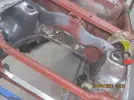
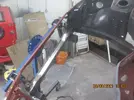
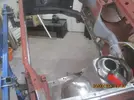
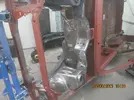
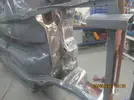
I then wiped it all down with an airline and tack cloth! and then masked it off.
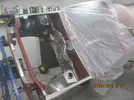
I then mixed up some paint and got busy with the spray gun!!!
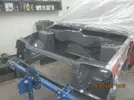
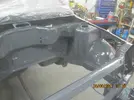
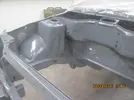
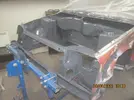
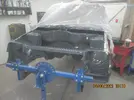
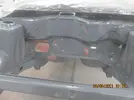
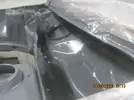
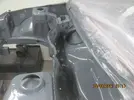
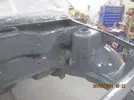
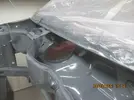
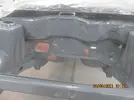
I also got the anti-roll bar clamps painted while I was at it.
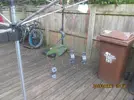
While sorting through the bolts, lots of them are pitted and need replacing. Does anyone have any contacts for replacement nuts & bolts?
Thanks for reading guys.....

I also got a friend round to give me some pointers on how to get this bodywork somewhere near. Paul owns Broadway Garage in Burton on Trent and is used to restoring VW's.


Once he got going, he showed me dents that I didn't even know were there!!
I also got some other bits back from the coaters...


I put the air filter back together, it looks pretty good!


I got cracking with the stripping of the engine bay back to bare metal, ready for the mastic paint!


I then wiped it all down with an airline and tack cloth! and then masked it off.

I then mixed up some paint and got busy with the spray gun!!!


I also got the anti-roll bar clamps painted while I was at it.

While sorting through the bolts, lots of them are pitted and need replacing. Does anyone have any contacts for replacement nuts & bolts?
Thanks for reading guys.....
DaveL485
Staff member
Renault use standard metric sizes so you can get most stuff from any decent supplier. I used Kebrell in Coventry until the shut the public counter due to COVID, I have to buy off the web now to keep my stocks up. M6x1.0, M7x1.0, M8x1.25 and M10x1.5 are all fairly common. I've built up a rather large stock of hex & allen head bolts & screws, nuts, flange nuts, nyloc nuts, washers, spire clips, rivnuts...all sorts...so I dont get caught short.Does anyone have any contacts for replacement nuts & bolts?
-Make sure you get the right tensile for load bearing & suspension (10.9, NOT 8.8 )
-DO NOT use stainless for load bearing & suspension.
-Watch out for fine pitch stuff (M10x1.25 or M12x1.25). Brake calipers and flywheel for example are all fine pitch bolts.
-Renault tend to use slightly smaller hex's, so M10's are 16mm, standard is 17mm. M12 is 18mm, standard is 19mm. This isn't an issue really, 17/19 will be fine.
-A screw is threaded all the way up the shaft to the head, a bolt has an unthreaded section below the head so be careful of that difference when buying.
Steve Swan
Well-Known Member
Would agree with everything that @DaveL485 has said above. I would tend towards only buying 12.9 grade socket caps and using them. They are the best that can be got for all practical reasons and it is dangerous to use a lower grade bolt than original, but only money wasting to use higher grade and we all waste money on our cars, so nuff said. Try to get bright plated as they won't rust so bad, but be sure they are de-embrittled as the zincification process and high tensile bolts do not mix well. To briefly explain the range 4.8 grade is mild steel (about 20 Tons per Sq inch tensile strength) and 12.9 grade High tensile alloy steel (about 80 Tons per square inch ) so when you see 8.8 on a bolt head it is middle of the road strength high tensile. Good, but not good enough for everything.
Chris74#
Well-Known Member
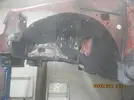
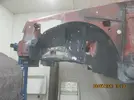
I got to work on brushing and mastic painting the inner wings this week, I used the incorrectly coloured paint that I bought earlier!
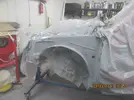
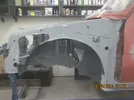
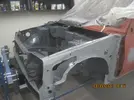
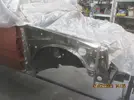
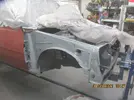
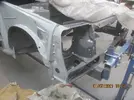
I then took the doors off again and got to work wire brushing the interior.
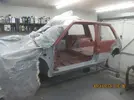
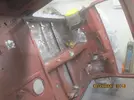
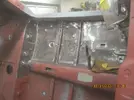
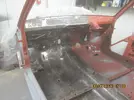
I got the whole front section brushed back and then got some mastic paint on it!
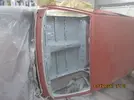
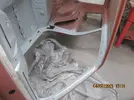
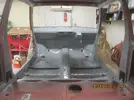
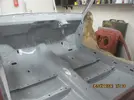
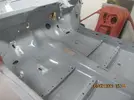
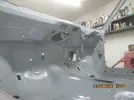
That should keep the rust at bay!!
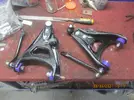
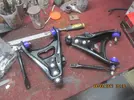
During the week I also got more bits back from the powder coaters and and the front discs turned up. I decided to put the front arms back together with the new bushes!
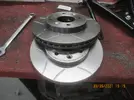
Nice shiny Brembo discs! £38 from autodoc, what a deal, Isaw the same set on ebay for £137 last month! probably still on there!! lol


I then took the doors off again and got to work wire brushing the interior.


I got the whole front section brushed back and then got some mastic paint on it!


That should keep the rust at bay!!
During the week I also got more bits back from the powder coaters and and the front discs turned up. I decided to put the front arms back together with the new bushes!


Nice shiny Brembo discs! £38 from autodoc, what a deal, Isaw the same set on ebay for £137 last month! probably still on there!! lol
Chris74#
Well-Known Member
I started to put the front subframe back together during the week, still need some outer powerflex bushes, and to finish refurbishing the steering rack!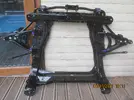
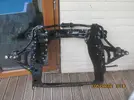
I decided to go with the Rust buster clear Heat resistance undercoating wax and stick with the mastic paint colour as it is quite close to the Tungsten Grey! I also ordered some Dinitrol ML Cavity wax and a gun and spare bottle. I am going to try and run the mastic paint through the wax gun inside the cavities first before I get the wax in there...If anyone has tried this before please let me know the results before I wreck my new shiny gun!!
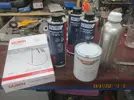
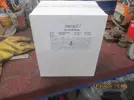
Oh yeah - another 12 tubes of Dinitrol Seam sealant!!
So, today I have been on the wire brush all day, It is hard graft, absolutely covered in shite, and I feel like a pin cushion! Those wire wheels are deadly, I know I've said it before, but if you are going to use one of these, make sure you have goggles, a face shield, strong gloves and long sleeves and ear defenders!!!
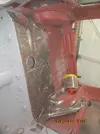
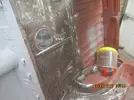
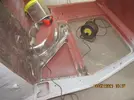
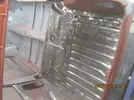
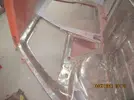


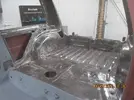
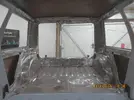
The ferocious brush revealed a few small holes, so I skimmed them over with some filler, and also gave the other welded areas in the boot a skim of filler. I'll sand that off in the morning and get the mastic paint on. Gonna try and get the mastic paint in above the rear arches as much as I can. This thing will float afterwards!!!
Thanks for reading guys!


I decided to go with the Rust buster clear Heat resistance undercoating wax and stick with the mastic paint colour as it is quite close to the Tungsten Grey! I also ordered some Dinitrol ML Cavity wax and a gun and spare bottle. I am going to try and run the mastic paint through the wax gun inside the cavities first before I get the wax in there...If anyone has tried this before please let me know the results before I wreck my new shiny gun!!

Oh yeah - another 12 tubes of Dinitrol Seam sealant!!

So, today I have been on the wire brush all day, It is hard graft, absolutely covered in shite, and I feel like a pin cushion! Those wire wheels are deadly, I know I've said it before, but if you are going to use one of these, make sure you have goggles, a face shield, strong gloves and long sleeves and ear defenders!!!


The ferocious brush revealed a few small holes, so I skimmed them over with some filler, and also gave the other welded areas in the boot a skim of filler. I'll sand that off in the morning and get the mastic paint on. Gonna try and get the mastic paint in above the rear arches as much as I can. This thing will float afterwards!!!
Thanks for reading guys!
Steve Swan
Well-Known Member
Feel your pain!!!
Similar threads
- Replies
- 4
- Views
- 358
- Featured
- Replies
- 82
- Views
- 2K
- Question
- Replies
- 8
- Views
- 678
- Replies
- 6
- Views
- 268

