Joker
Member
Seen as though I have some spare time on my hands I figured a thread was in order to show the progress of the build I recently started. Once the xe is built and ready I shall be transplanting it into a renault kangoo van which I have just bought for cheap.
I've got a spare XE Block an Head and various other spare parts which have been lying around for sometime now and thought it was time to put them too use. I recently bought a set of R6 Carbs and an inlet manifold and pretty much everything I needed to get them up and running.
I'ts a slow project but am aiming for it to be ready for when the shows come around next year.
Here are some pictures of the carbs and manifold I bought.
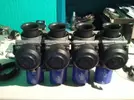
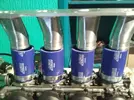
I think these little babies should sound pretty damn sweet when up and running.
I shall update the thread if and when I get more pics and more progress. :nod:
I've never played around with carbs so it's all new to me but have followed a few tips from a few people that have done it before. It should be one nippy little van, Although fuel consumption won't be the best It Should Sound wicked!
Here are some more pics that I had taken today at work with a crappy camera (poor quality)
The head before its clean.
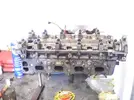
I Sprayed my pulleys just to give them some colour, nothing special but better than the rust colour lol
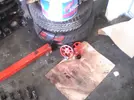
I've cleaned the block up and put the bearings in ready for the crank and cleaned my pistons, got them up nicely.
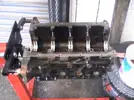
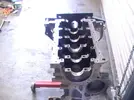
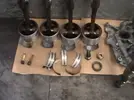
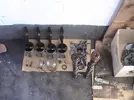
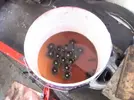
Hydraulic lifters in soak and some bolts for the sump
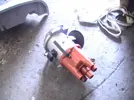
Advancable Dizzy
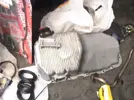
Clean sump
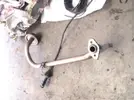
Clean Oil pipe
New head gasket set and head bolts.
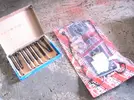
Coil
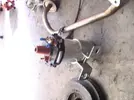
Flywheel
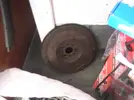
R6 Fuel pump
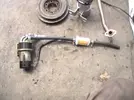
And here are the carbs with the inlet on
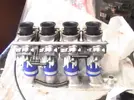
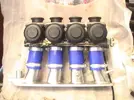
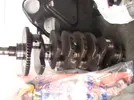
Crank
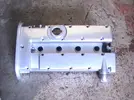
Powder coated rocker cover
Breather for rocker cover
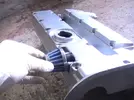
I couldn't resist and take some pics with the rocker cover and carbs on the head.
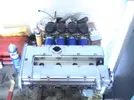
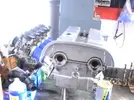
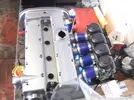
Quick picture of the block before I paint it tomorrow
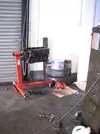
Some more pics of painting - Not alot done but impressed after my first coat once I'd applied some more it looks OK.
Painted my pulleys and thermostat housing.
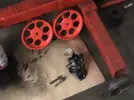
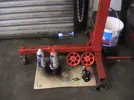
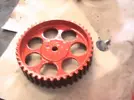
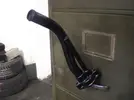
Dipstick painted
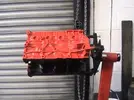
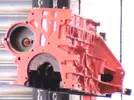
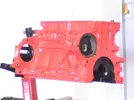
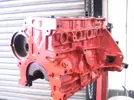
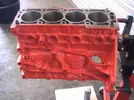
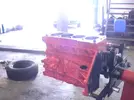
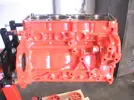
Few pictures of the block after its painted
[BREAK]
Update:
Got the van delivered last week and finally got a chance today to strip the engine out, It really needs a good clean out I think the previous owner was a Plasterer or something, Mega dirty inside but nothing I can't sort out!
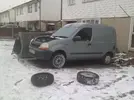
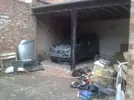
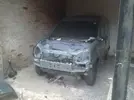
Ok So here's the van....
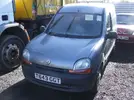
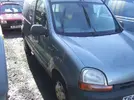
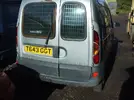
Just removed the bonnet and most of the bits out the way before the engines out.
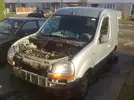
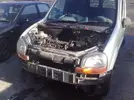
And.........IT'S OUT!!
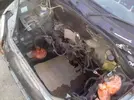
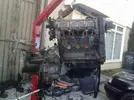
Here's the nice little engine bay, I've taken some measurements and it looks to be very tight but should be do able! - Only thing that concerns me is I think the alternator is going to interfere with the servo and resovoir.
Before Jet wash.
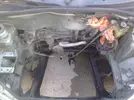
After Jet wash.
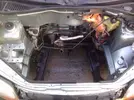
Nice and clean
That's all I've really done for now, Time is very limited as I'm busy working but should be able to finish off building my engine in the next few weeks and hopefully crack on before xmas with this.
Small update.
Had another spare day this weekend so had a go at lining the engine up, Just a couple of pics showing some clearance issues. I removed the insides to make it lighter so its easier to handle and used a bare block just for mounting points.
I need to strengthen the chassic legs up both sides and make some mounts up. Everything is very close but should be OK
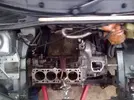
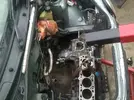
The head has to be this far forward to allow for carb clearance.
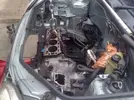
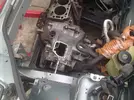
The engine position was very low here, This isn't were its going to be mounted its about 2 inches higher picture was just for test.
The subframe is going to be cut and moved forward to allow room for the exhaust manifold.
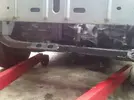
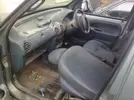
This is what the inside of the van looked like before I Cleaned it.
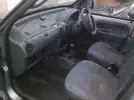
After a wipe down and a bit of a scrub. The seats are pretty much wrecked the picture doesn't look like much but its a damn site better than it was before.
Once the mounts are all made and in, the engine will be put together as its sitting in bits in the unit at work as there's no point putting it all together yet as I don't want to damage it in transit to were the van is at home. The gear linkage might be an issue but I'll figure that out when I come to it. Alternator and radiator will need to be repositioned. I think it should go well!
I'm going to be using a Citroen Saxo Power steering pump and re position the alternator to the front of the block.
[BREAK]
Another UPDATE:
The block and gearbox I was using to get my positions are all lined up and have the mounts welded in place now so the engine is mounted! Woo hoo! I will take some pictures at the weekend when I Get chance. I'm also using the digi-dash from the old astra gte in the van which will look super old skool.
Comments welcome!
[BREAK igi Dash]
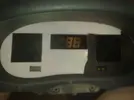
I'll show you how I've done the digidash it looks good! I'm impressed.
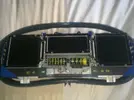
Paper cut out to make template
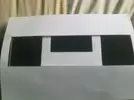
test with out indicators and lights showing
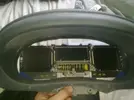
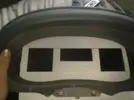
I've half covered this one with black pen to darken it but the pen ran out haha. This is just a prototype but putting it behind the kangoo dash it looks very funky!
[BREAK]
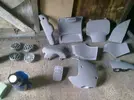
I've cut out all the excess metal that I don't need and have painted my engine block but removed all the paint as it looked crap so here's a couple of pics, sorry for the slow progress.
I sprayed the dashboard black as it was all dirty and horrible and also painted the whole inside of the floor black just to make it match.
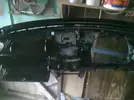
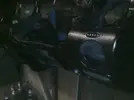
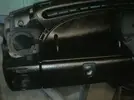
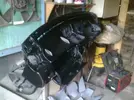
dash back in the van all done.
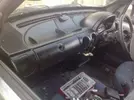
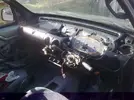
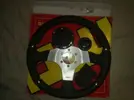
waiting for a new boss for my new steering wheel.
here are some of the mountings i've made for the engine.
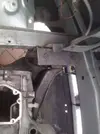
will be using this mount for the gearbox side.
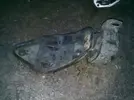
testing a different set of rims on the beast
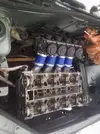
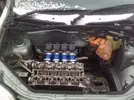
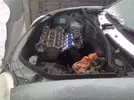
and finally a test mock up with the bottom end gear box, head and carbs!
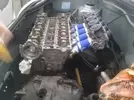
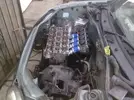
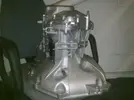
here's my other gearbox i'm going to be using, the f16 all painted up looking fresh!
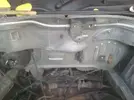
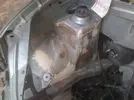
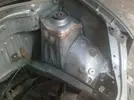
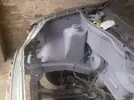
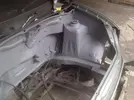
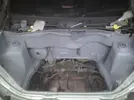
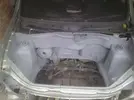
Once I was happy with the engine position I removed it all again and started to key / filler / primer the engine bay.
my filler work isn't the best but its good enough for me.
Thats all I've got to so far but hopefully will get some more updates soon.
[BREAK]
Got all my rebuild bits today for my engine so the building will commence on my freshly build c20xe engine
engine bay is all painted up and ready to accept the engine, Waiting for power steering connectors and new brake pipes for me to bend and look pretty
Coming along nicely now!
Painted all me bits to make them look better.
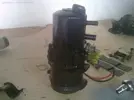
Power steering pump electric.
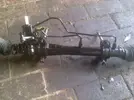
Rack painted
I polished the wing up just to give it some life as it's gathered quiet a lot of dust!
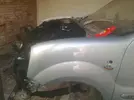
Engine bay painted.
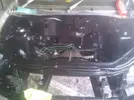
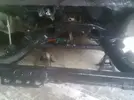
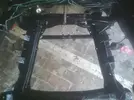
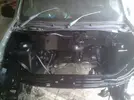
OK I received my big box of goodies for the engine rebuild this week so once the block is back from my local engineering place I shall be getting it all built up and together.
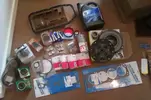
UPDATE!!
update on the kangoo
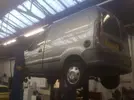
Got it all built this weekend and got some ramp time to have a good look under the van and clean any bits of rust I can see.
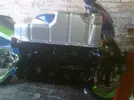
Here's the engine with painted sump
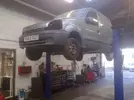
Van on the ramp
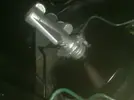
painted master cylinder
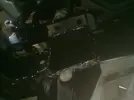
Pic of the custom mounts I made
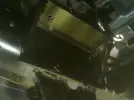
The vauxhall gear selector I have made to fit
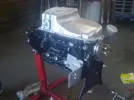
Heres the build nearly finished, It's a completely rebuild new engine bar the pistons and block which I had honed
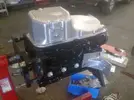
Head all cleaned up
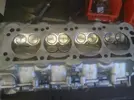
Head on engine and torqued down
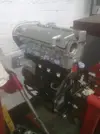
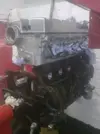
Still waiting on some little bits before cambelt can go on then its ready to be fitted!
All ready to go.
Couple of pics of engine complete before fitting on saturday
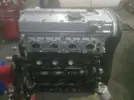
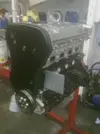
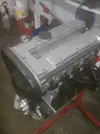
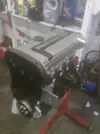
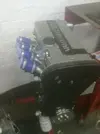
Enjoy
***UPDATE***
Ok so today I had a morning free so decided it was time for the engine to meet the bay!
I had to make some brake pipes up and put the unions on before filling the engine bay with the lump so once done I cracked on with putting the flywheel and clutch on then bolted the box on and got the engine crane out to lift it all in. Engine went in OK but at this point I realised how much work was involved in this conversion! Once the engine and box went in I had to take it straight out scratching the paint work on both the box / engine and the chassis! After a bit of head scratching I got the grinder out and had to remove some chassis leg!
Here's the N/S leg
and the O/S leg
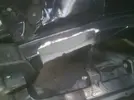
OK so the engine now fits fine but need to plate the chassic leg off and strengthen it!
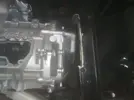
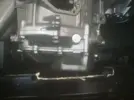
This side fits, but still need to remove more leg to allow for the single v pulley to fit for the alternator!
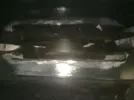
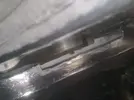
some pics from above!!
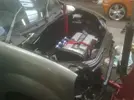
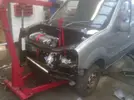
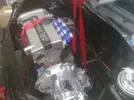
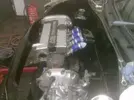
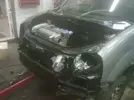
I had to make a custom Gearbox mount and this is what it looks like.
Once the engine was in i realised the exhaust needed modifying but cant do that yet as I need to heat it up and bend it and add some flexi to pass through the steering rack and modified bar I added for the rear engine mount.
This is what it looks like
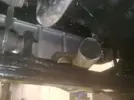
And the last few shots before I went home after calling it a day!
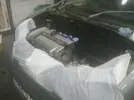
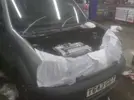
I'm happy with how it looks but there is still plenty of work to do before its finished!
Quick update
Had to cut quiet a considerable amount away from the O/S chassis leg which Is quiet worrying but I'm going to be strengthening the whole bay with some steel tubing and strut braces as I can't see it lasting all that long like that. Here are some pics of the plated off bits anyway and engine back in.
O/S cut out and plated
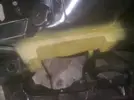
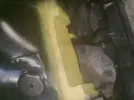
N/S cut out and plated
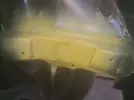
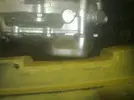
Still close but will be fine now.
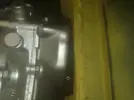
Re shaped my O/S mount as it was abit boring lol
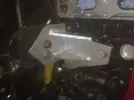
Here's the O/S with engine and pulley on, It clears now but I need to strengthen it up more. Anyone got any ideas of how I could strengthen the legs up more?
Enjoy
I've got a spare XE Block an Head and various other spare parts which have been lying around for sometime now and thought it was time to put them too use. I recently bought a set of R6 Carbs and an inlet manifold and pretty much everything I needed to get them up and running.
I'ts a slow project but am aiming for it to be ready for when the shows come around next year.
Here are some pictures of the carbs and manifold I bought.


I think these little babies should sound pretty damn sweet when up and running.
I shall update the thread if and when I get more pics and more progress. :nod:
I've never played around with carbs so it's all new to me but have followed a few tips from a few people that have done it before. It should be one nippy little van, Although fuel consumption won't be the best It Should Sound wicked!
Here are some more pics that I had taken today at work with a crappy camera (poor quality)
The head before its clean.

I Sprayed my pulleys just to give them some colour, nothing special but better than the rust colour lol

I've cleaned the block up and put the bearings in ready for the crank and cleaned my pistons, got them up nicely.


Hydraulic lifters in soak and some bolts for the sump

Advancable Dizzy

Clean sump

Clean Oil pipe

New head gasket set and head bolts.

Coil

Flywheel

R6 Fuel pump

And here are the carbs with the inlet on


Crank

Powder coated rocker cover

Breather for rocker cover

I couldn't resist and take some pics with the rocker cover and carbs on the head.


Quick picture of the block before I paint it tomorrow

Some more pics of painting - Not alot done but impressed after my first coat once I'd applied some more it looks OK.
Painted my pulleys and thermostat housing.


Dipstick painted

Few pictures of the block after its painted


[BREAK]
Update:
Got the van delivered last week and finally got a chance today to strip the engine out, It really needs a good clean out I think the previous owner was a Plasterer or something, Mega dirty inside but nothing I can't sort out!
Ok So here's the van....


Just removed the bonnet and most of the bits out the way before the engines out.


And.........IT'S OUT!!


Here's the nice little engine bay, I've taken some measurements and it looks to be very tight but should be do able! - Only thing that concerns me is I think the alternator is going to interfere with the servo and resovoir.
Before Jet wash.

After Jet wash.

Nice and clean
That's all I've really done for now, Time is very limited as I'm busy working but should be able to finish off building my engine in the next few weeks and hopefully crack on before xmas with this.
Small update.
Had another spare day this weekend so had a go at lining the engine up, Just a couple of pics showing some clearance issues. I removed the insides to make it lighter so its easier to handle and used a bare block just for mounting points.
I need to strengthen the chassic legs up both sides and make some mounts up. Everything is very close but should be OK


The head has to be this far forward to allow for carb clearance.


The engine position was very low here, This isn't were its going to be mounted its about 2 inches higher picture was just for test.
The subframe is going to be cut and moved forward to allow room for the exhaust manifold.

This is what the inside of the van looked like before I Cleaned it.

After a wipe down and a bit of a scrub. The seats are pretty much wrecked the picture doesn't look like much but its a damn site better than it was before.

Once the mounts are all made and in, the engine will be put together as its sitting in bits in the unit at work as there's no point putting it all together yet as I don't want to damage it in transit to were the van is at home. The gear linkage might be an issue but I'll figure that out when I come to it. Alternator and radiator will need to be repositioned. I think it should go well!
I'm going to be using a Citroen Saxo Power steering pump and re position the alternator to the front of the block.
[BREAK]
Another UPDATE:
The block and gearbox I was using to get my positions are all lined up and have the mounts welded in place now so the engine is mounted! Woo hoo! I will take some pictures at the weekend when I Get chance. I'm also using the digi-dash from the old astra gte in the van which will look super old skool.
Comments welcome!
[BREAK
I'll show you how I've done the digidash it looks good! I'm impressed.

Paper cut out to make template

test with out indicators and lights showing


I've half covered this one with black pen to darken it but the pen ran out haha. This is just a prototype but putting it behind the kangoo dash it looks very funky!

[BREAK]
I've cut out all the excess metal that I don't need and have painted my engine block but removed all the paint as it looked crap so here's a couple of pics, sorry for the slow progress.
I sprayed the dashboard black as it was all dirty and horrible and also painted the whole inside of the floor black just to make it match.


dash back in the van all done.


waiting for a new boss for my new steering wheel.

here are some of the mountings i've made for the engine.

will be using this mount for the gearbox side.

testing a different set of rims on the beast

and finally a test mock up with the bottom end gear box, head and carbs!


here's my other gearbox i'm going to be using, the f16 all painted up looking fresh!

Once I was happy with the engine position I removed it all again and started to key / filler / primer the engine bay.
my filler work isn't the best but its good enough for me.


Thats all I've got to so far but hopefully will get some more updates soon.
[BREAK]
Got all my rebuild bits today for my engine so the building will commence on my freshly build c20xe engine
engine bay is all painted up and ready to accept the engine, Waiting for power steering connectors and new brake pipes for me to bend and look pretty
Coming along nicely now!
Painted all me bits to make them look better.
Power steering pump electric.

Rack painted

I polished the wing up just to give it some life as it's gathered quiet a lot of dust!

Engine bay painted.


OK I received my big box of goodies for the engine rebuild this week so once the block is back from my local engineering place I shall be getting it all built up and together.

UPDATE!!
update on the kangoo
Got it all built this weekend and got some ramp time to have a good look under the van and clean any bits of rust I can see.
Here's the engine with painted sump

Van on the ramp


painted master cylinder

Pic of the custom mounts I made


The vauxhall gear selector I have made to fit

Heres the build nearly finished, It's a completely rebuild new engine bar the pistons and block which I had honed


Head all cleaned up

Head on engine and torqued down


Still waiting on some little bits before cambelt can go on then its ready to be fitted!
All ready to go.
Couple of pics of engine complete before fitting on saturday


Enjoy
***UPDATE***
Ok so today I had a morning free so decided it was time for the engine to meet the bay!
I had to make some brake pipes up and put the unions on before filling the engine bay with the lump so once done I cracked on with putting the flywheel and clutch on then bolted the box on and got the engine crane out to lift it all in. Engine went in OK but at this point I realised how much work was involved in this conversion! Once the engine and box went in I had to take it straight out scratching the paint work on both the box / engine and the chassis! After a bit of head scratching I got the grinder out and had to remove some chassis leg!
Here's the N/S leg

and the O/S leg

OK so the engine now fits fine but need to plate the chassic leg off and strengthen it!


This side fits, but still need to remove more leg to allow for the single v pulley to fit for the alternator!


some pics from above!!


I had to make a custom Gearbox mount and this is what it looks like.

Once the engine was in i realised the exhaust needed modifying but cant do that yet as I need to heat it up and bend it and add some flexi to pass through the steering rack and modified bar I added for the rear engine mount.
This is what it looks like


And the last few shots before I went home after calling it a day!


I'm happy with how it looks but there is still plenty of work to do before its finished!
Quick update
Had to cut quiet a considerable amount away from the O/S chassis leg which Is quiet worrying but I'm going to be strengthening the whole bay with some steel tubing and strut braces as I can't see it lasting all that long like that. Here are some pics of the plated off bits anyway and engine back in.
O/S cut out and plated


N/S cut out and plated


Still close but will be fine now.

Re shaped my O/S mount as it was abit boring lol

Here's the O/S with engine and pulley on, It clears now but I need to strengthen it up more. Anyone got any ideas of how I could strengthen the legs up more?


Enjoy
Last edited by a moderator:

