There is more to life with TurboRenault.co.uk

Register a free account today to become a member! Once signed in, you'll be able to participate on this site by adding your own topics and posts, as well as connect with other members through your own private inbox!

5 GT Turbo Another Red Renault 5 GT Turbo On It's Way Back To The Road

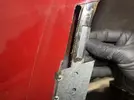
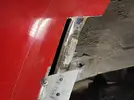
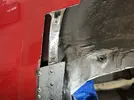
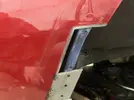
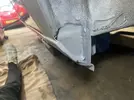
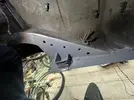
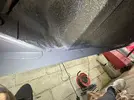
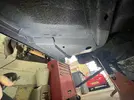
Forgot, I also did this bit
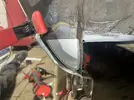
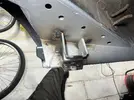
IMG_4753.webp
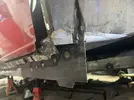
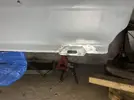
IMG_4757.webp
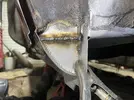
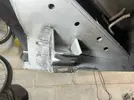
IMG_4769.webp
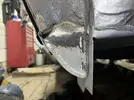
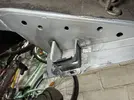
IMG_4772.webp

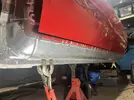
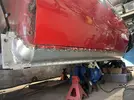
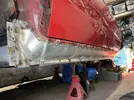
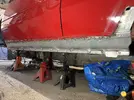
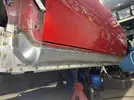
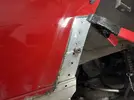
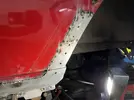
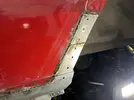
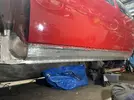
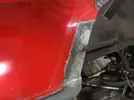
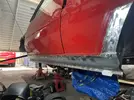
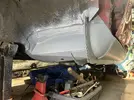
More prep work to the outer sill and primed.
IMG_4910.webp
Inner sill primed
IMG_4913.webp
IMG_4914.webp

Almost forgot the indent.
IMG_4931.webp

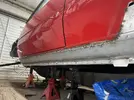
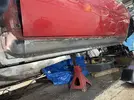
Outer sill tacked on
IMG_4935.webp

Slowly but surely filling in.
IMG_4972.webp
IMG_4978.webp
IMG_4980.webp

Almost there.
IMG_4990.webp
IMG_4992.webp

I decided it'd be wise to get this section in before fully welding the section below.
IMG_5006.webp
IMG_5007.webp
IMG_5012.webp
IMG_5014.webp
IMG_5017.webp
IMG_5022.webp
IMG_5028.webp
IMG_5029.webp
IMG_5030.webp

Started cleaning the welds up
IMG_5104.webp
IMG_5063.webp
IMG_5068.webp
IMG_5074.webp

Small section above the sill
IMG_5095.webp
IMG_5097.webp
IMG_5102.webp

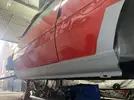
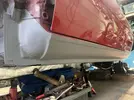
Welds cleaned up
IMG_5109.webp
IMG_5104.webp

Primed
IMG_5144.webp
 
Rear jacking point looked ropey but cleaned up absolutely fine.

IMG_5116.webp
IMG_5119.webp
IMG_5121.webp

Then I used my wood to prop the jacking point up.
IMG_5204.webp
IMG_5206.webp
IMG_5207.webp
IMG_5209.webp

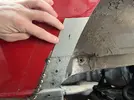
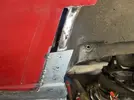
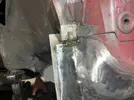
Then finished off the inner sill tab. I bought some small carbide burrs for the dremel and they're awesome for stiff like this slot. They remove material frighteningly fast though.
IMG_5210.webp

Cleaned up the welds.
IMG_5215.webp
IMG_5216.webp

Then gave everything a lick of primer
IMG_5225.webp
IMG_5228.webp
IMG_5227.webp
IMG_5230.webp
IMG_5233.webp
IMG_5221.webp
IMG_5224.webp
IMG_5222.webp

Aaaaand that's me up to date.
Cheers :drinks.gif:
 
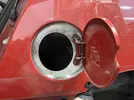
Now the sills are on, I decided it was time to tackle the area that has been on my mind from the start, the fuel flap. I'm unsure exactly why this area was worrying me, it doesn't even look that bad. Maybe it was because it was an awkward shape, or that it was so on-show, I'm not sure. Regardless, it was time to put on my big boy pants and get on!

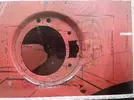
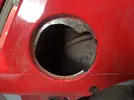
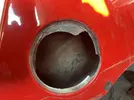
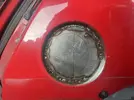
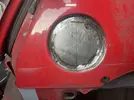
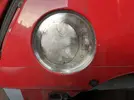
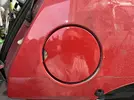
Here's the offending section.
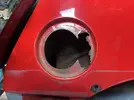
IMG_5132.webp

Going back a few months now, after deliberating for waaay too long, I decided it was impractical/beyond my capability to repair (foreshadow). I therefore looked to buy a section from another car. After asking around, it seemed like £50 was the going rate. Being such a small section that I wanted to take from the panel (and that I don't like parting with money), This just wouldn't do. I've always done stuff myself and hate having to pay money out or ask for help. I'll just figure out how to repair it (foreshadow). At the last minute, I found a guy who was willing to part with one for £35. Bargain i thought! (foreshadow) I paid the man via Paypal family & friends (foreshadow)......I'm sure you can guess where this is going. I waited for it to arrive.......and waited......and waited! After a bit of back and forth, it was clear the part wasn't coming.
(For the record, I do actually believe the guy was genuine. He sent me photos and proof of postage. It's just that royal mail are shocking.)

Regardless, the moral of my story is - If you want something doing, do it yourself!!


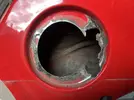
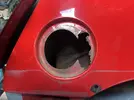
After a bit of paint/rust removal, this is what I'm faced with.
IMG_5134.webp

As I didn't have enough of the original shape to work with, I needed to make a template. Nabbing a photo of an in-tact section from @Chris74# thread (thanks Chris, I hope you don't mind), I imported it in to Solidworks. I took a reference measurement from what was left of my panel and scaled the picture to suit. I then sketched around the shapes and dimensioned everything. I also used the hole centres on my fuel flap hinge to double check the scale.
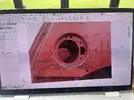
IMG_5178.webp
IMG_5177.webp

Drop that on a drawing and save off as a DXF.
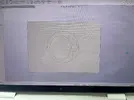
IMG_5182.webp

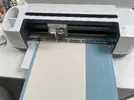
Imported the DXF in to Cricut design space.
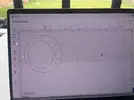
IMG_5185.webp

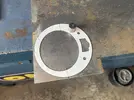
Card template cut on the Cricut.
IMG_5186.webp

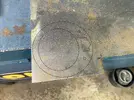
I then decided I needed an orientation reference mark. The Cricut has the facility to draw too, so it was pretty easy to add the required marks.
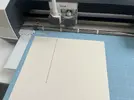
IMG_5189.webp

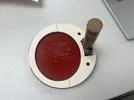
Test fit on the flap looks good.
IMG_5190.webp

Test fit on the panel and align with what's left of the cutouts.
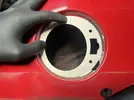
IMG_5247.webp

Mark the reference lines and around the outside.
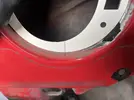
IMG_5248.webp
IMG_5250.webp

Cut and remove the outer skin.
IMG_5252.webp

Mark and cut out the repair section
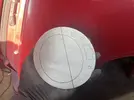
IMG_5253.webp
IMG_5254.webp
IMG_5256.webp
Test fit in place.
IMG_5257.webp


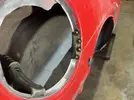
Now to deal with the section that comes up the side wall.
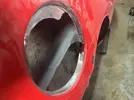
IMG_5260.webp
IMG_5273.webp
IMG_5278.webp
IMG_5276.webp
IMG_5277.webp

I've left the tab long to be trimmed off afterwards.
IMG_5282.webp
IMG_5290.webp
IMG_5298.webp

Tacked in place
IMG_5303.webp
IMG_5306.webp
IMG_5311.webp

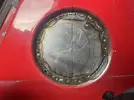
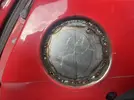
I then built the weld up to add enough material to create the radius at the bottom of the small repair section I added earlier.
IMG_5314.webp
IMG_5315.webp

First grind back
IMG_5318.webp

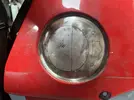
A few rounds of weld, grind, weld, grind.
IMG_5332.webp
IMG_5336.webp

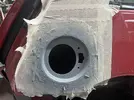
Chain drilled and slit the holes out.
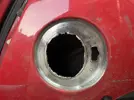
IMG_5337.webp

Cleaned up with a combination of dremel, band file and hand files.
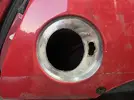
IMG_5338.webp

IMG_5366.webp
IMG_5367.webp

Lick of primer on the outside and hydrate on the back side.
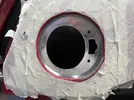
IMG_5368.webp
IMG_5372.webp

The back side aint gonna win any beauty contests. But how many of our backsides are? lol
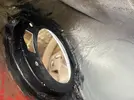
IMG_5449.webp

A quick before and after
IMG_5132.webp
IMG_5379.webp

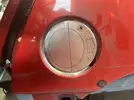
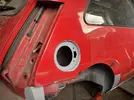
And she's done!
IMG_5451.webp

Sorry for the LONG post! hopefully you found it interesting or potentially useful. It was a long winded, fiddly approach that might well fall off the first time I go over a bump. But I'm glad I did it and it certainly isn't any worse than if I'd have put a patch in from another car.

In summary, fuck 'em, do it yourself 💪
 
Awesome job on the Solidworks sketch idea🫡
Although I am wondering why you didn't trim the inside hole first before welding the part? Did you worry about the warping?
 
Like a pro, I found digesting that very therapeutic and your showing off with Solidworks but love the use of the another pic.....smart git 🤓

That £35 would trouble me for many hours also 😵‍💫

So true with want something doing.......do it yourself, only yourself to blame and not donated cash.
 
Awesome job on the Solidworks sketch idea🫡
Although I am wondering why you didn't trim the inside hole first before welding the part? Did you worry about the warping?
Thanks mate. 👍🏻
Exactly that. I figured it just made more sense to leave it in. I think it would have been a nightmare trying to control that thin section, supporting it, controlling the heat, grinding etc. Even holding it whilst removing the hole on the bench could have been tricky. The only potential downside I could see doing it the way I did was the risk of me cocking it up at the last minute! 🤣. Luckily it turned out ok. 👍🏻
 
You absolute fecking hero!
That's beautiful, really impressed!


But that £35 would keep me awake at night.....
Cheers mate. 👍🏻
Once finished, I did sit back and feel a nice sense of satisfaction….only to be swiftly interrupted by a small panic attack whilst I quickly checked I’d put the hinge on the right side! 🤣

The £35….hmmm….me too.
 
Like a pro, I found digesting that very therapeutic and your showing off with Solidworks but love the use of the another pic.....smart git 🤓

That £35 would trouble me for many hours also 😵‍💫

So true with want something doing.......do it yourself, only yourself to blame and not donated cash.
Ahhh I’m glad you enjoyed reading. Cheers mate. 👍🏻

The solidworks sketch pic tool is something I’ve made use of a few times now and it’s got tons of potential. It’s surprising how accurate you can get something. It’s useful when reverse engineering parts you can’t measure easily, or that aren’t that critical.

Yeah the £35 is bugging me. I keep telling myself that I’ve made a better job of it than I would have with the donor part. Self-soothing, but also quite possible.

You’re right regarding only having yourself to blame.
 
Back
Top