Ron
Member
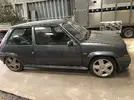
I'm a long time lurker on the forum, after having a couple of 5 GTT in the past and more recently a clio 172 and now a 200. I sold my Tungsten GTT to @50 shades of tungy several years ago on a gentleman's agreement that if he was to move it on I would get first refusal! Luckily he is a fine fellow and I have a another project! I originally got into them due to @Haz. He had one when we were at college. Many great and not so great moments spent in his passenger seat! This car was my daily for quite a number of years and it was always reliable.
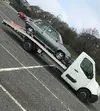
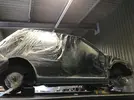
A transporter was booked and a long drive up north to pick up the old girl. Unfortunately it wouldn't start due to a suspected seized fuel pump so Robin and me gave it a push onto the transporter. On arrival home I swapped out the pump and it fired straight away!
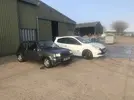
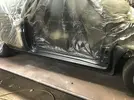
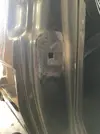
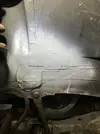
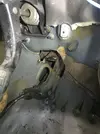
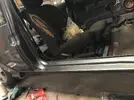
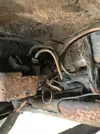
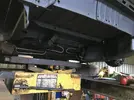
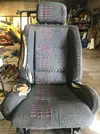
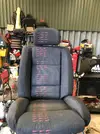
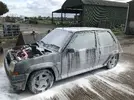
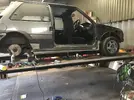
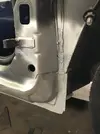
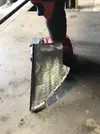
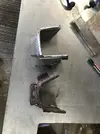
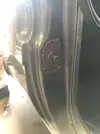
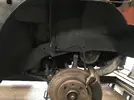
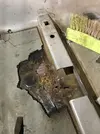
Back home and its amazing how big small cars are these days in comparison! Overall the body needs some work It isn't a basket case by any means. Short term plan is to make it sound underneath replace all the serviceable items and get an MOT. I want to get some enjoyment from it before I carry out a major rebuild. I fully stripped out the interior to check the condition of the floor. Passenger side is ok. I replaced the outer sill on this when I owned it before. The drivers side required a jacking point, inner/outer sill, repair in chassis rail under the seat rail and several parts of the front arch. Ill let the pictures do the talking!
![IMG_0699[1].webp IMG_0699[1].webp](https://turborenault.co.uk/data/attachments/144/144125-662755f755e7405b78368d7362b12757.jpg?hash=oa933jXc6N)
Front wing and door removed.
![IMG_0693[1].webp IMG_0693[1].webp](https://turborenault.co.uk/data/attachments/144/144126-0650cbbbaebfb93f60b719e8cab5f8ef.jpg?hash=tqdZyfdyFE)
![IMG_0695[1].webp IMG_0695[1].webp](https://turborenault.co.uk/data/attachments/144/144127-2ee0a050117bcd5313b6484a33d66a74.jpg?hash=07owSFUQ8Y)
![IMG_0700[1].webp IMG_0700[1].webp](https://turborenault.co.uk/data/attachments/144/144128-abd173380eea65fc4713977adaaece0f.jpg?hash=QTQm-wwfNo)
![IMG_0703[1].webp IMG_0703[1].webp](https://turborenault.co.uk/data/attachments/144/144129-f26e2c06b0f44f5d8b6f2ece02f9ae1b.jpg?hash=w8VpOxogHC)
![IMG_0711[1].webp IMG_0711[1].webp](https://turborenault.co.uk/data/attachments/144/144130-da254e74cd5d0e8cfd9397b2854a222a.jpg?hash=z6gBLVOx0w)
Its fairly nice working on something that hasn't been welded in the past. My other project a Classic mini can be a nightmare sorting out previous repairs/Bodges! I have a load more pictures to add! I hope it is of interest
![IMG_0715[1].webp IMG_0715[1].webp](https://turborenault.co.uk/data/attachments/144/144131-a81fde41b6f6aa24ce86c989f9ad2058.jpg?hash=4QMpUAClis)

A transporter was booked and a long drive up north to pick up the old girl. Unfortunately it wouldn't start due to a suspected seized fuel pump so Robin and me gave it a push onto the transporter. On arrival home I swapped out the pump and it fired straight away!

Back home and its amazing how big small cars are these days in comparison! Overall the body needs some work It isn't a basket case by any means. Short term plan is to make it sound underneath replace all the serviceable items and get an MOT. I want to get some enjoyment from it before I carry out a major rebuild. I fully stripped out the interior to check the condition of the floor. Passenger side is ok. I replaced the outer sill on this when I owned it before. The drivers side required a jacking point, inner/outer sill, repair in chassis rail under the seat rail and several parts of the front arch. Ill let the pictures do the talking!
![IMG_0699[1].webp IMG_0699[1].webp](https://turborenault.co.uk/data/attachments/144/144125-662755f755e7405b78368d7362b12757.jpg?hash=oa933jXc6N)
Front wing and door removed.
![IMG_0693[1].webp IMG_0693[1].webp](https://turborenault.co.uk/data/attachments/144/144126-0650cbbbaebfb93f60b719e8cab5f8ef.jpg?hash=tqdZyfdyFE)
![IMG_0695[1].webp IMG_0695[1].webp](https://turborenault.co.uk/data/attachments/144/144127-2ee0a050117bcd5313b6484a33d66a74.jpg?hash=07owSFUQ8Y)
![IMG_0700[1].webp IMG_0700[1].webp](https://turborenault.co.uk/data/attachments/144/144128-abd173380eea65fc4713977adaaece0f.jpg?hash=QTQm-wwfNo)
![IMG_0703[1].webp IMG_0703[1].webp](https://turborenault.co.uk/data/attachments/144/144129-f26e2c06b0f44f5d8b6f2ece02f9ae1b.jpg?hash=w8VpOxogHC)
![IMG_0711[1].webp IMG_0711[1].webp](https://turborenault.co.uk/data/attachments/144/144130-da254e74cd5d0e8cfd9397b2854a222a.jpg?hash=z6gBLVOx0w)
Its fairly nice working on something that hasn't been welded in the past. My other project a Classic mini can be a nightmare sorting out previous repairs/Bodges! I have a load more pictures to add! I hope it is of interest
![IMG_0715[1].webp IMG_0715[1].webp](https://turborenault.co.uk/data/attachments/144/144131-a81fde41b6f6aa24ce86c989f9ad2058.jpg?hash=4QMpUAClis)

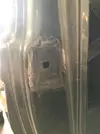
![IMG_0886[1].webp IMG_0886[1].webp](https://turborenault.co.uk/data/attachments/144/144154-48f44ad5f51b4539cee249108f350012.jpg?hash=r_IlySGnEZ)
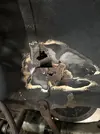
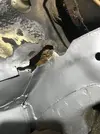
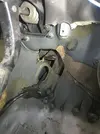

![IMG_0841[1].webp IMG_0841[1].webp](https://turborenault.co.uk/data/attachments/144/144155-a57b3af698e77e80f81b9780f73801f2.jpg?hash=3P8lzWhBMZ)
