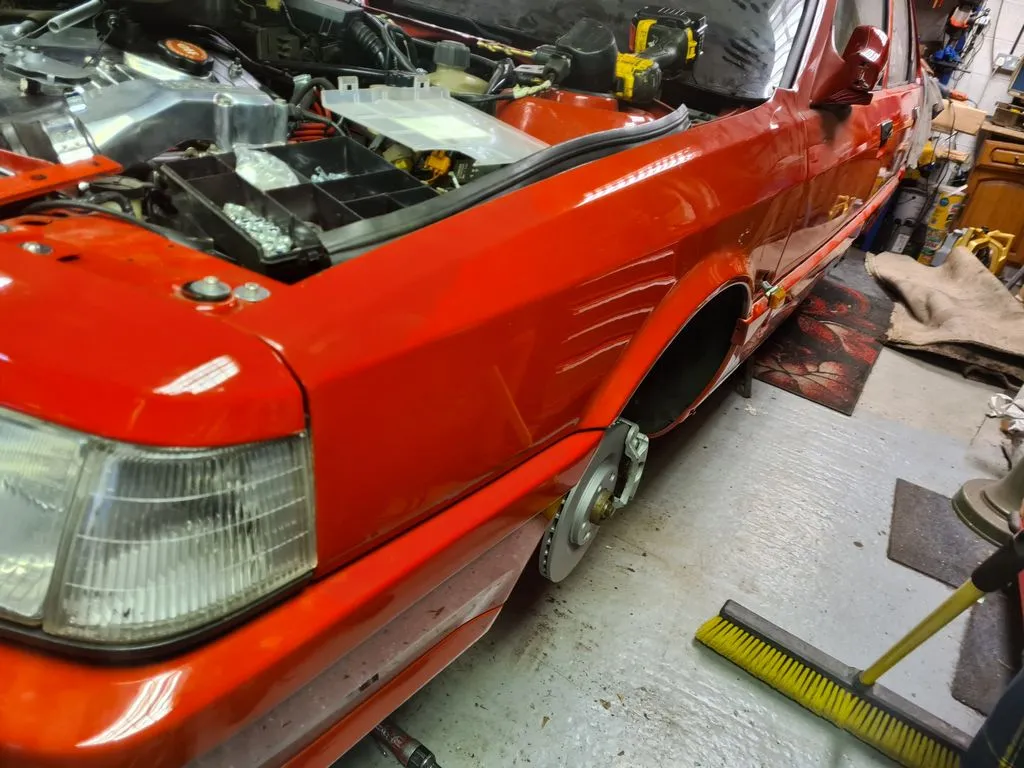
Sourced some new front discs & fitted them, wasnt happy with used ones. Then made & soldered in some little patch looms for the headlights, for some reason the blocks that adapt in to the headlight bulb connector to run the main cells were missing.
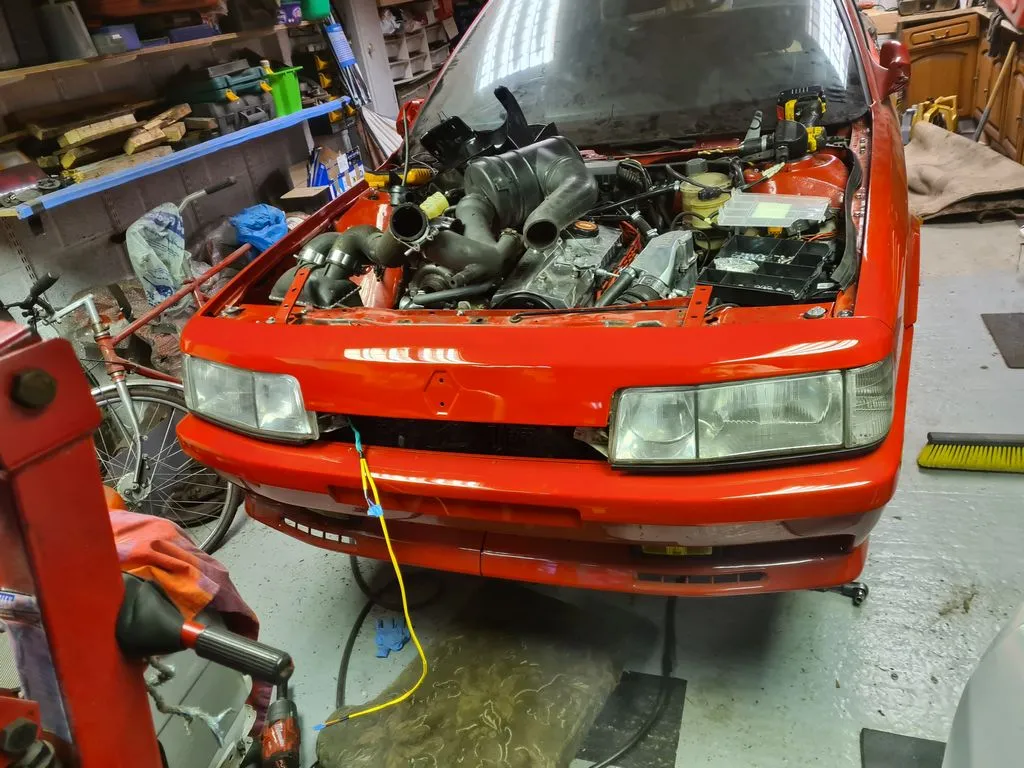
I got the front arch liners in place and fitted up the front wings. I had to take the whole damn front drivers door off to adjust the hangers to stop the door trim catching the wing as it opened! Pain in the arse but got there eventually. Then headlights, nosecone and bumper (for which I had to take the intercooler and airbox out grumble grumble), though the nose will come back off for fan & fog wiring and some new trim around the headlights if I can find the right profile. However, its looking much more like a car!
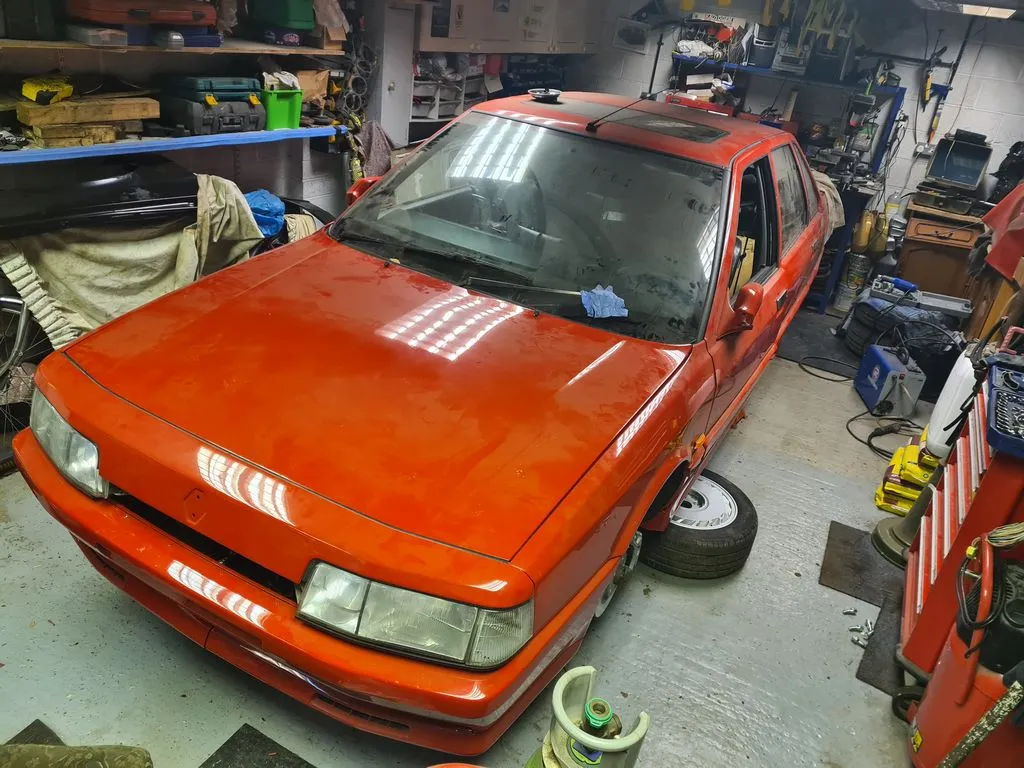
Dragged this thing out of the garage so I could get moving on it again, its been a while…too long! I’ve got a fair bit of cashflow tied up in it now so I need to get it done and gone.
Managed to get the sideskirts sorted, the clips aren’t available any more but I found some that were close. I had to drill the holes in the sill out a little tiny bit, protect the holes, knock the clips in, and then mod the brackets on the sideskirts to make them a little bit wider - once that was done and they were painted too it all slotted into place! Even better the new style clips are plentiful and readily available on eBay.
Despite the entire handbrake system being new and the calipers rebuilt as you saw earlier in the thread, the handbrake wasnt working. I traced the issue to the OSR caliper, the lever was just moving and not binding the brake on. Tried to fiddle with it in place but ended up taking the whole thing off and stripped the caliper down…again.
Couldnt find anything wrong, so reassembled and refitted and this time set the piston as close as I could to the pad/disc (no free play). Then put the handbrake on first, and then bled and hit the foot brake. This worked, and the handbrake is now sweet
Then I fitted the new fan switch and made a whole new fan loom with a beefy fuse and 80amp relay, the terminals are massive! I used the 80 as its one relay for both fans.
And also remaking the brackets which had done a fairly good job of disintigrating, I did triangulate the corners to reinforce, pics later when I paint them.
Refitted with new spire clips - these will have to come off again though as I spotted a few crusty bits under the wheel arch I want to deal with before final fitting.
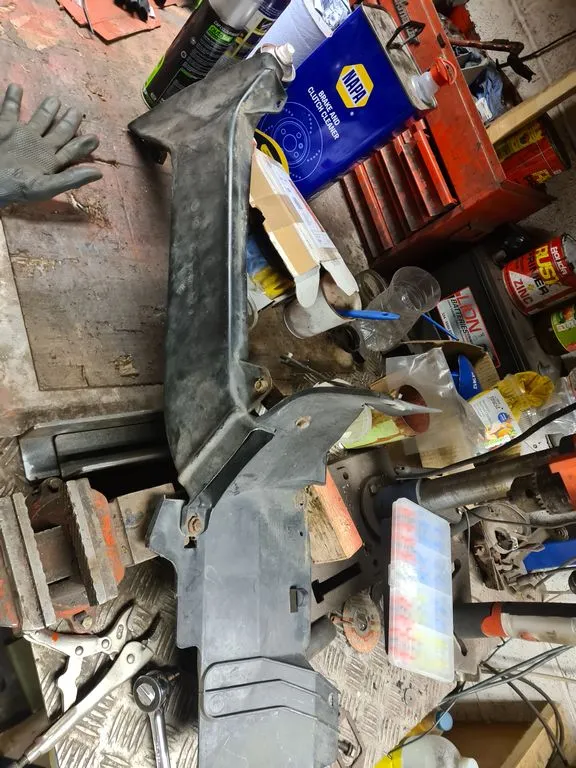
This is the vent exit into the wheel arch, you can just see on the back left of the pic a scoop shaped deflector panel on the wishbone that guides the air from the duct into the wheel dish to cool the brakes a bit.
Not many cars have these left on, the fittings get mashed when they sieze up and people just didnt bother refitting. Hopefully with the stainless fastners and living in a garage from now on, this wont be a problem going forward!
I’m doing a 100km charity bike ride in June, for Alzheimers research UK. Its a work arranged event and my company will cash match the amount we raise (doubling it up). If you would like to sponsor my suffering, you can donate here: https://www.justgiving.com/page/cadbury200years
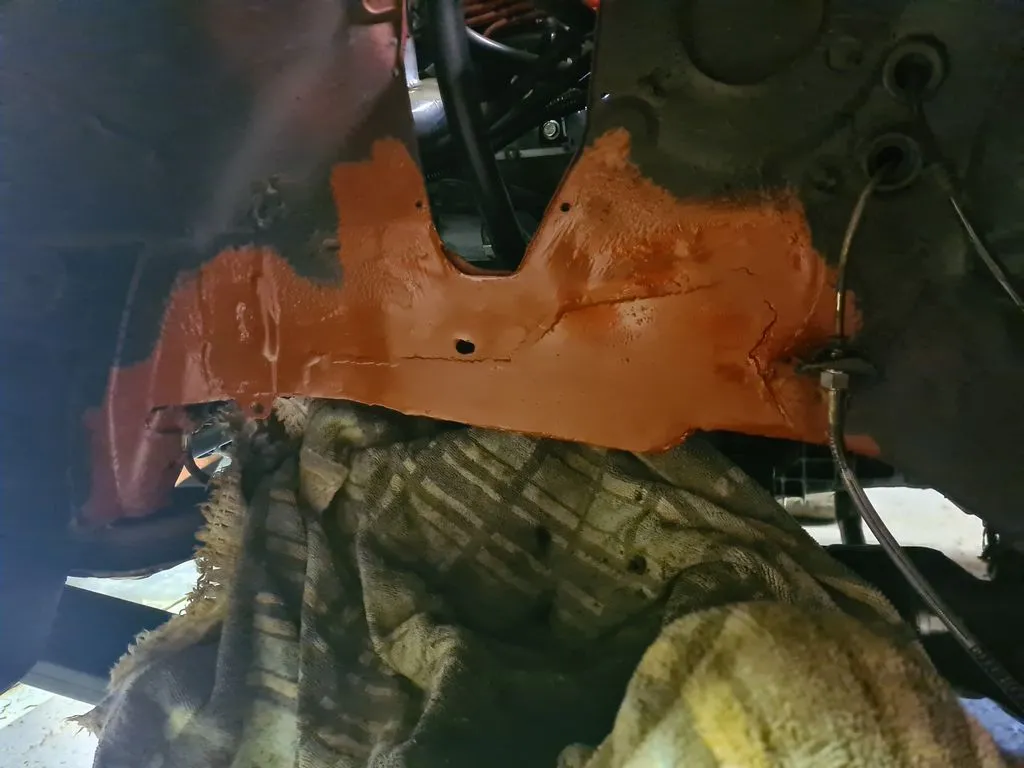
Oh, looks like I missed the inner arch repairs, so the above wont make much sense! This is what I discovered under the inner front arches, behind a fairly poor attempt at covering it with underseal lol