JR
Old enough to know better
19 16v shabby
Found Retro Renault after doing some bits and peices already so it is a rolling project
Leaky soft top in winter
drips on your leg from above front passenger seat where roof frame joins top right corner by windscreen. Fixed using a 2mm thick section of rubber
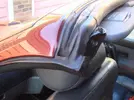
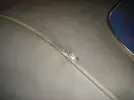
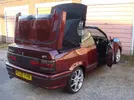
The lining is held in place by a row of screws through a metal strip which also holds the outer fabric to the frame.
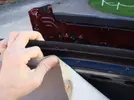
Some of the lining held in place by the glue on the cross-bars.
On the middle bar it was riveted in to the edge on both sides to guide the tensioning straps ... i cut around these.
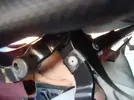
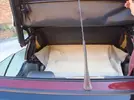
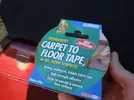
i used carpet tape (no setting time!) to secure the liner to the 3 cross bars of the frame.
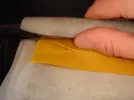
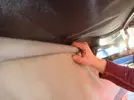
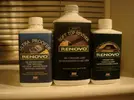
Now the leaks and lining are done the fabric could use some cleaning colouring and weather-proofing (could've used this before winter really) I found the Renovo range to be very good.

[break=painting plastic]
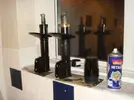
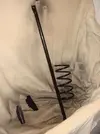
i painted the various bits of plastic to smart it up, also the new struts/springs to go on with the nearly new mounts
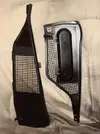
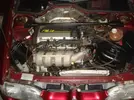
proper colour coded wing mirrors
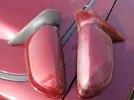
Easy enough to take off.
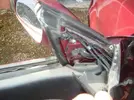
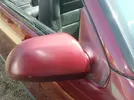
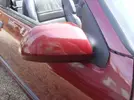
Much better.
[BREAK=back brakes]
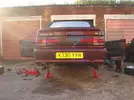
replaced the discs, bearings and pads.
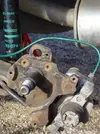
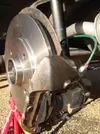
was made harder because i had hit a curb (HARD!) and the bearing was jammed on the axle, it came off bit by bit.
The quest for Original Condition;
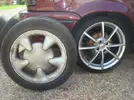
Original 16v Speedline Alloys, filthy but not too curbed
Got an original gearknob;
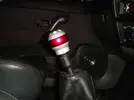
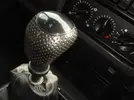
11/06/2009 Additions (rubbish pics from a phase 1 Motorola Razor)
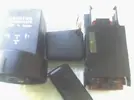
Got some missing parts
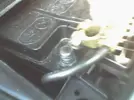
So firstly off with the neg terminal on the battery
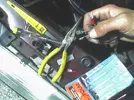
The clips had corroded, reduced to lumps of turquiose dust;
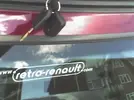
now i don't have to fumble with the keys in the dark
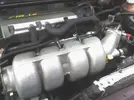
While i was in a creative mood i took a wire brush to the inlet manifold and 5 mins paid off
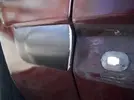
sprayed the door trims and handles.
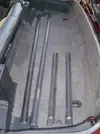
put 3 coats of matt black paint on (a two section boot, the roof stow)
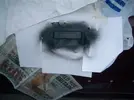
[BREAK riveshafts]
So having left my car almost on the spot where the CV joint fell apart...
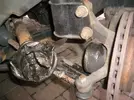
...there was the task of finding a new offside driveshaft. Bidderman1969 posted saying he might have one going spare.
So i paid him and his missus a visit last friday after work and very pleasant it was too. Off to Renault for roll pins
The location for fitting was not ideal as it is right outside a supermarket (at 8am on Sunday)
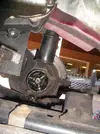
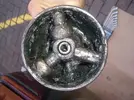
i got the remaining d/s bits off.
Used a 5mm drill bit as i don't have a punch then the stub axle and it was clear where the failure had occured.
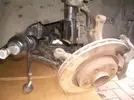
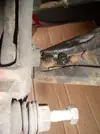
the burst gaiter on the CV had sprayed grease all over the inside of the disc
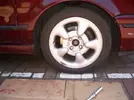
job done! With a test drive it became clear that it had been the source of most of the unpleasant cornering for sometime
[BREAK=Headliner]
headliner refurb.
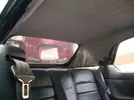
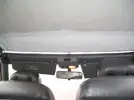
The 1st coat is a big improvement.
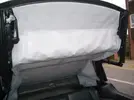
most expensive trainer whitener i could find
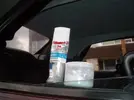
15.07.2009 Second coat
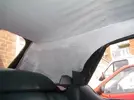
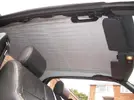
3rd to follow...
Found Retro Renault after doing some bits and peices already so it is a rolling project
Leaky soft top in winter
drips on your leg from above front passenger seat where roof frame joins top right corner by windscreen. Fixed using a 2mm thick section of rubber


The lining is held in place by a row of screws through a metal strip which also holds the outer fabric to the frame.

Some of the lining held in place by the glue on the cross-bars.
On the middle bar it was riveted in to the edge on both sides to guide the tensioning straps ... i cut around these.


i used carpet tape (no setting time!) to secure the liner to the 3 cross bars of the frame.


Now the leaks and lining are done the fabric could use some cleaning colouring and weather-proofing (could've used this before winter really) I found the Renovo range to be very good.


[break=painting plastic]
i painted the various bits of plastic to smart it up, also the new struts/springs to go on with the nearly new mounts


proper colour coded wing mirrors

Easy enough to take off.


Much better.
[BREAK=back brakes]

replaced the discs, bearings and pads.


was made harder because i had hit a curb (HARD!) and the bearing was jammed on the axle, it came off bit by bit.
The quest for Original Condition;
Original 16v Speedline Alloys, filthy but not too curbed

Got an original gearknob;


11/06/2009 Additions (rubbish pics from a phase 1 Motorola Razor)
Got some missing parts

So firstly off with the neg terminal on the battery

The clips had corroded, reduced to lumps of turquiose dust;

now i don't have to fumble with the keys in the dark


While i was in a creative mood i took a wire brush to the inlet manifold and 5 mins paid off

sprayed the door trims and handles.

put 3 coats of matt black paint on (a two section boot, the roof stow)


[BREAK
So having left my car almost on the spot where the CV joint fell apart...

...there was the task of finding a new offside driveshaft. Bidderman1969 posted saying he might have one going spare.
So i paid him and his missus a visit last friday after work and very pleasant it was too. Off to Renault for roll pins
The location for fitting was not ideal as it is right outside a supermarket (at 8am on Sunday)


i got the remaining d/s bits off.
Used a 5mm drill bit as i don't have a punch


the burst gaiter on the CV had sprayed grease all over the inside of the disc

job done! With a test drive it became clear that it had been the source of most of the unpleasant cornering for sometime
[BREAK=Headliner]
headliner refurb.


The 1st coat is a big improvement.

most expensive trainer whitener i could find

15.07.2009 Second coat


3rd to follow...
Last edited by a moderator:

