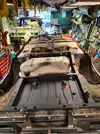
There is more to life with TurboRenault.co.uk

Register a free account today to become a member! Once signed in, you'll be able to participate on this site by adding your own topics and posts, as well as connect with other members through your own private inbox!

9 turbo Phase 1 9 Turbo

Great work @DaveL485 sir!! That looked proper grotbags 🧙‍♀️ when you removed the old sill, but with the work you’ve done, it looks excellent!!!

This and my Silver 11 will look a great pair when done..!!
 
is this going to be done before the 21?
Yeah, I need so many big ticket items for the 21 I decided to pause it for a bit and throw all the bits I have stashed up at the 9 and get it back on the road "Adey style"* this year. The only spends I can think of outside of consumables for it I need are things like balljoints, refurbed calipers, front shock topmounts and small items like that. Having the 9 running and driving will also make garage organisation way easier.


*Looks like shit, but somehow is still cool
 
Do It GIF
 
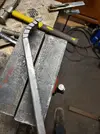
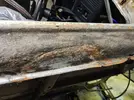
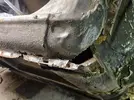
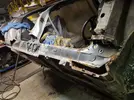
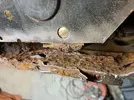
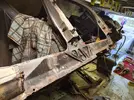
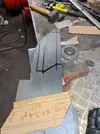
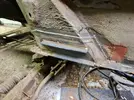
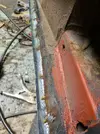
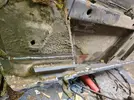
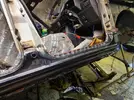
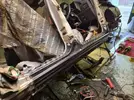
And BH Monday I did half a day on the OS sill and started cleaning up/patching the rotted out shite

x20210402_172646_RS.webp

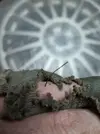
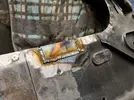
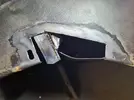
Evidence of an old get-it-past-the-mot-repair by yours truly, from well over 15 years ago

x20210402_172649_RS.webp

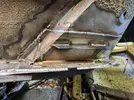
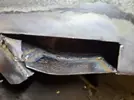
This side is worse at the front

x20210402_172657_RS.webp

x20210402_181446_RS.webp

x20210402_181453_RS.webp

x20210402_181458_RS.webp

Fucking OW, knotted grinder wheels are savage!

x20210405_160127_RS.webp
 
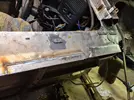
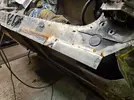
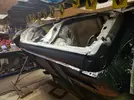
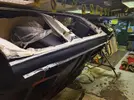
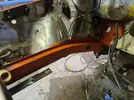
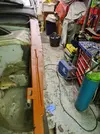
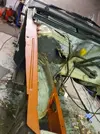
As promised, managed to get both sills and jack points rebuilt, put some seam sealer on the joints and left to dry.

OSF jack point - did this in less pieces than the other side this time.

x20210410_164531_RS.webp


x20210410_164535_RS.webp

x20210410_164521_RS.webp


x20210410_172720_RS.webp

x20210410_172725_RS.webp

Sill prep

x20210410_174147_RS.webp

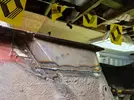
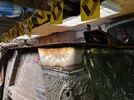
And fitted - this one was a lot harder, the fit wasn't anywhere near as good tbh, took quite a bit of messing about to get it anywhere near! You can see the misaligned lip at the bottom of the front door aperture.

x20210410_201243_RS.webp

x20210410_201255_RS.webp

x20210411_135111_RS.webp

x20210411_135107_RS.webp
 
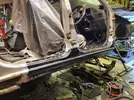
Slapped some seam sealer on, will smooth this off before I paint it. I think it had started to go off a bit in the tube, as it was a half used one. No skirts on the Phase 1 so below the ridge line of the sill is just black underseal, Silver paint above. The join of the paint/sealer is covered by a chrome sill trim. These actually rot less being open to atmosphere...less trapped moisture.
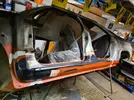
x20210411_143349_RS.jpg

x20210411_181123_RS.jpg

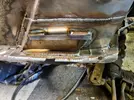
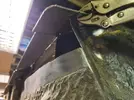
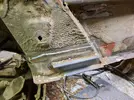
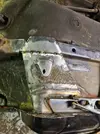
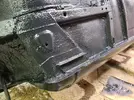
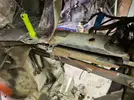
While this was drying I did three patches on the top of the OSF inner wing, where the wing bolts on. Didnt take any pictures but they were flat patches, quick and easy. Then I turned to the OSF wheel arch, has some old repairs in here that still seemed OK, but then I looked at the chassis rail in front of the wheel arch...oh dear me :( A small poke resulted in the bottom of the chassis rail falling apart so I just went in heavy with the grinder!
x20210411_164448_RS.jpg

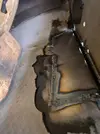
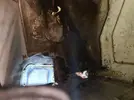
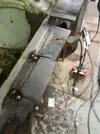
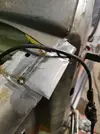
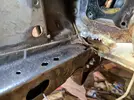
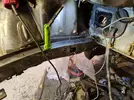
This resulted in me having to take the loom out that runs through this chassis rail and also let me to this absolute horror. The brake fluid res sits on the front of the NSF turret, spilled brake fluid from its early life has run down the arch and along the chassis rail and stripped all the protection off, and... this is right under the brake master.
x20210411_172611_RS.jpg

x20210411_172615_RS.jpg

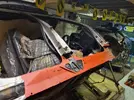
I started cutting out the rot but ran out of time. Note to self - 30 year old sound deadening catches fire REAL easy when its within a foot of the 'exhaust' stream of a plasma cutter lol. This is going to be a tough repair, complex shapes and awkward access.
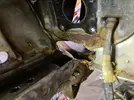
x20210411_180650_RS.jpg

Dreading this one if i'm honest.
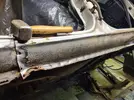
 
And BH Monday I did half a day on the OS sill and started cleaning up/patching the rotted out shite

View attachment 154782

Evidence of an old get-it-past-the-mot-repair by yours truly, from well over 15 years ago

View attachment 154783

This side is worse at the front

View attachment 154784

View attachment 154785

View attachment 154786

View attachment 154787

Fucking OW, knotted grinder wheels are savage!

View attachment 154788
Owww!! Some sterling work going on there @DaveL485 - Love the trusty lump hammer photo-bombing!! :)
 
After a VERY exhausting week off, working on a number of different things, included in there was a bit of work on the 9 :)

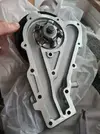
New water pump arrived, bit of a touch from autodoc special offers at £20 along with wishbones and bottom balljoints for about £26 as well!


x20210421_141130_RS.webp

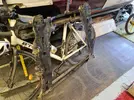
Dragged my new subframe out too


x20210426_153922_RS.webp

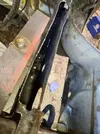
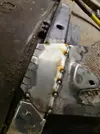
Cleaned up that chassis rail box section and started repairs

x20210426_155707_RS.webp

x20210426_163949_RS.webp

x20210426_163953_RS.webp

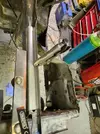
Just hanging out in the garage :P

x20210426_165148_RS.webp

Also attacked the inner edge of the drivers jack point which was a bit frayed

x20210427_181342_RS.webp


x20210427_181346_RS.webp


x20210427_182426_RS.webp
 
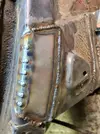
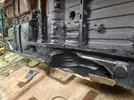
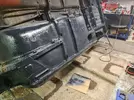
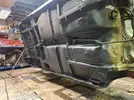
Yesterday I got about 3 hours spare so I popped out and did some underside cleanup, wire brush on a drill to shift the caked dirt, knotted wheel for any rust spots followed by BHH80, then I went to work on the drivers side floor & sill with Gravitex - pleased!

x20210503_200925_RS.webp

x20210503_200936_RS.webp

x20210503_202502_RS.webp

x20210503_202510_RS.webp

The reconstructed jacking point I am particularly chuffed with :)

x20210503_202513_RS.webp
 
I really want this on the road this year so trying to crack on. Not going to the extremes as with the 21, just what it needs, without any horrible bodgery as the car deserves better than that :)
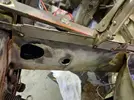
I also think I just had a touch and found a new & unused Scoff EFI C1J engine loom, which will save me a load of time making one!

@Big Steve - Raider any joy on those chassis rail looms/wishbone bolt buddy?
 
Saturday I wanted to get the majority of the welding done for the "Adey style" recomission, so I hit it full speed. I did 7 small patches on the tops of the inner wings, then found a "small" patch of surface rust on the NSF inner wing/scuttle was actually a gaping rust chasm so I set about that too. I then also tacked the hole in the bulkhead, which ended up looking rushed and i'm not too pleased about that but inside is covered by carpet and the engine side will be under a big squodge of seam sealer so....who cares :D I didnt take many pics as I wanted to keep the momentum going. Once the welding is done I need a huge garage clean so I can do some engine building stuff.

x20210508_152158_RS.webp

x20210508_152206_RS.webp

x20210508_152211_RS.webp

These bits on top of the inner wings are basically where the spire clips sit with the outer wing bolts thorugh. Half of them, when I pulled the spire clip off it pulled the chunk of wing with it LOL


x20210508_160148_RS.webp


x20210508_160151_RS.webpx20210508_162436_RS.webp
 
I managed to get the welding done Saturday and also the majority of the underside clean up and BHH80 done too before I knocked off about half 8, I was knackered! Sunday this meant (after cleaning the Grand Modus I am about to sell) I could get the Bonda primer on, then get ready to Gravitex the rest of the underside up to the bulkhead. I speed dried the Bonda with a heat gun (impatient) and then went for it - 2 more bottles of Gravitex, thats 5 in total on it so far!

x20210509_154607_RS.webp

x20210509_154633_RS.webp

Though I had a painters mask on, I was still trolleyed from the fumes, so to finish off I just cleaned up a couple of suspension bits and painted them, before retiring for the F1 and a chilled beverage.

x20210509_165039_RS.webp

x20210509_165053_RS.webp

x20210509_165058_RS.webp

x20210509_165102_RS.webp

This week I will mostly be thinking about what to do with the engine bay, how far to go on cleanup & paint etc. I also now have a mates 21 in for engine work so need to do that also!
 
Back
Top