There is more to life with TurboRenault.co.uk

Register a free account today to become a member! Once signed in, you'll be able to participate on this site by adding your own topics and posts, as well as connect with other members through your own private inbox!

9 turbo Phase 1 9 Turbo

You will need to pull the oil gallery plugs out to clean it properly after any blasting.

Noted, it's too late now it's being done so i'll pull the gallery plugs to be on the safe side.

Have a good look at the area where the liner seals sit. They are renowned for corroding/pitting causing issues sealing.

Mine are good, the liners knocked out with one tap - no corrosion or sticking. I was amazed, was expecting to have to whale on them but a sharp strike with a block of wood and a lump hammer popped them right out.

Does it make it more drivable as well?
Like chalk and cheese difference.


Any recommendations for head gasket and bottom end gasket kits chaps?
 
Headgaskets are a minefield on them at the moment. Some use elring but mixed reviews. The spesso cometic type is supposed to be good. Bottom end, use genuine Renault crank seal, and get the rubber sump end seals from wherever, both orange and black seem to work.

Use good sealant for the sump mating face.

Also whilst its in bits refurb the oil pump. Can gaurantee the rotors will be at the bottom of the tolerances.
 
I've ordered the full engine gasket set from Mespieces auto, everything else I have had from there has been decent.

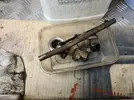
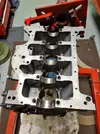
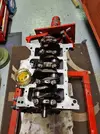
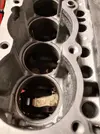
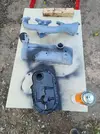
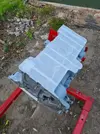
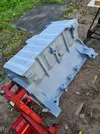
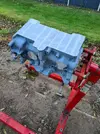
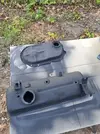
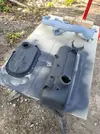
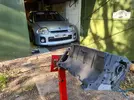
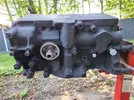
Engine has been back and sat in my living room for a couple of weeks, so last weekend I threw some paint at it. Seems in decent condition given the age, and that it was sat for 15 years (with coolant in), particularly the liner seats which are absolutely mint. Really shows how much difference it makes having the corrosion inhibitor in there.

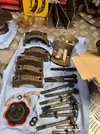
x20200912_162708_RS.webpx20200912_162711_RS.webpx20200912_162715_RS.webpx20200912_162719_RS.webpx20200912_164300_RS.webpx20200912_164302_RS.webpx20200912_164321_RS.webpx20200912_164330_RS.webp
 
Well. I went to build the engine this weekend and it didn't go well.

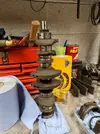
I gave the block a good cleaning out, then looked to prep the crank to go back in. It didn't need a grind, so I got out the new bearings and checked clearences. The mains put the brakes on at the first hurdle though, as the STD bearings I bought and stashed some ten years ago were actually +.25 - so useless. Looked at the big ends and they were also +.25 too, god damn it. That put a stop to the crank going in straight away.

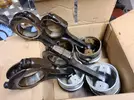
I thought i'd get ahead on the pistons and rods so I heated the old pistons/rods in front of the space heater then heated the rod further with a oxy-butane torch, pressed the pin out of the first piston and though I got the pin out it broke the piston skirt. Bit pissed as they were in good nick, but OK....I have new ones anyway. Repositioned the press support and did the second one, again a broken piston :( it seems they are in no way strong enough to take the sideways force when pressing the rods out on the skirts. I then plasma cut some holes in an old liner and used that as a piston support and got the other 2 pins out without breaking the pistons. Put that down to experience I guess.

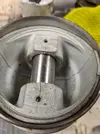
Took my new Pistons/Rings/Liners out the box - bought these a while back and stashed them away. I find this staring at me. Brand new, never fitted or used. Pins are a sliding fit in the piston so how this happened I have no idea. FFS - piston is scrap.

x20201205_161050_RS.jpg

So now i'm down to 2 original and 3 new pistons. I should have quit here....but I didn't.

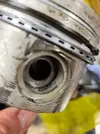
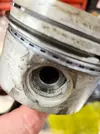
So I heat the first rod back up, drop the oiled gudgeon pin in the piston, insert rod and press it - for some reason the gudgeon pin went through the rod fine but picked up on the far side of the piston....HOW?!

x20201205_161112_RS.jpg

x20201205_161103_RS.jpg

The pin is now stiff in the piston, so thats now also goosed. I'd had it at this point and rage quit. Absolute waste of time.
 
I really wanted to get the engine built over the break..but...sigh.

I resolved the piston issue, had my local machine shop fit them... 2 new 2 old pistons with the all new rings.

I ordered new mains & big ends off the web, the big ends arrived but the mains didnt and were due, according to eBay, at the end of Jan! I went to a local engine place and ordered some instead. They came next day...great...except when I went to fit it all i'd orderded big ends not mains! What the f....
I went back and asked them to exchange them for mains, which they did (£20 more though!). Went back next day, the last working day there before xmas and they hadn't arrived. FFS! They said they would try and get them couriered direct from the DC. Amazingly, next day, they arrived! YAY. I now had mains & big ends.....

.....BUT in one final blow, the big ends I did have when fitted locked up the engine. This was confusing, until closer inspection revealed they were +0.25 oversize again!! For FUCKS SAKE. Not only now did I have two sets of oversize big ends, but the std set I need were in my hand last week and I returned them! So annoying. In the end I had to settle for doing as much clean up as I could and then fitted the crank and liners in. I will be ordering the mains....again...today.

Anyone need any oversize C1J bearings? I have plenty of the blasted things!

Cleanup
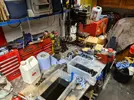
x20201219_184107_RS.webp

x20201219_184113_RS.webp

x20201219_184117_RS.webp

The piston odd mix lol

x20201219_184122_RS.webp

The offending big ends

x20201219_184125_RS.webp

x20201219_184127_RS.webp

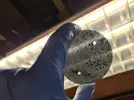
Had to remove the oil pump grille, cleaned the holes out
x20201219_184135_RS.webp

Much better

x20201219_184723_RS.webp

Stripped and cleaned the rocker shaft
x20201219_192726_RS.webp

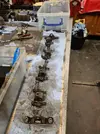
Ready to lay the crank

x20201224_160332_RS.webp

x20201224_161752_RS.webp

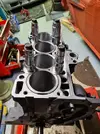
Liner seats are in fab condition

x20201224_163951_RS.webp

Liners in - good old socket tower liner clamps lol
x20201224_171411_RS.webp
 
WOW! I've never seen a set of liner seats on a C1J look so flippin clean! That's like brand new!!

I hope she doesn't snatch failure from the jaws of win anymore on you during this re-build!!?
 
That block is so clean , back in the day we Used to build A few for the gt turbo cup and got a contact at radboure racing 50% discount of list so had the three sizes of shells on the shelf A long with all gaskets etc bloody handy when I ran one myself,
Top stuff.
 
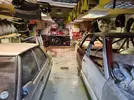
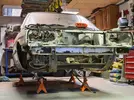
I've decided to take a sabbatical from the 21 for a bit while I wait for some things to happen, so I put it in the corner and dragged the 9 to the work area to go on the rotisserie

x20210314_144251_RS.webp

x20210314_164617_RS.webp

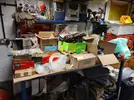
I emptied out all the spares I had stashed inside the car so everything doesnt get tumble dried when I spin it over.

x20210314_181555_RS.webp

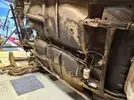
Between sorting the frame out for the 21, the huge tidyup and rearrange and selling another two cars this weekend all I got done was dropping the subframe off the 9 and mounted up the front rotisserie fitting.

x20210314_181710_RS.webp

Here we go again :)
 
Just had a few days off work but ended up getting tangled up in non-Renault-9 things until late Friday, overall for a 1986 car (35 years old) it's not bloody bad you know. Far better than the 21.

x20210325_170201_RS.jpg

...but not completely rot free :D

x20210325_170145_RS.jpg

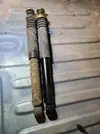
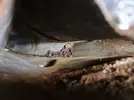
I decided to drop off the rear shocks and investigate the poorly looking bit on the NSR wheel arch, checked the new shocks I have look OK - hopefully they are fine for use as they have been stored for probably 15, 16 years!

x20210325_172034_RS.jpg

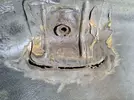
Buzzed it with a wire wheel

x20210326_164238_RS.jpg

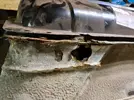
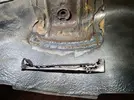
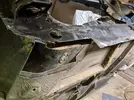
Choppy choppy, weldy weldy. Still debating whether the top bit where the shock goes is OK to leave with treat/paint or if I need to reinforce it. It was pretty crusty.

x20210326_192803_RS.jpg
 
Last edited:
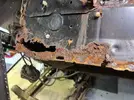
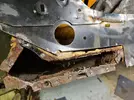
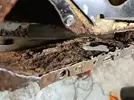
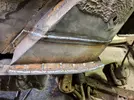
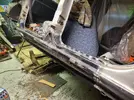
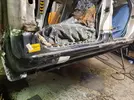
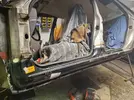
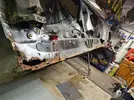
I managed to bag a pair of new sills not long back, so I just went all in on Saturday. Feck it. Didn't look THAT rusty but the jack point was bad and it's damaged at the back (been like that since I bought it in 2002!)

x20210327_130155_RS.webp

All in for the win.

x20210327_135921_RS.webp


x20210327_135926_RS.webp

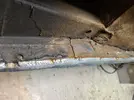
Nasty

x20210327_135936_RS.webp

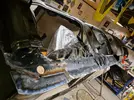
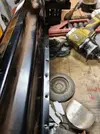
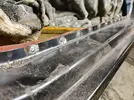
Got stuck into the inner sill

x20210327_161943_RS.webp


x20210327_161946_RS.webp

x20210327_161950_RS.webp

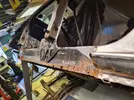
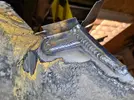
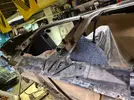
Then attacked the jacking point section - yuk.

x20210327_171005_RS.webp


x20210327_171011_RS.webp

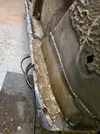
Deeper in looked OK, it's just the actual jack point that was goosed

x20210327_171016_RS.webp
 
Sunday I was supposed to be going somewhere to do something but it was cancelled last minute, so I dived straight back in the garage hoping to get the outer sill back on. I painted the inner with Bonda...

x20210328_163117_RS.webp

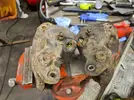
While that was drying I stripped out the remainder of the fuel pump and lines, the pressure reg and the trip computer fuel flow thing, all being replaced with the stuff for the EFI conversion anyway. I also removed all the front struts, brake lines, the brake master, remote brake reservoir, the choke cable, and the headlight adjuster cables (never worked anyway!). I put the front calipers aside to go for a refurb. And yes, the bleed nipples freed up ok :)

x20210328_153923_RS.webp
 
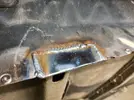
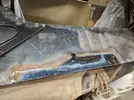
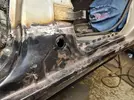
By this time the primer was dry so I started refitting the outer sill panel. It's a non-OE one so not perfect, but better than making something from scratch! Punched some spot holes.

x20210328_163140_RS.webp

Cleaned up the welding surfaces and away we went (after about an hour of messing and adjusting and trying to get it in a good position)


x20210328_182630_RS.webp


x20210328_182635_RS.webp

x20210328_182642_RS.webp

x20210328_182649_RS.webp

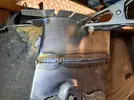
I was happy to spot the door openings, and seamed the pillars/ends. I also seamed the back edge to the floor, which was a great bit of welding even if I do say so myself!


x20210328_185135_RS.webp
x20210328_185201_RS.webp

x20210328_185248_RS.webp

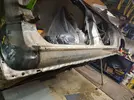
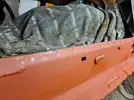
And there we have it. Sill back on :) Got a bit of floor to replace inside, and the reinforced part of the jack point to make next time.

x20210328_185712_RS.webp
 
Back
Top