arno samimi
Active Member
I represent and obstruct Car Hifi components from Audio Art (www.audioart.ch).
Audio Art sells and used not only chosen Car Audio products, but also produces its own components under the name Scustic.
In my MRS3 it comes to use the smallest music system:
The Plug & Play solution from Audiotechnik Fischer consisting of:
-Amplifier PP82DSP
-Bass reflex subwoofer PP 7S D
-Scustic 2-way system consisting of the Helix 13cm woofers P 205 (also from Audiotechnik Fischer) and tweeter and crossover from Scustic
The subwoofer has been changed a bit and the bass were exchanged against two 16cm Kicker Comp RT 67 Chassis.
In addition still insulation mats for the front door panels and for the spare wheel box.
All cables and speaker cables remain OEM.
The only line which must be laid is the connection to the rear to the subwoofer.
And you've got a "small and simple" solution, which makes difficult the life of the next larger music systems.
Moreover, I have made a few changes for me, which have nothing to do with the performance of the music system.
Here we go:
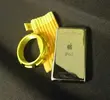
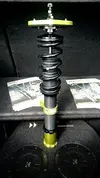
The components:
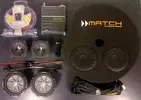
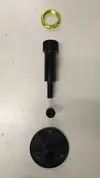
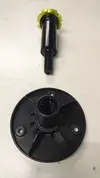
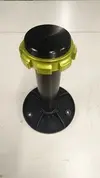
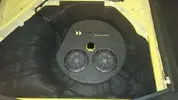
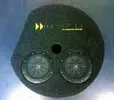
Exchanged the bass and changed the embroidery of orange / white to yellow / black:
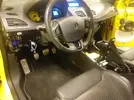
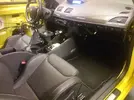
A bit disassemble:
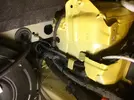
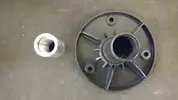
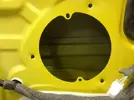
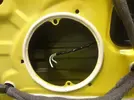
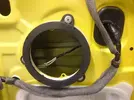
OEM speaker out, sealing tape and adapter rings mounted, and the OEM speaker cable in the OEM harness laid from the front to the behind of the door panel:
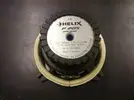
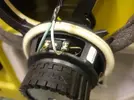
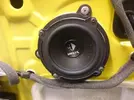
The midrange speaker, also with sealing tape, mounted:
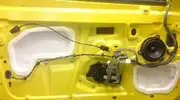
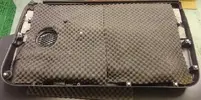
Door panels insulated on the inside:
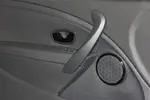
And mounted, nothing to see from the outside:
The Scustic tweeters and crossovers already prepared:
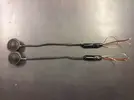
They fit in without modification. The OEM cover fits:
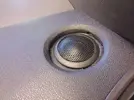
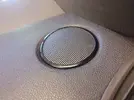
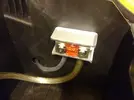
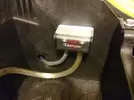
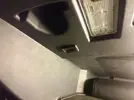
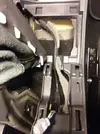
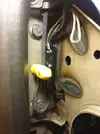
The crossovers find space each side of the dashboard easily accessible:
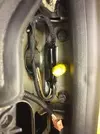
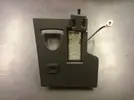
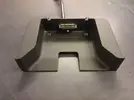
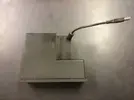
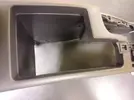
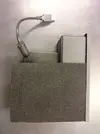
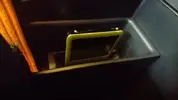
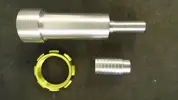
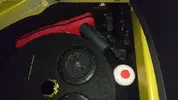
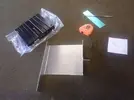
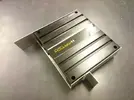
I have made a aluminium holder. Thus, the amplifier can be simply screwed upper the glovebox on the dashboard holder:
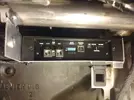
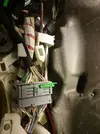
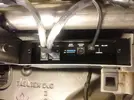
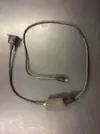
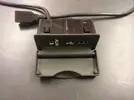
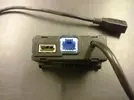
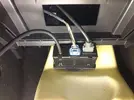
The Y adapter is now plugged. For this, the OEM radio needs to be expanded, plug in and over to the amplifier:
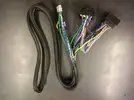
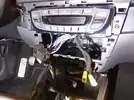
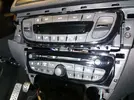
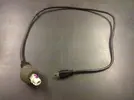
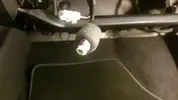
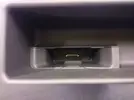
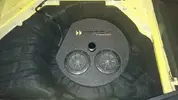
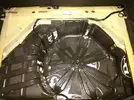
The cable between the amplifier and subwoofer mounted. And the spare wheel box also insulated:
Audio Art sells and used not only chosen Car Audio products, but also produces its own components under the name Scustic.
In my MRS3 it comes to use the smallest music system:
The Plug & Play solution from Audiotechnik Fischer consisting of:
-Amplifier PP82DSP
-Bass reflex subwoofer PP 7S D
-Scustic 2-way system consisting of the Helix 13cm woofers P 205 (also from Audiotechnik Fischer) and tweeter and crossover from Scustic
The subwoofer has been changed a bit and the bass were exchanged against two 16cm Kicker Comp RT 67 Chassis.
In addition still insulation mats for the front door panels and for the spare wheel box.
All cables and speaker cables remain OEM.
The only line which must be laid is the connection to the rear to the subwoofer.
And you've got a "small and simple" solution, which makes difficult the life of the next larger music systems.
Moreover, I have made a few changes for me, which have nothing to do with the performance of the music system.
Here we go:
The components:

Exchanged the bass and changed the embroidery of orange / white to yellow / black:

A bit disassemble:


OEM speaker out, sealing tape and adapter rings mounted, and the OEM speaker cable in the OEM harness laid from the front to the behind of the door panel:


The midrange speaker, also with sealing tape, mounted:


Door panels insulated on the inside:

And mounted, nothing to see from the outside:

The Scustic tweeters and crossovers already prepared:

They fit in without modification. The OEM cover fits:


The crossovers find space each side of the dashboard easily accessible:


I have made a aluminium holder. Thus, the amplifier can be simply screwed upper the glovebox on the dashboard holder:


The Y adapter is now plugged. For this, the OEM radio needs to be expanded, plug in and over to the amplifier:


The cable between the amplifier and subwoofer mounted. And the spare wheel box also insulated:


Last edited:

